
MERCKU M2 Hive system Review
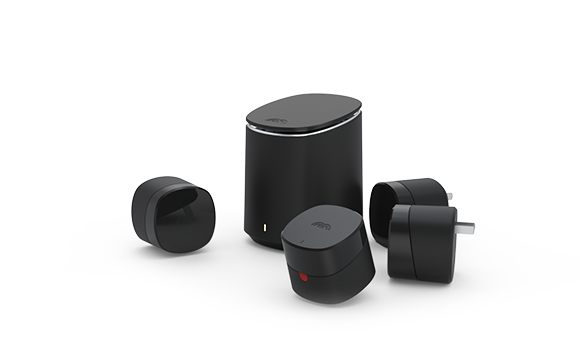
The M2 Hive system comprises of 1 M2 Queen standalone router and 4 M2 Bee MESH nodes. These are sold as a set, and as of March 2019, retailing for $419.00 from 4cabling.com.au.
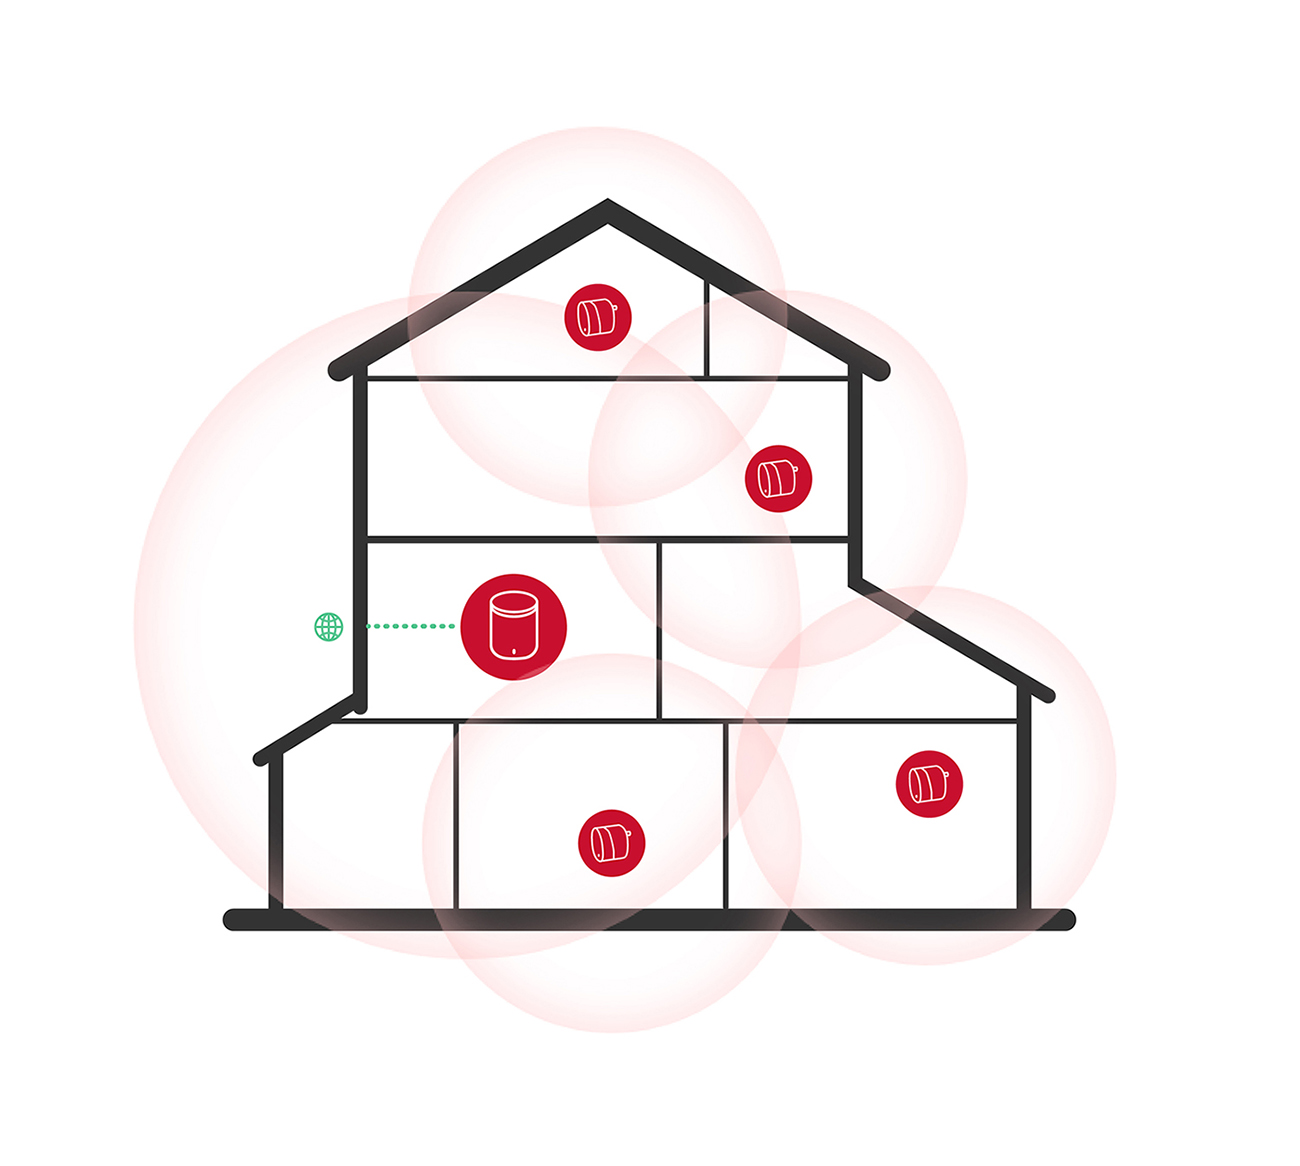
The purpose of this system is to eliminate wireless network dead zones in the house, areas where you have 1 bar or none. It does this by having multiple additional transceivers stationed around the house.
Mercku have patented and called their antenna technology WHEMS, although there does not seem to be any technical information that describes how it works or what makes it unique, but you can gleam some information from the Mercku specifications. Specifically, the “2T x 2R” which I would suggest means two transmitters and two receivers respectively for 2.4 GHz and 5 GHz bands, per device.
These devices also uses beamforming technology, which essentially means that as your WiFi device polls the network, its direction is calculated and the device targets it directly with more power, resulting in a very strong signal to your device even when you are moving around. As the signal increases, so does the available bandwidth. This is a good thing.
Key Features
- Fast and reliable MESH network
- Easy 3 step installation, suitable for non-savy consumers
- Simple Bee MESH node setup, 3 step process
- Red/Green internet indicator light on each device
- Low power consumption
- Easy to use Phone app
- 30 day guarantee
Installation
Installation is very easy, and you don’t need to be too computer-savy to connect the device. Included in the box is a red flat network cable which you connect to the red Ethernet port on the device and the other end to the LAN port of your modem/router.
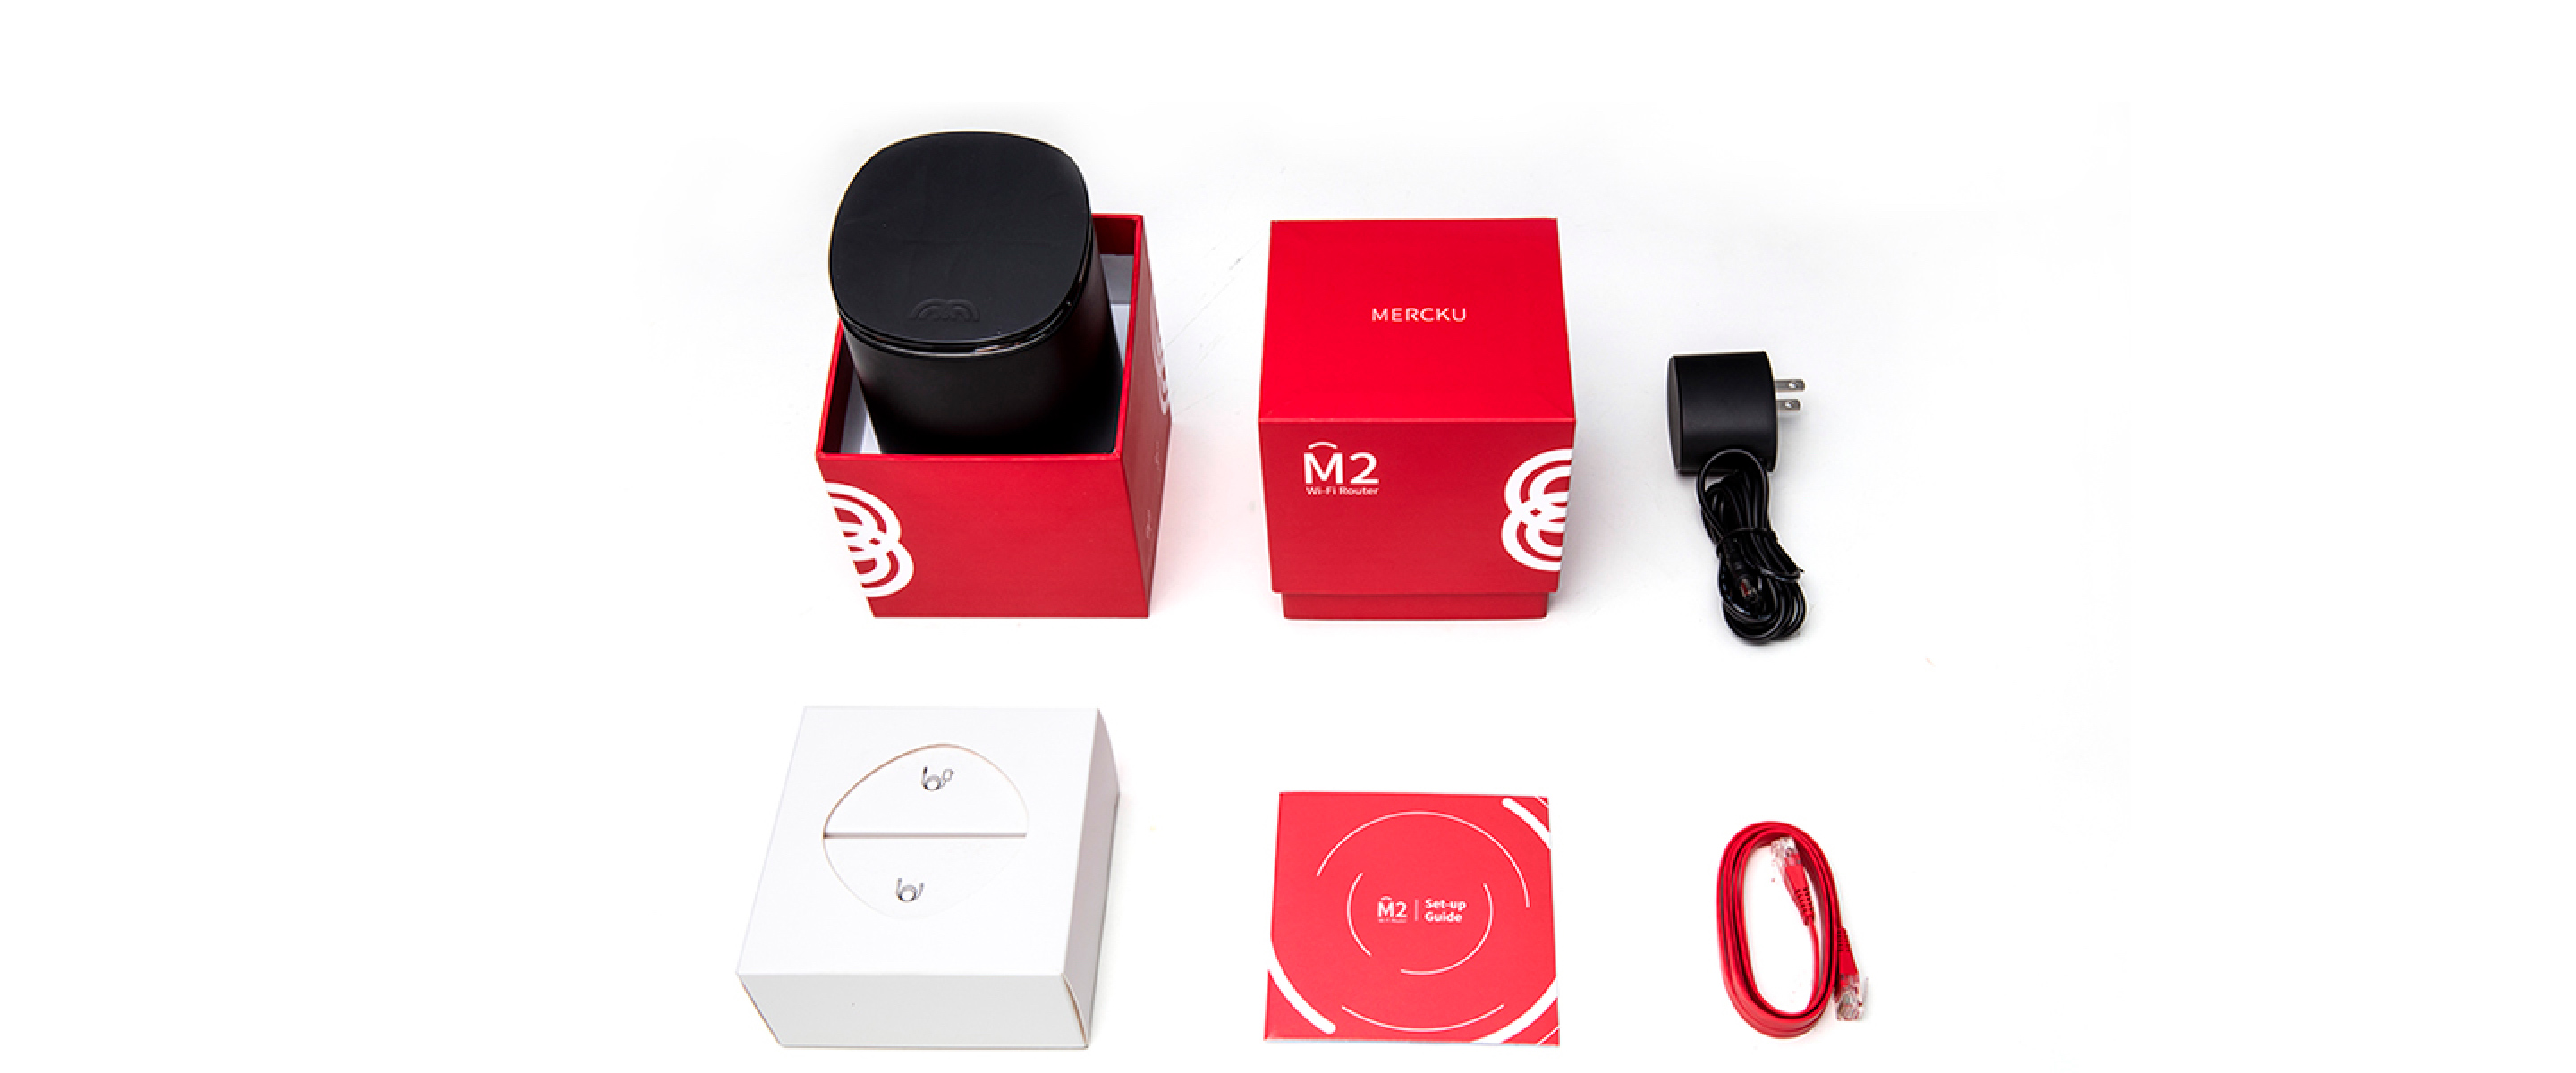
Unboxing the M2 Standalone router
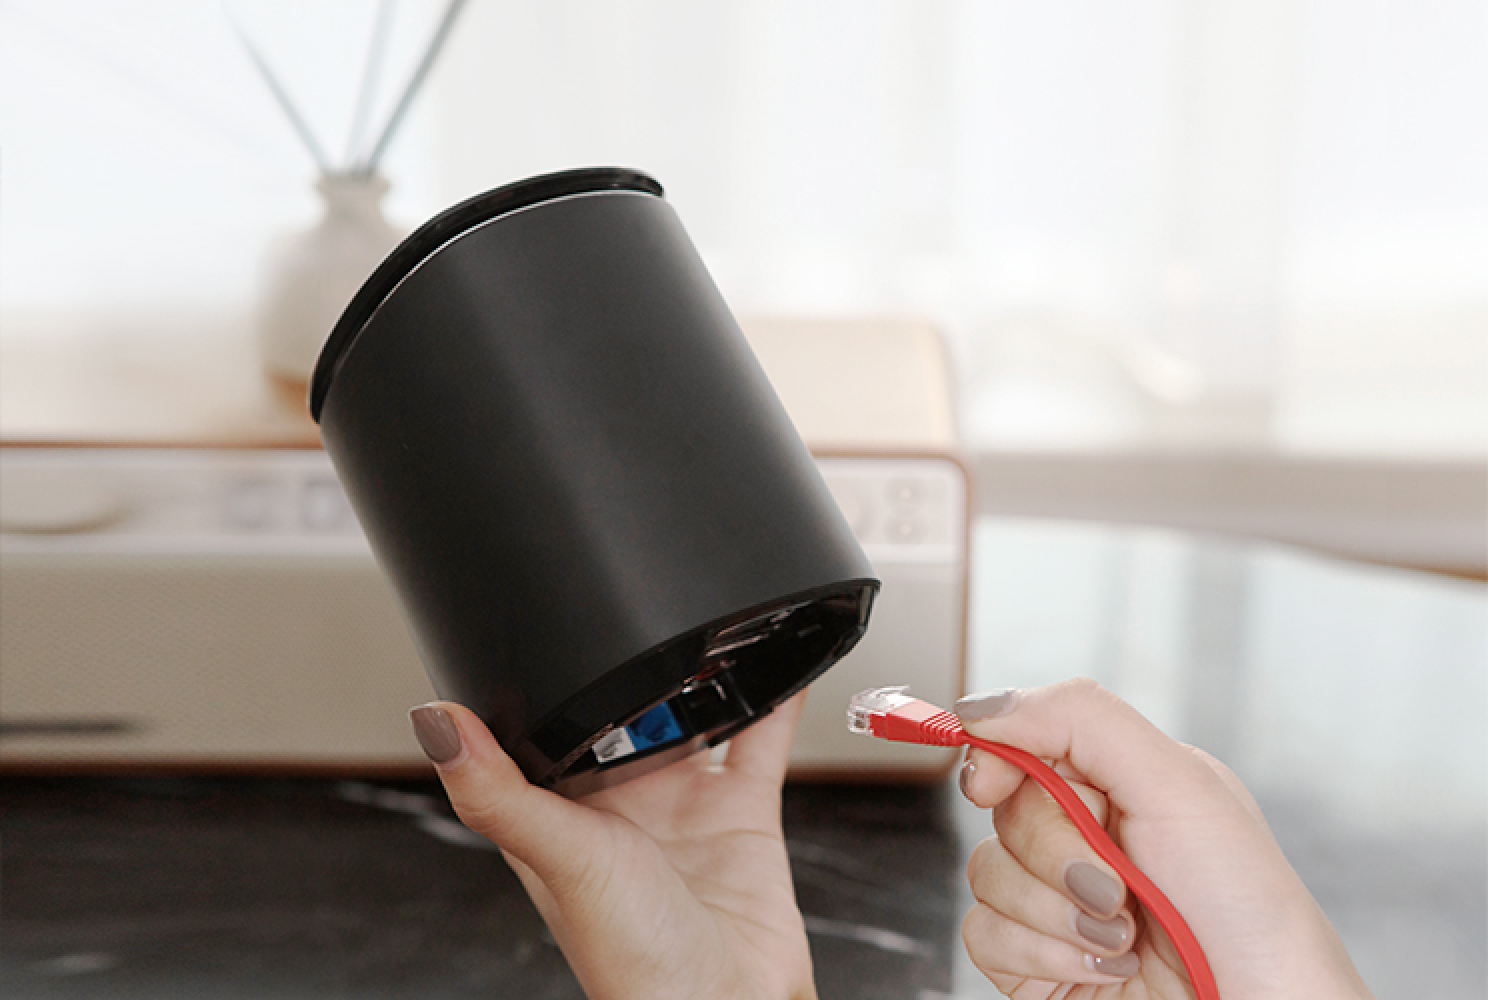
Flat red cable connects to the WAN port of the device
Setup
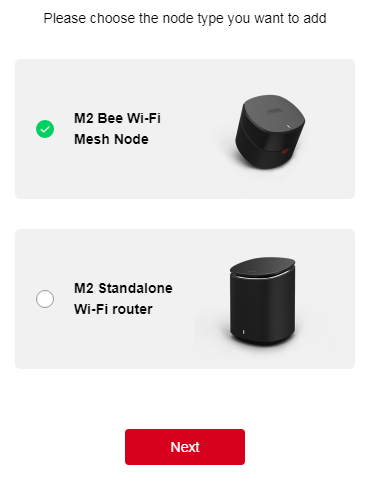
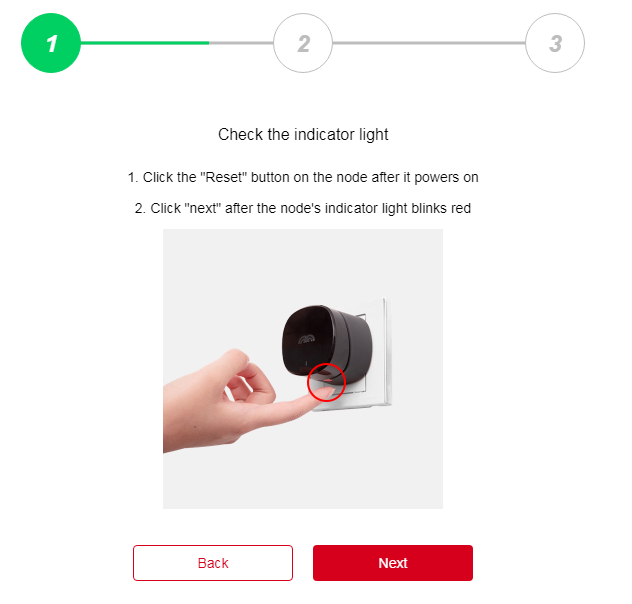
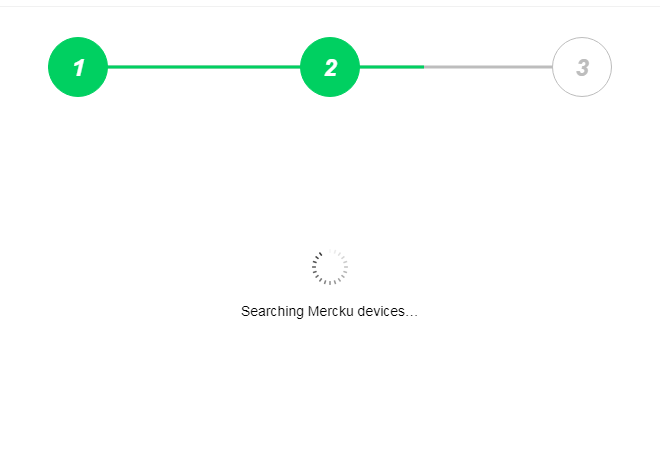
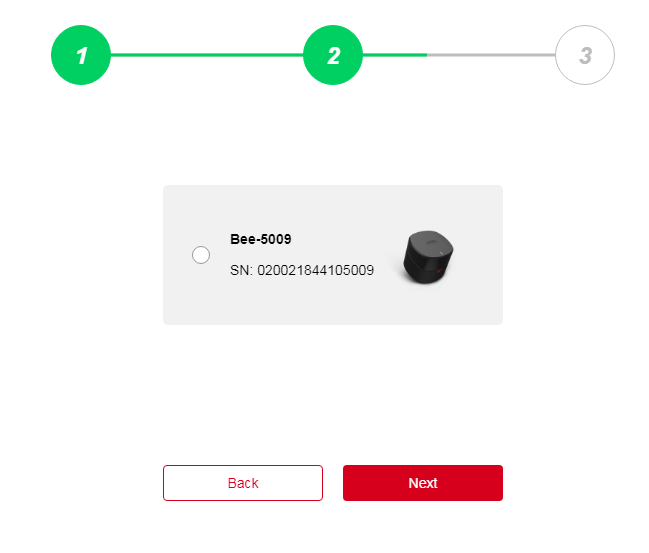
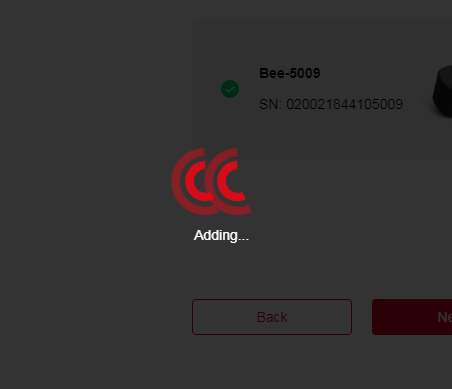
Setting up the mesh network is truly effortless, which is precisely what you would expect for this kind of device. You plug in the M2 standalone router into your modem/router and then you can use the web GUI or the phone app to connect to the device. Plug in the M2 Bee where you want it and press the red button to activate pairing mode. In the setup you can add a device to your mesh by clicking on add device, you then select – in this case the M2 Bee and the device will search for it. I was able to walk from the Bee to the computer without this timing out, but of course you can just use your phone right in front of the Bee, so it’s not a problem.
The Bee will be added to the network and you will be able to see this on the status page.

Adding a Bee or Standalone router to the mesh, Add Node
Usage
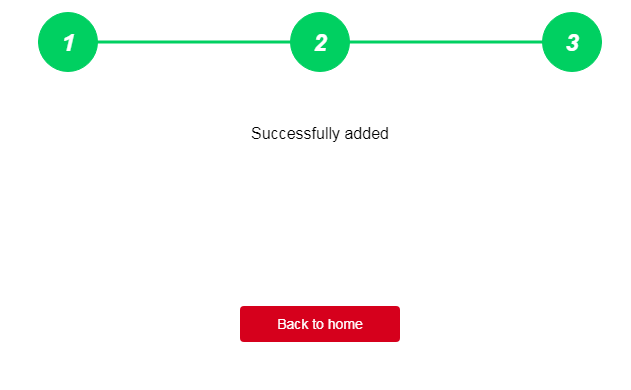
Right out of the box, the hive system was indeed an easy 3-step process to set up; connecting the first node was very straightforward and only took a few seconds to automatically configure. I received immediate response on the configuration page that it had been completed.
I had decided to take the hive system to a medium sized commercial building with lots of machines and wireless networks. With the system setup as the standalone router and two of the Bee’s at each end, I walked the perimeter with the wifi analyser. The building was elevated so I also went outside and walked around. I was able to see the beam forming technology track me until I was outside, where the signal dropped from -90 (strongest), to -30db, this was around 7-10m through a dense wall. The signal was still good. What I did note, was that the output signal was heavily powered on the 5 Ghz range, but limited on the 2.4 Ghz. There is very little information included with the Bee’s other than a quick setup guide, but a quick check on Mercku’s FAQ’s we find that the optimal placement between the router and Bee’s is 5-7m. Of course, power points are located where they are located.
In context, the measurement I took included all networks in the area, and as I was polling the M2, I did get signal gains in the 5 Ghz range which were at least 10db higher than the other networks. Meaning, the signal was decent, outside of optimal range.
Out of the box these M2’s were on firmware V1.2.0, and right out of the gate I was very disappointed in the product. This is because there were next to no configuration options, especially for wireless which was only to show or hide the SSID/Network name or change the password. Sadly there also were no other routing functions, log file, or even firewall and testing functions. I was able to statically set the WAN IP settings, from PPPoE, DHCP and static. That was great, because at the time of testing I had to work some magic using my phone as a hot spot, laptop as a router and configure the M2 with static WAN IP, to get internet access on site. This is relevant, because if you have a router that does not issue DHCP, you can at least connect the M2 and get it up and running.
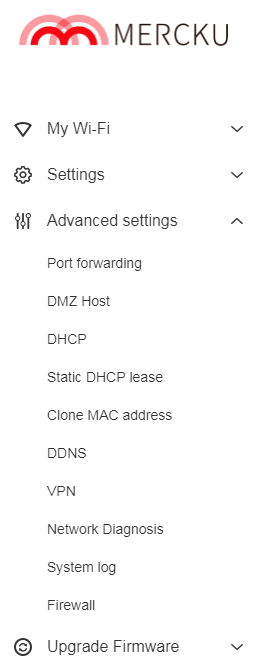
I updated the firmware to 1.4.0 using the online updater, which is fast, and seamless. The update introduced an entire menu item of advanced features, it also meant more testing. Those features include:
- Static DHCP lease

- MAC cloning (WAN port NIC)
- DMZ host
- DHCP (start/end range)
- Dynamic DNS (DynDNS / ORAY)
- VPN (PPTP/L2TP)
- Network Diagnostics
- System log
- Firewall (on/off)
In addition to these settings, it also added two extra options in the WiFi configuration page, guest WiFi, blacklisting and more presentable status pages.
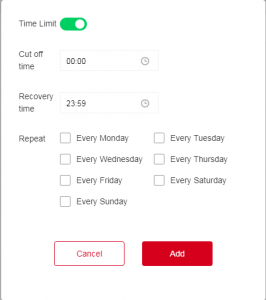
Apply scheduled connection limits to devices
These new features are welcomed, but unfortunately some are implemented poorly and in a sense don’t seem finished.
The WiFi settings can now allow you to split the two networks with separate SSID’s, but not disable one or change any power or channel settings at all. This is a must have when you compare this device to other routers of its ilk. In addition, one of the biggest let down is the Firewall, which can be turned on or off but not configured in any way, following from this was the VPN, where I was able to successfully connect to a PPTP but after which there was no option to change the routing, default gateway etc, naturally this caused internet access to fail a few seconds after it initiated as it was essentially a double NAT with no ability to change any routing. I also turned the firewall on around the same time, which again, not sure what it did but I also had no internet access.
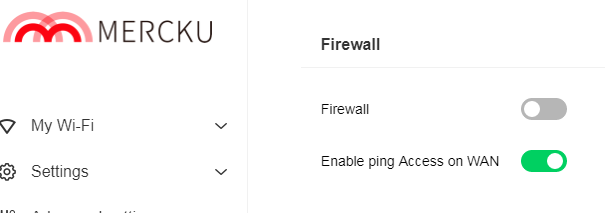
Firewall settings can be turned on or off
Since there was now a logfile, I am able to confirm that the system runs on Busybox 1.13.4, which is of course a Linux based kernel. But once the log window is populated there are no scroll bars in the log-view. You can view it on the phone due to phones inbuilt browser functions.
A really good function that I came across in the status pages is the ability to view “offline devices,” somewhere it holds a list of previously connected devices by hostname and MAC address. This is actually a very handy feature and I can 100% confirm it is maintained even after being removed from mains power.
The phone app however, is quite misleading, what is really happening is the app provides some form of signup/registration which can be skipped, but configuration simply opens a browser window to the web interface using the inbuilt and unchangeable DNS suffix, mywifi.mercku.tech. This is a big concern for a number of reasons and for some this may be a very limiting factor.
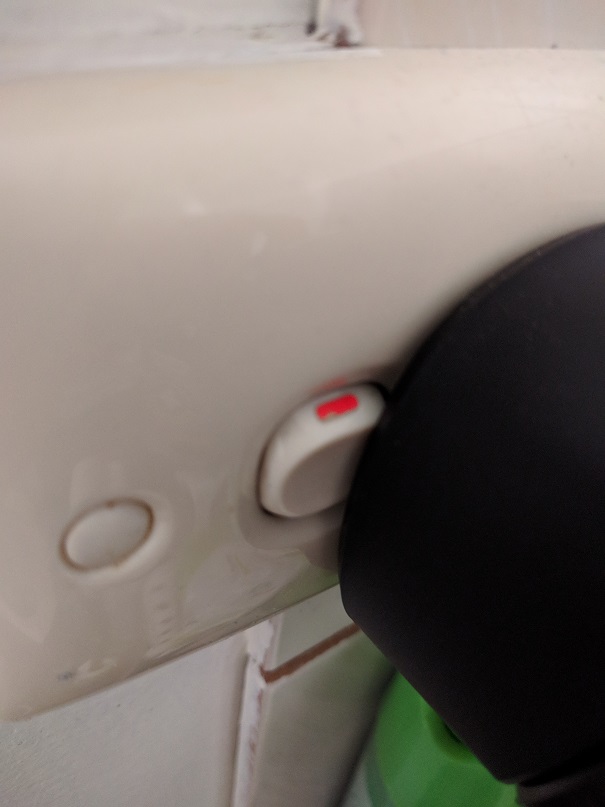
One of the features of the standalone router I really like is the power adapter. It’s skinny and power board friendly, so it won’t get in the way of its neighbours. Unfortunately, the Bees are not power board or even wall friendly, at least for my older style face plate. Plugging it in actually makes contact with the switch and nearly turns it off, its borderline seesaw as it is. You may need to purchase wall standoffs or at least turn the wall socket on, then connect the device. It is disappointing that the design of the Bees didn’t follow suit.
Merkcu state that the device will reach up to 867Mbps (theoretical), however I can only verify this with my phone, so I was unable to push too much data through to see if it falls over, but this seems to be right on the mark and I am quite impressed with this.
I also tested with the XBOX one connected via WiFi, (double NAT), watched a Netflix series and also constantly ping flooded large packets from my laptop to my workstation on the WAN side of the router. This kind of testing can impose some strain and expose weaknesses on lessor routers, usually with respect to CPU/RAM. It didn’t skip a beat. The web interface was still highly responsive and fast. I have no doubt that the M2 hive can handle multiple connections, streaming HD video and still keep the signal strong.
As a router, how does this stack up? Well from a use case, if you want a device for internet and Netflix, that can just give you WiFi at full bars and all you have to do is plug it in and set/forget, this will be your device. But if you want a device that does that, but also allows you disable NAT, add custom routes, tinker with the power and channels of the mesh or be a primary router device to an NTU, you may need to hold off a while until the firmware matures a bit.
If you are a gamer, you would need to disable NAT on your modem/router and have all routing functions performed on the M2 standalone, otherwise you will have problems connecting to services with your consoles over the WiFi.
Final Thoughts?
The performance, ease of installation and setup of the M2 Hive system is outstanding. The quality of the hardware is reflected in the signal strength, beamforming, fast reboot, fast and easy firmware updates, fast admin interface. This is a great system, even with the Bee’s foot print being a little clumsy, the only thing holding this back is that the firmware and functionality is not yet mature. But, in just two updates many features were added, so hopefully it’s a matter of time.
About the Author
Scott De Lacy Scott has a professional IT background spanning over 18 years, is an hobbyist electronics designer, talented musician, holds qualifications as a trainer and experience in emergency and community services sectors. He reviews Movies, PC and XBOX One games, and hardware.
Related Posts

Kogan Omega 49″ Curved Ultrawide Gaming Monitor Review (KAMN49QDQUCQA) →

DJI Avata 360 Motion Fly More Combo Review →

TEAMGROUP Launches The ACE 8K MicroSDXC Memory Card Unleash Device Performance to Capture Every Moment →