
Let’s upgrade your Gaming Rig! #Intel
I was recently given the opportunity to check out an Intel i9 7900X Processor and being an avid VR gamer, I graciously accepted this challenge thanks to some generous supporters. As it’s been quite a while since I have built a new system, it was an interesting chance to see what changes have been made in the last few years.
So for the record:
My old system was:
- Motherboard: ASRock H170 Pro4/D3
- CPU: Intel Core i5-6500 @ 3.2Ghz
- Memory: Kingston 4gb X2 1600 MHz
- GPU: GTX 970
- Hard Drive: HDD 1: 110G SSD
- HDD 2: 1TB
- Keyboard: J Burrows
- Mouse: Microsoft
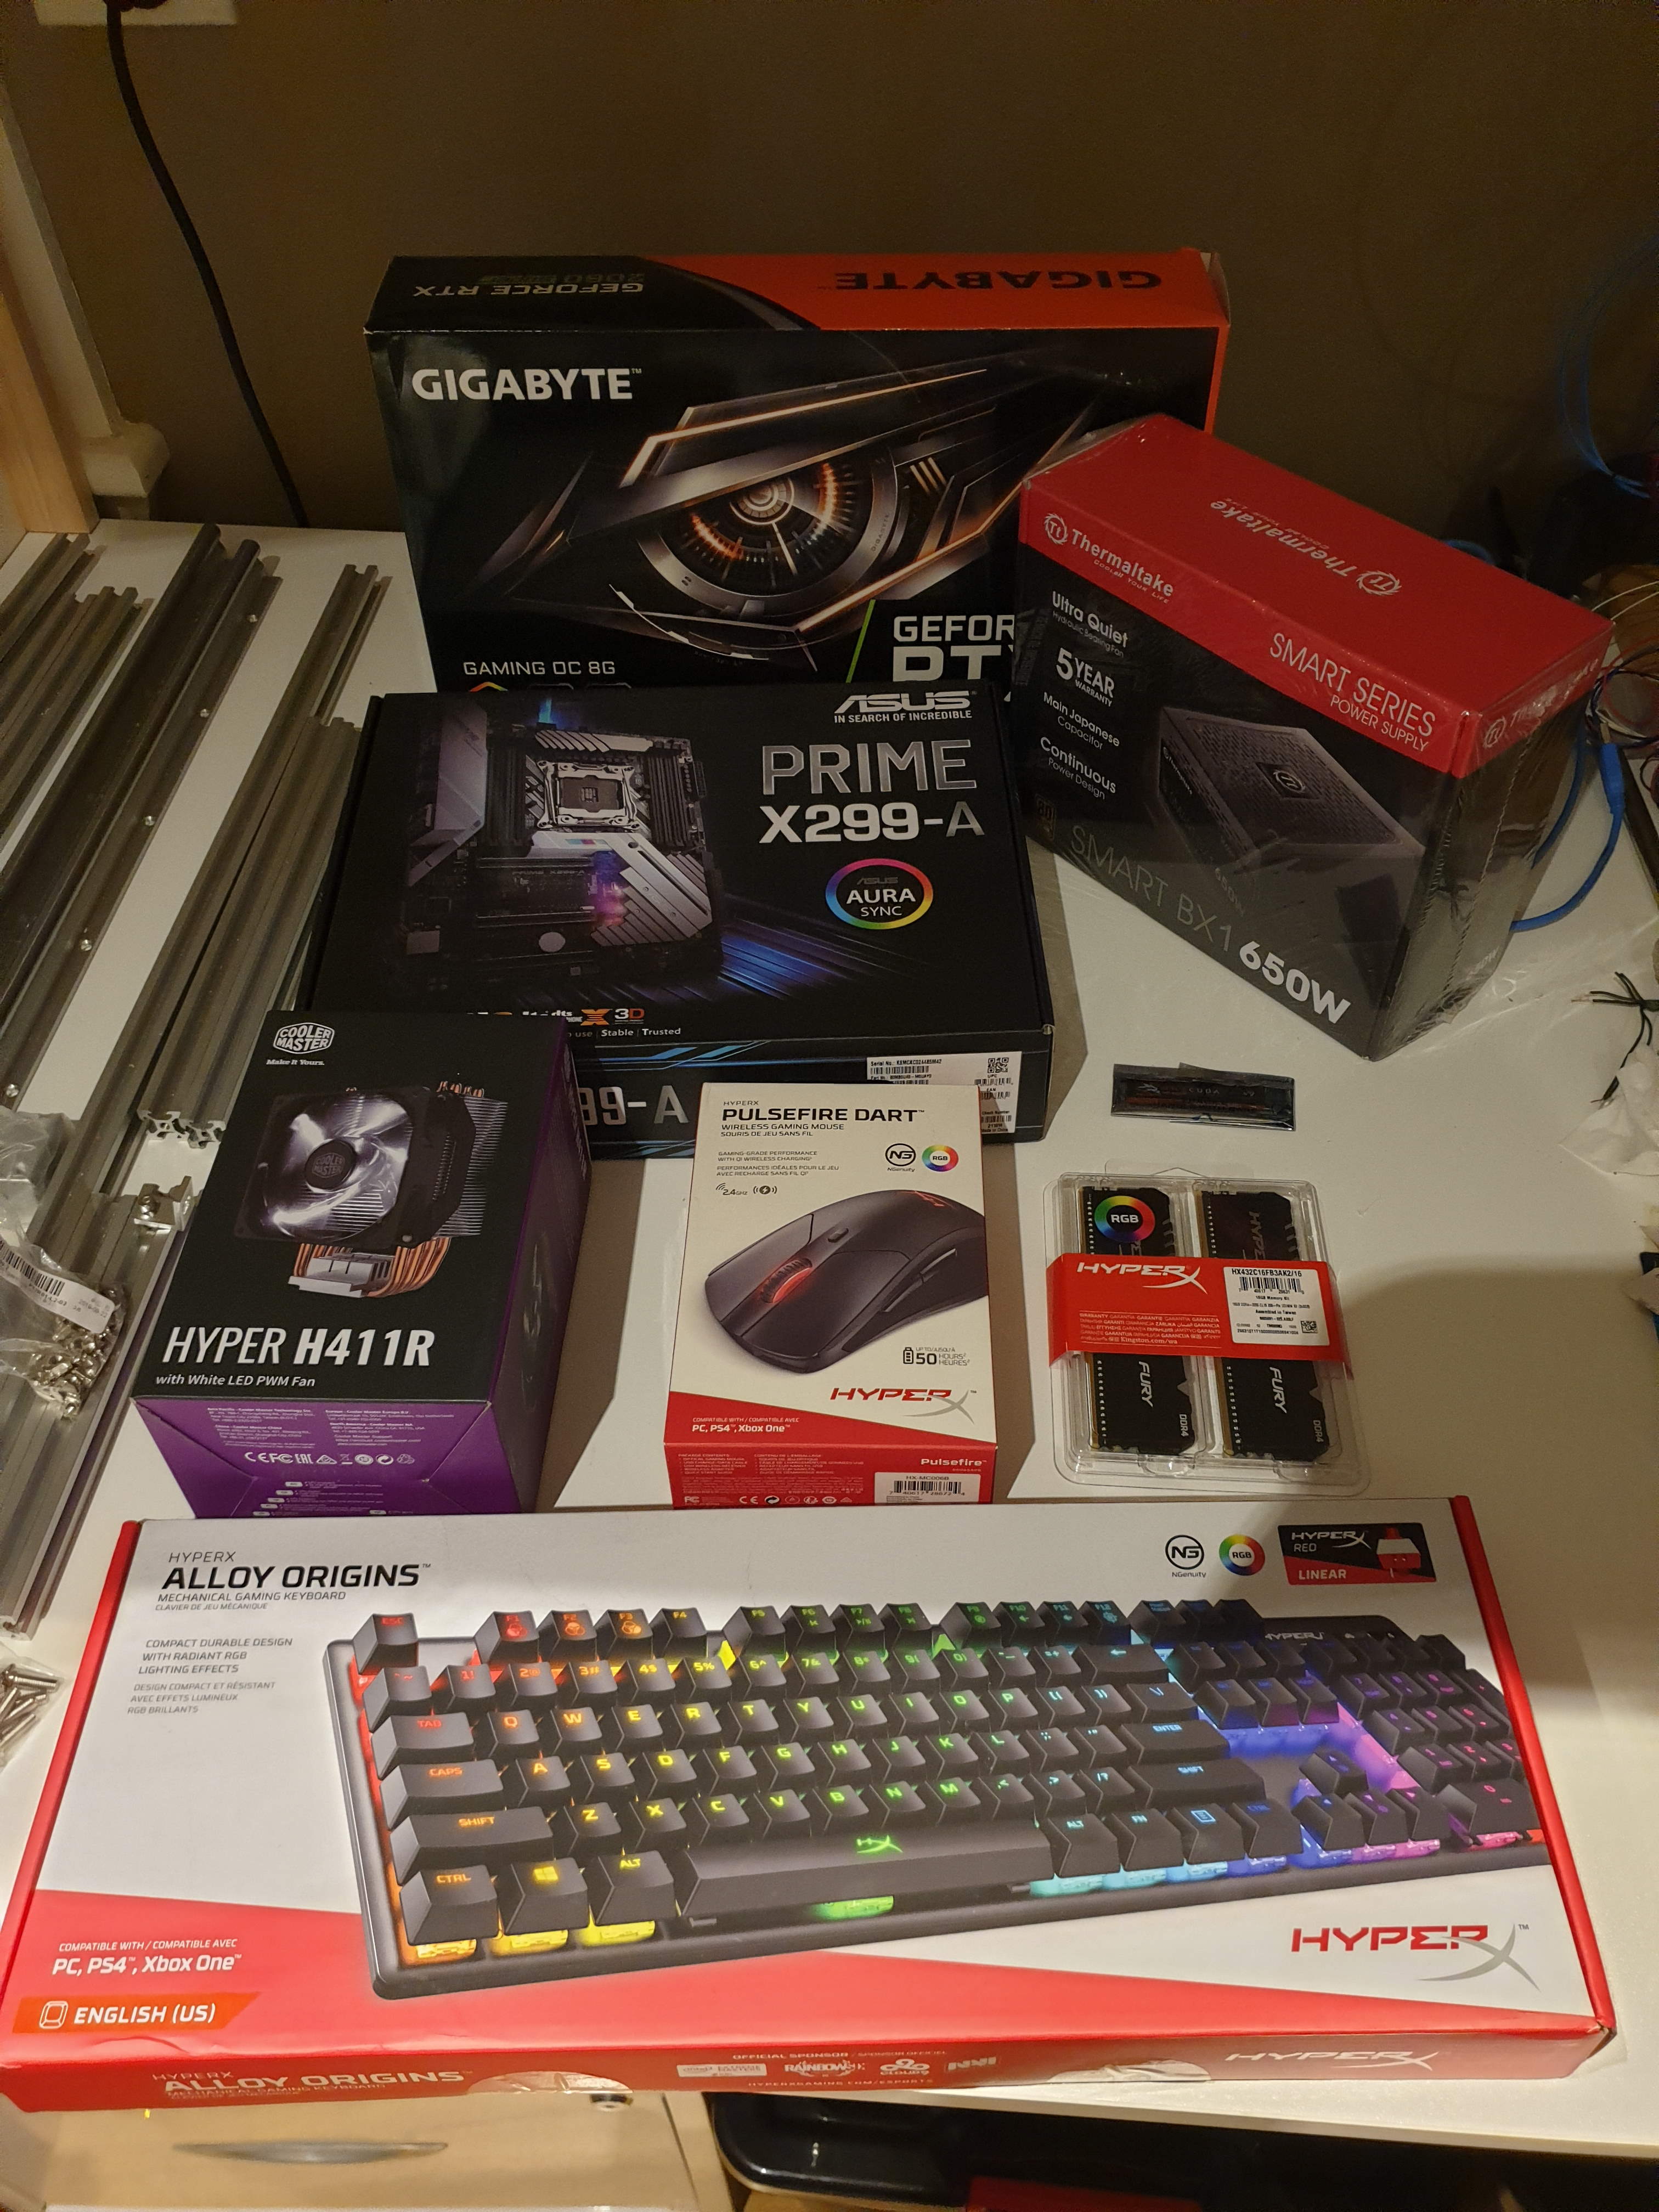
The new system:
- Motherboard: Asus Prime X299- A
- CPU: Intel i9-7900x 3.3GHz
- Memory: 16GB HyperX DDR4 RGB
- GPU: RTX 2060 Super 8GB
- Hard Drive: HDD 1: 120G SSD
- HDD 2: 1TB
- HDD 3: 1TB SSD (m.2 Firecuda
- HDD 4: 2TB
- Keyboard: HyperX Alloy Origins
- Mouse: HyperX Pulsefire Dart
- Case: Thermaltake Commander C33
So a pretty big change.
The first trick was tracking down a motherboard that was compatible with the X266 intel chip, not as easy as you might think. When I finally found one, the gentleman behind the counter informed me that they tended not to stock the motherboard as the CPU was a more professional level processor (probably explains the higher price for the motherboard too). So I grabbed my components and headed home (well that’s the shortened version, it actually took three separate trips to get all the components due to stock levels and other factors).
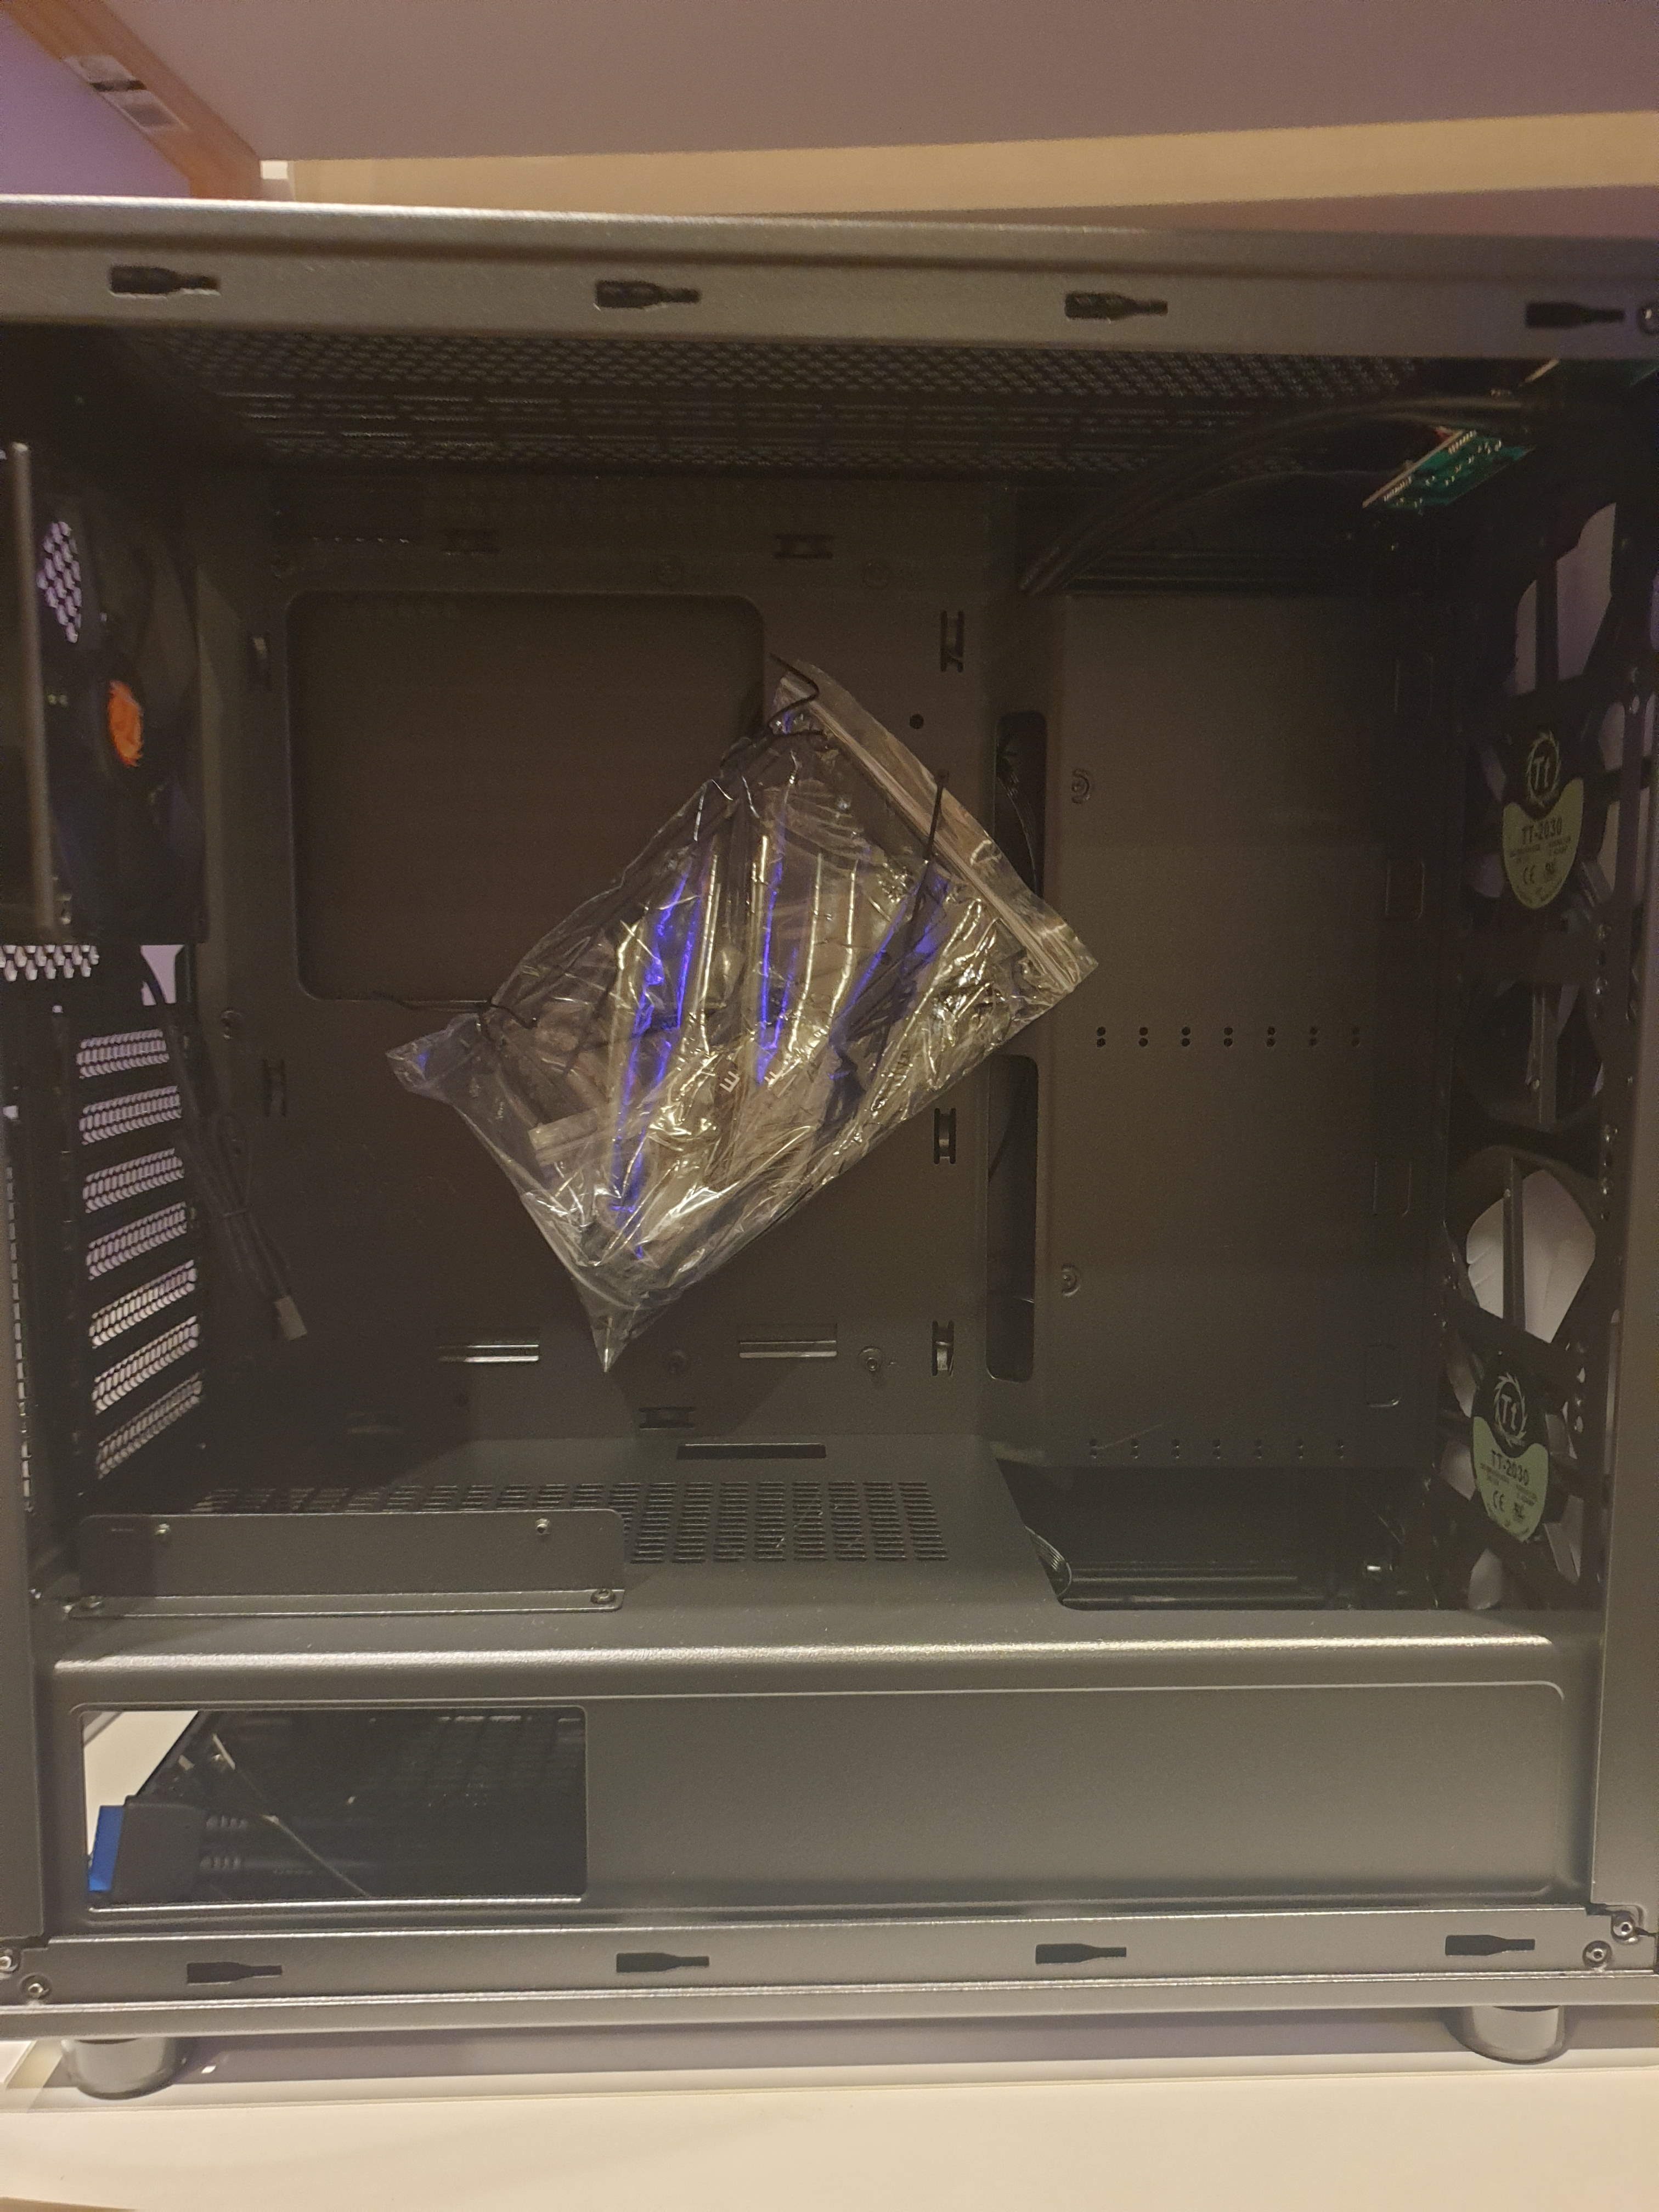
The first thing I noticed about the new case is the distinct lack of an optical drive bay, or any support for optical media at all. My guess is the young trendy people only stream or use portable media now and don’t like hard copies, those that still want hard copies can get USB optical devices so I guess that’s in my future. The benefit of not having those drive bays is much more room for cooling and cable management. This particular case also came with a nice little bag of treats to help get setup, including some cable ties (which I didn’t end up using… opting for twist ties instead).
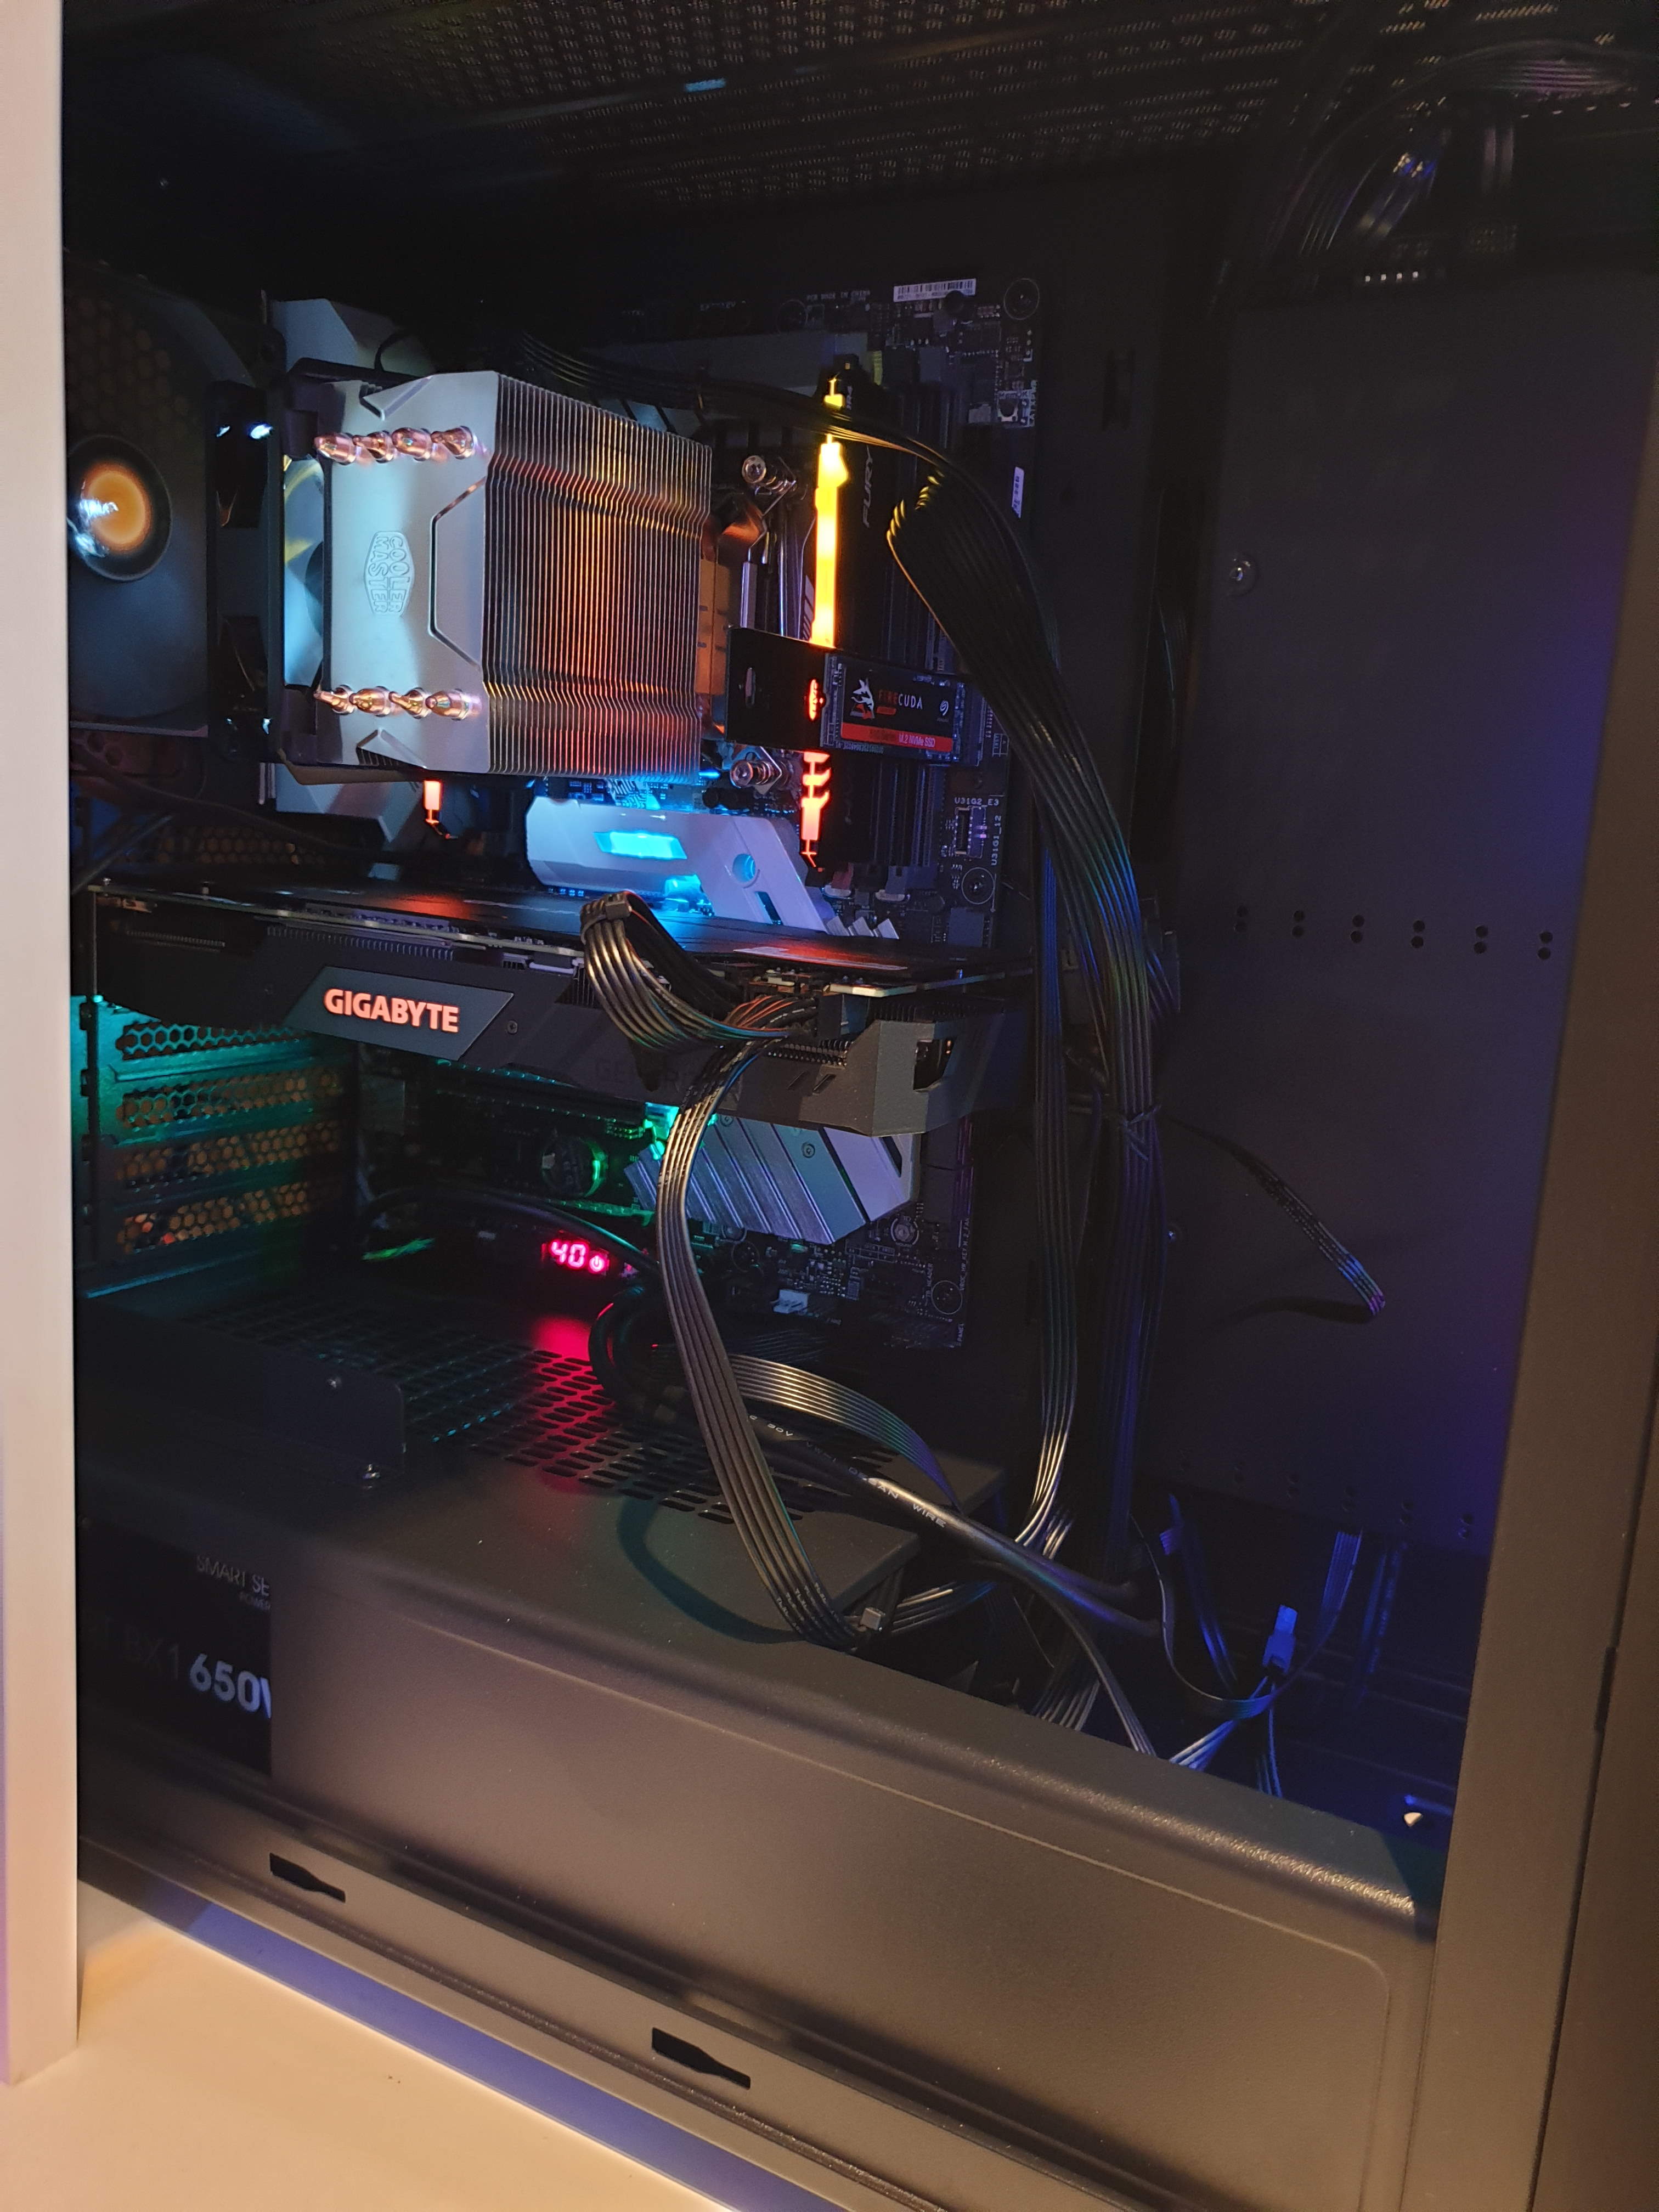
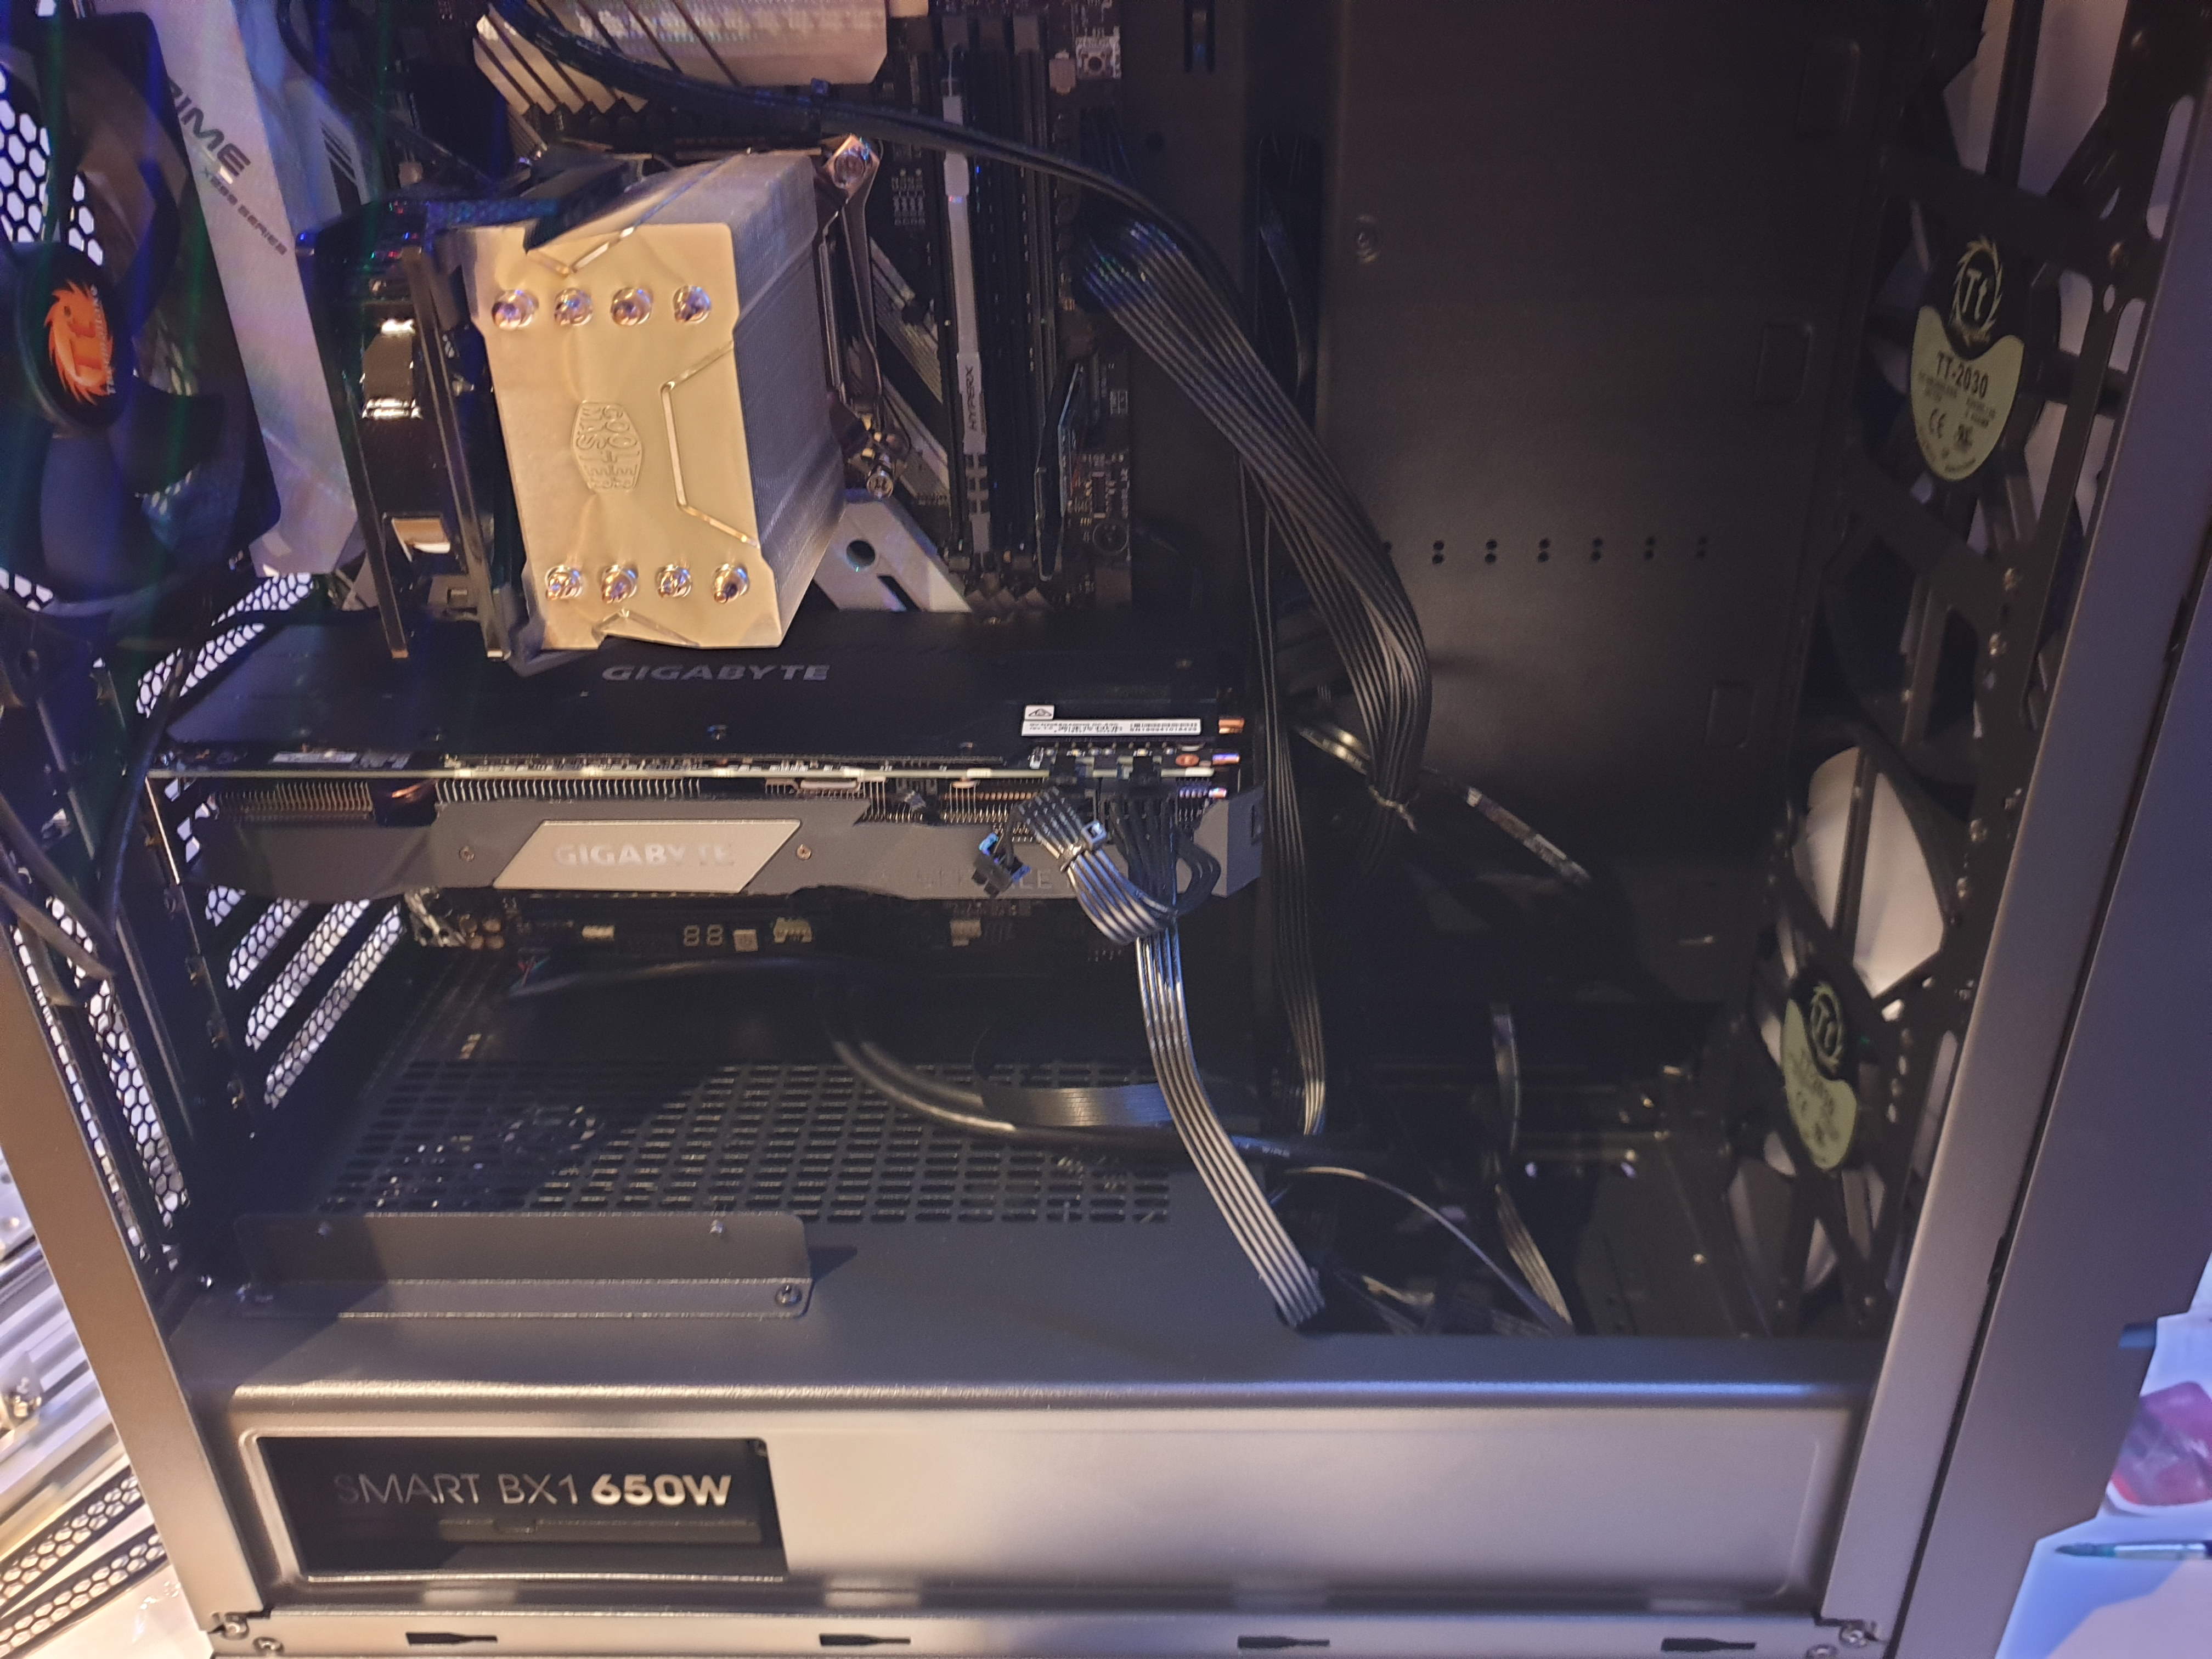
Installing the CPU was easy enough, as was the fan (a Hyper H411R), I no doubt put far more thermal paste on than needed, but it all squished down nicely and seems happy where it is, the leveraging the fan back down again was a bit of a nervy process though as I’m never sure how much pressure to apply, safely.
The RAM, seemingly as always, was both easy and hard to install. Easy in that you just press down and it should nicely slot in, hard in that it can be easy to have it not quite fully in the slots and therefor not actually operational, this goes back to that earlier issue of not being sure how much pressure to apply. In this case, given the HyperX RAM has RGB lights on it, if it’s not installed properly the lights don’t come on, so that’s kind of a nice visual cue as to where your problem might lie. After I sorted that out, things were looking up.
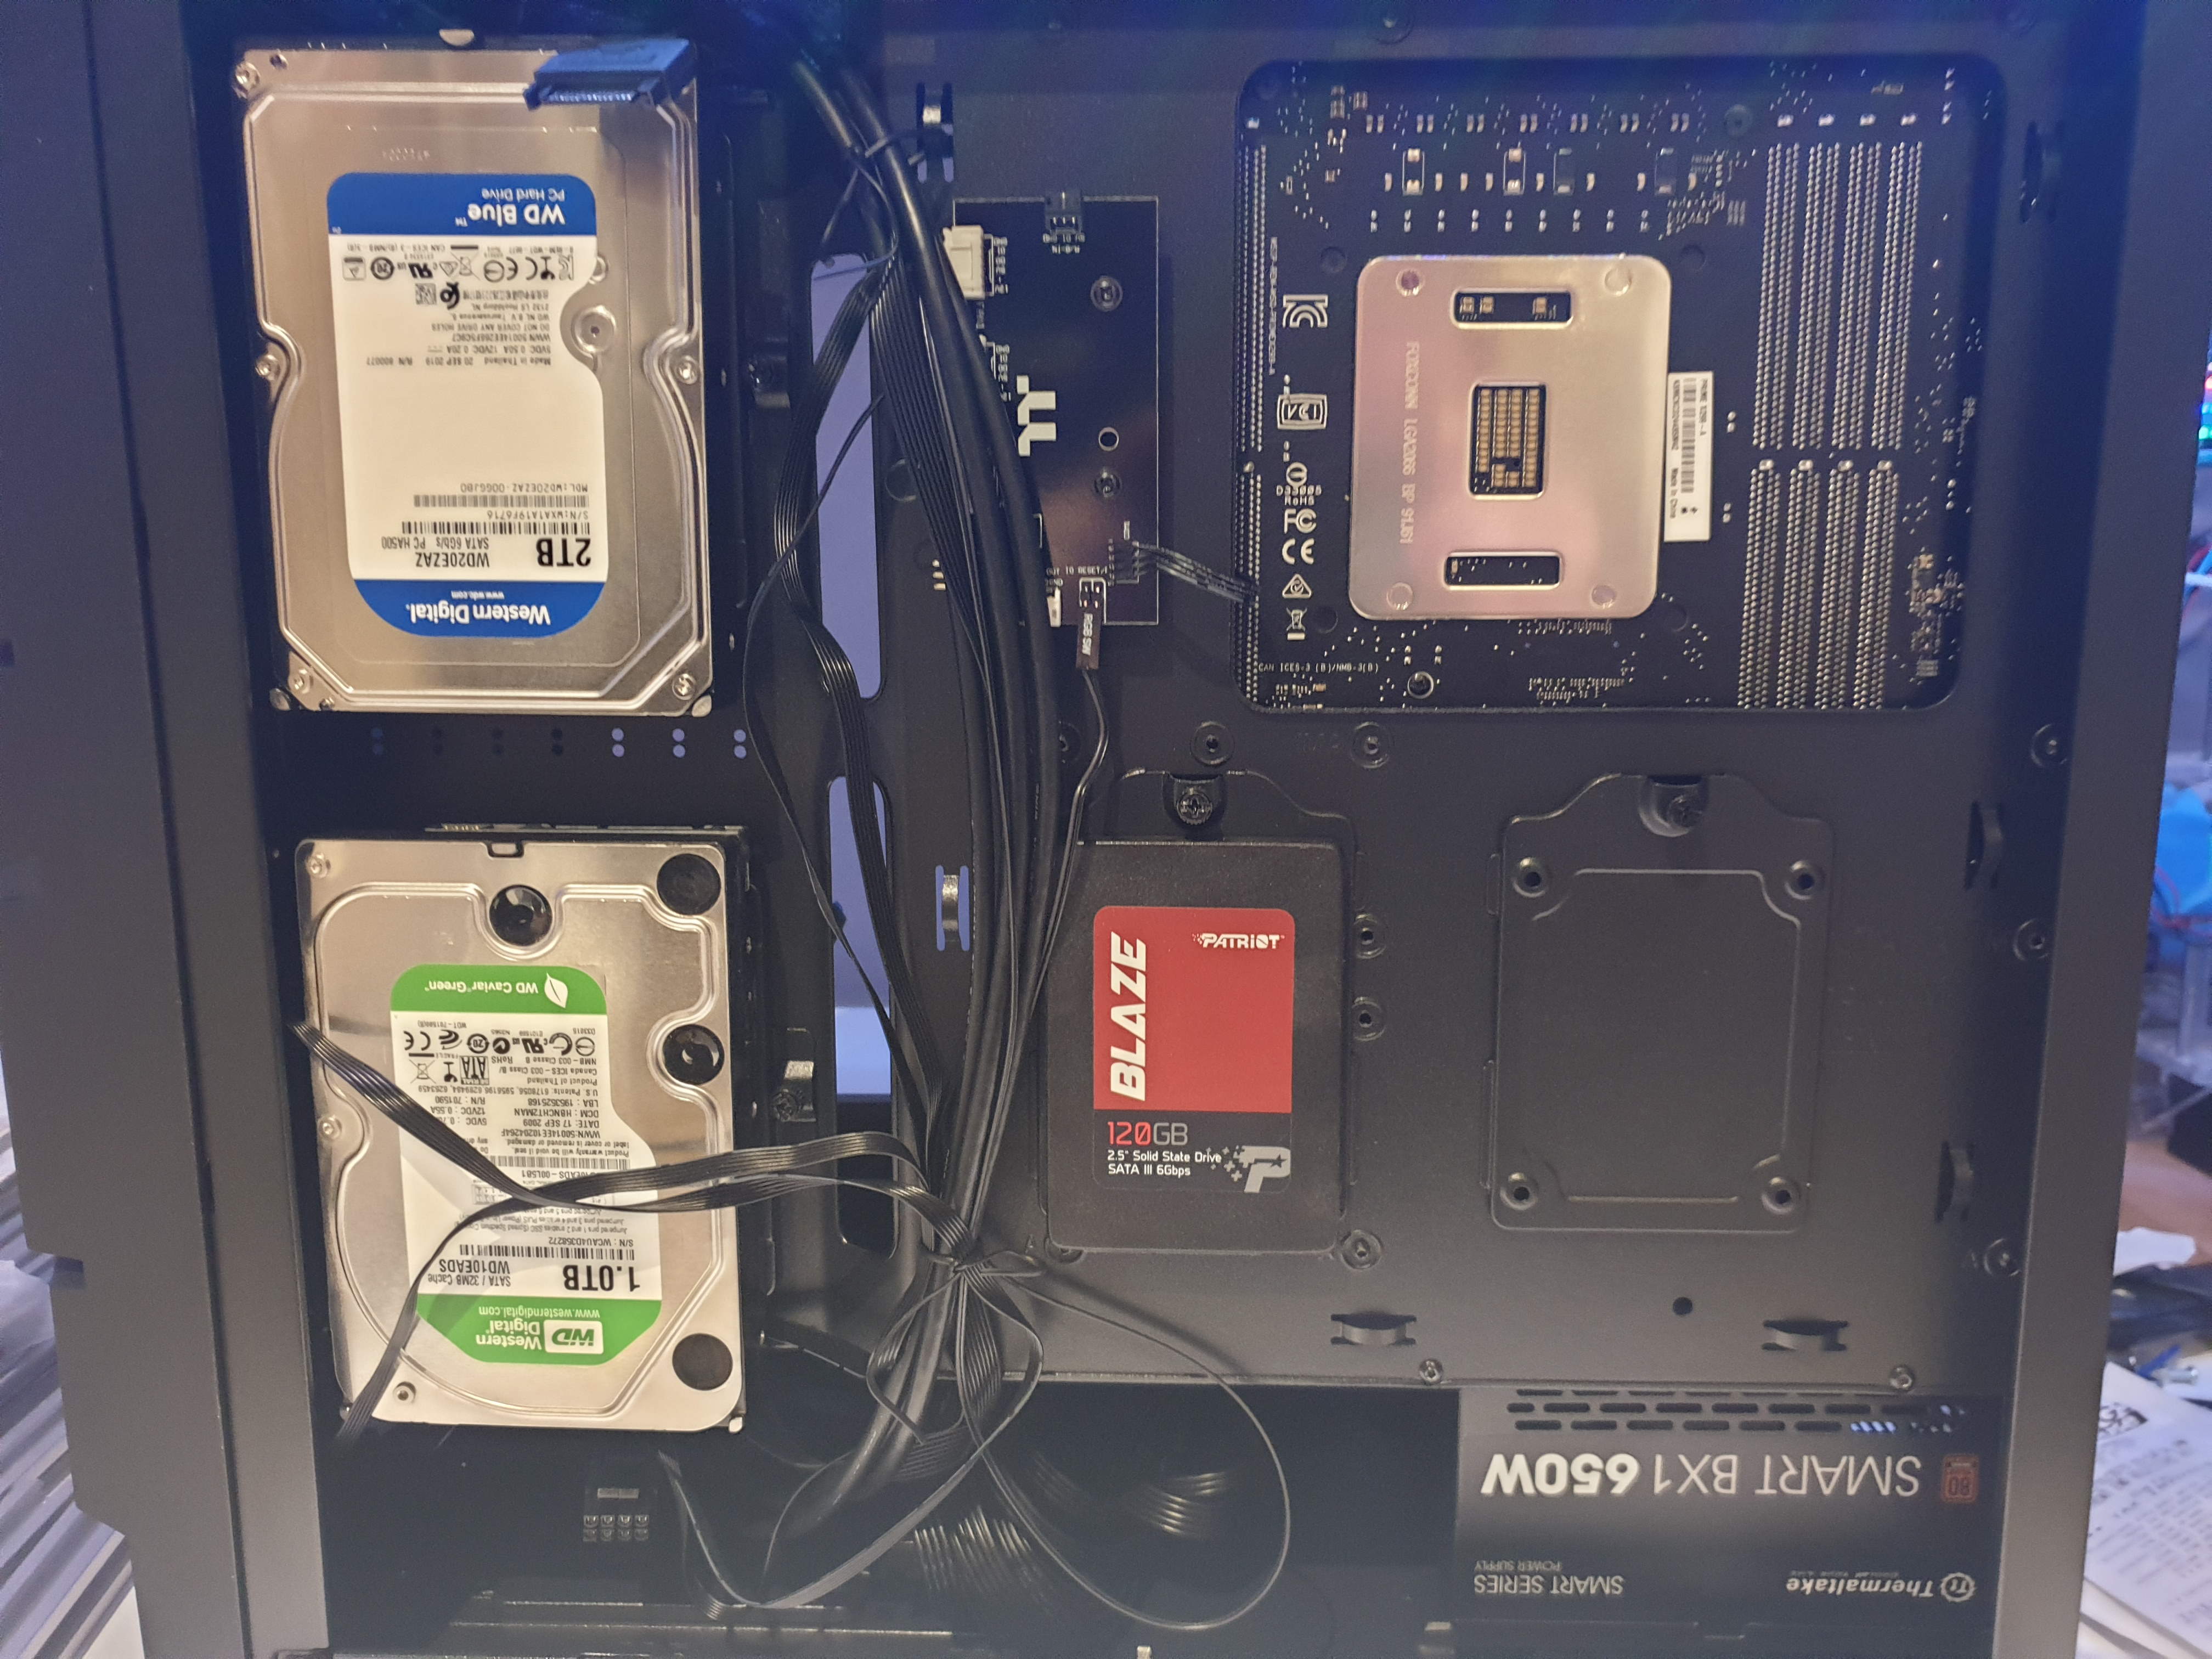
Now, much like being used to having optical drive bays, I’m also used to having bays for hard drives, Thermaltake have been a bit sneaky here (as is probably the norm now) and supplied mounting plates on the back of the motherboard area of the case, this might account for why this case seemed a bit wider than my previous one.
There are quite a few mounting options, allowing for both 3.5″ and 2.5″ form factors (perfect for my mix of SSD and standard HDD). After working out the best configuration for the drives to facilitate better cable management (also known as, it won’t fit properly with the cable sitting out that way), they were all tucked nicely away and I could close the dark side of the case.
Back around the main side of the case I had the fun of plugging in all the connectors (the GPU went in quite smoothly compared to most items, albeit you might want to take the little cards out of the rear connectors before slotting it in as the rear guards of the case may make it hard to remove them later). I ended up not putting the little rubber lock on the m.2. SSD simply because I couldn’t get it to slot through sufficiently to twist and lock in place, the frame that it sits in seems to be doing the job fine, but that little lock mechanism was just too hard for me to get working.
In terms of the front panel connectors, ASUS I think it was, provided a handy little connector so rather than having to attach each individual connector eg HDD LED, Power LED etc. you can connect them to a little stand alone connector, once they are all comfortably in place, that connector then simply slots over the pins on the board, much less fiddly.
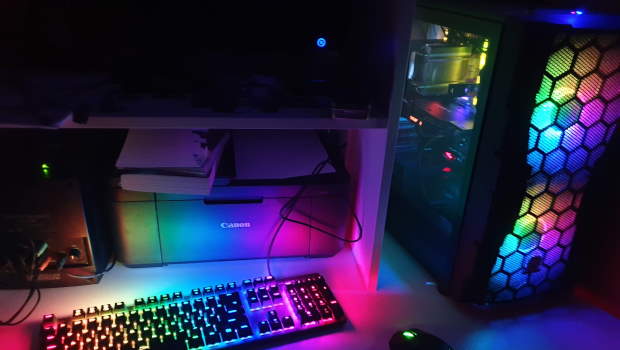
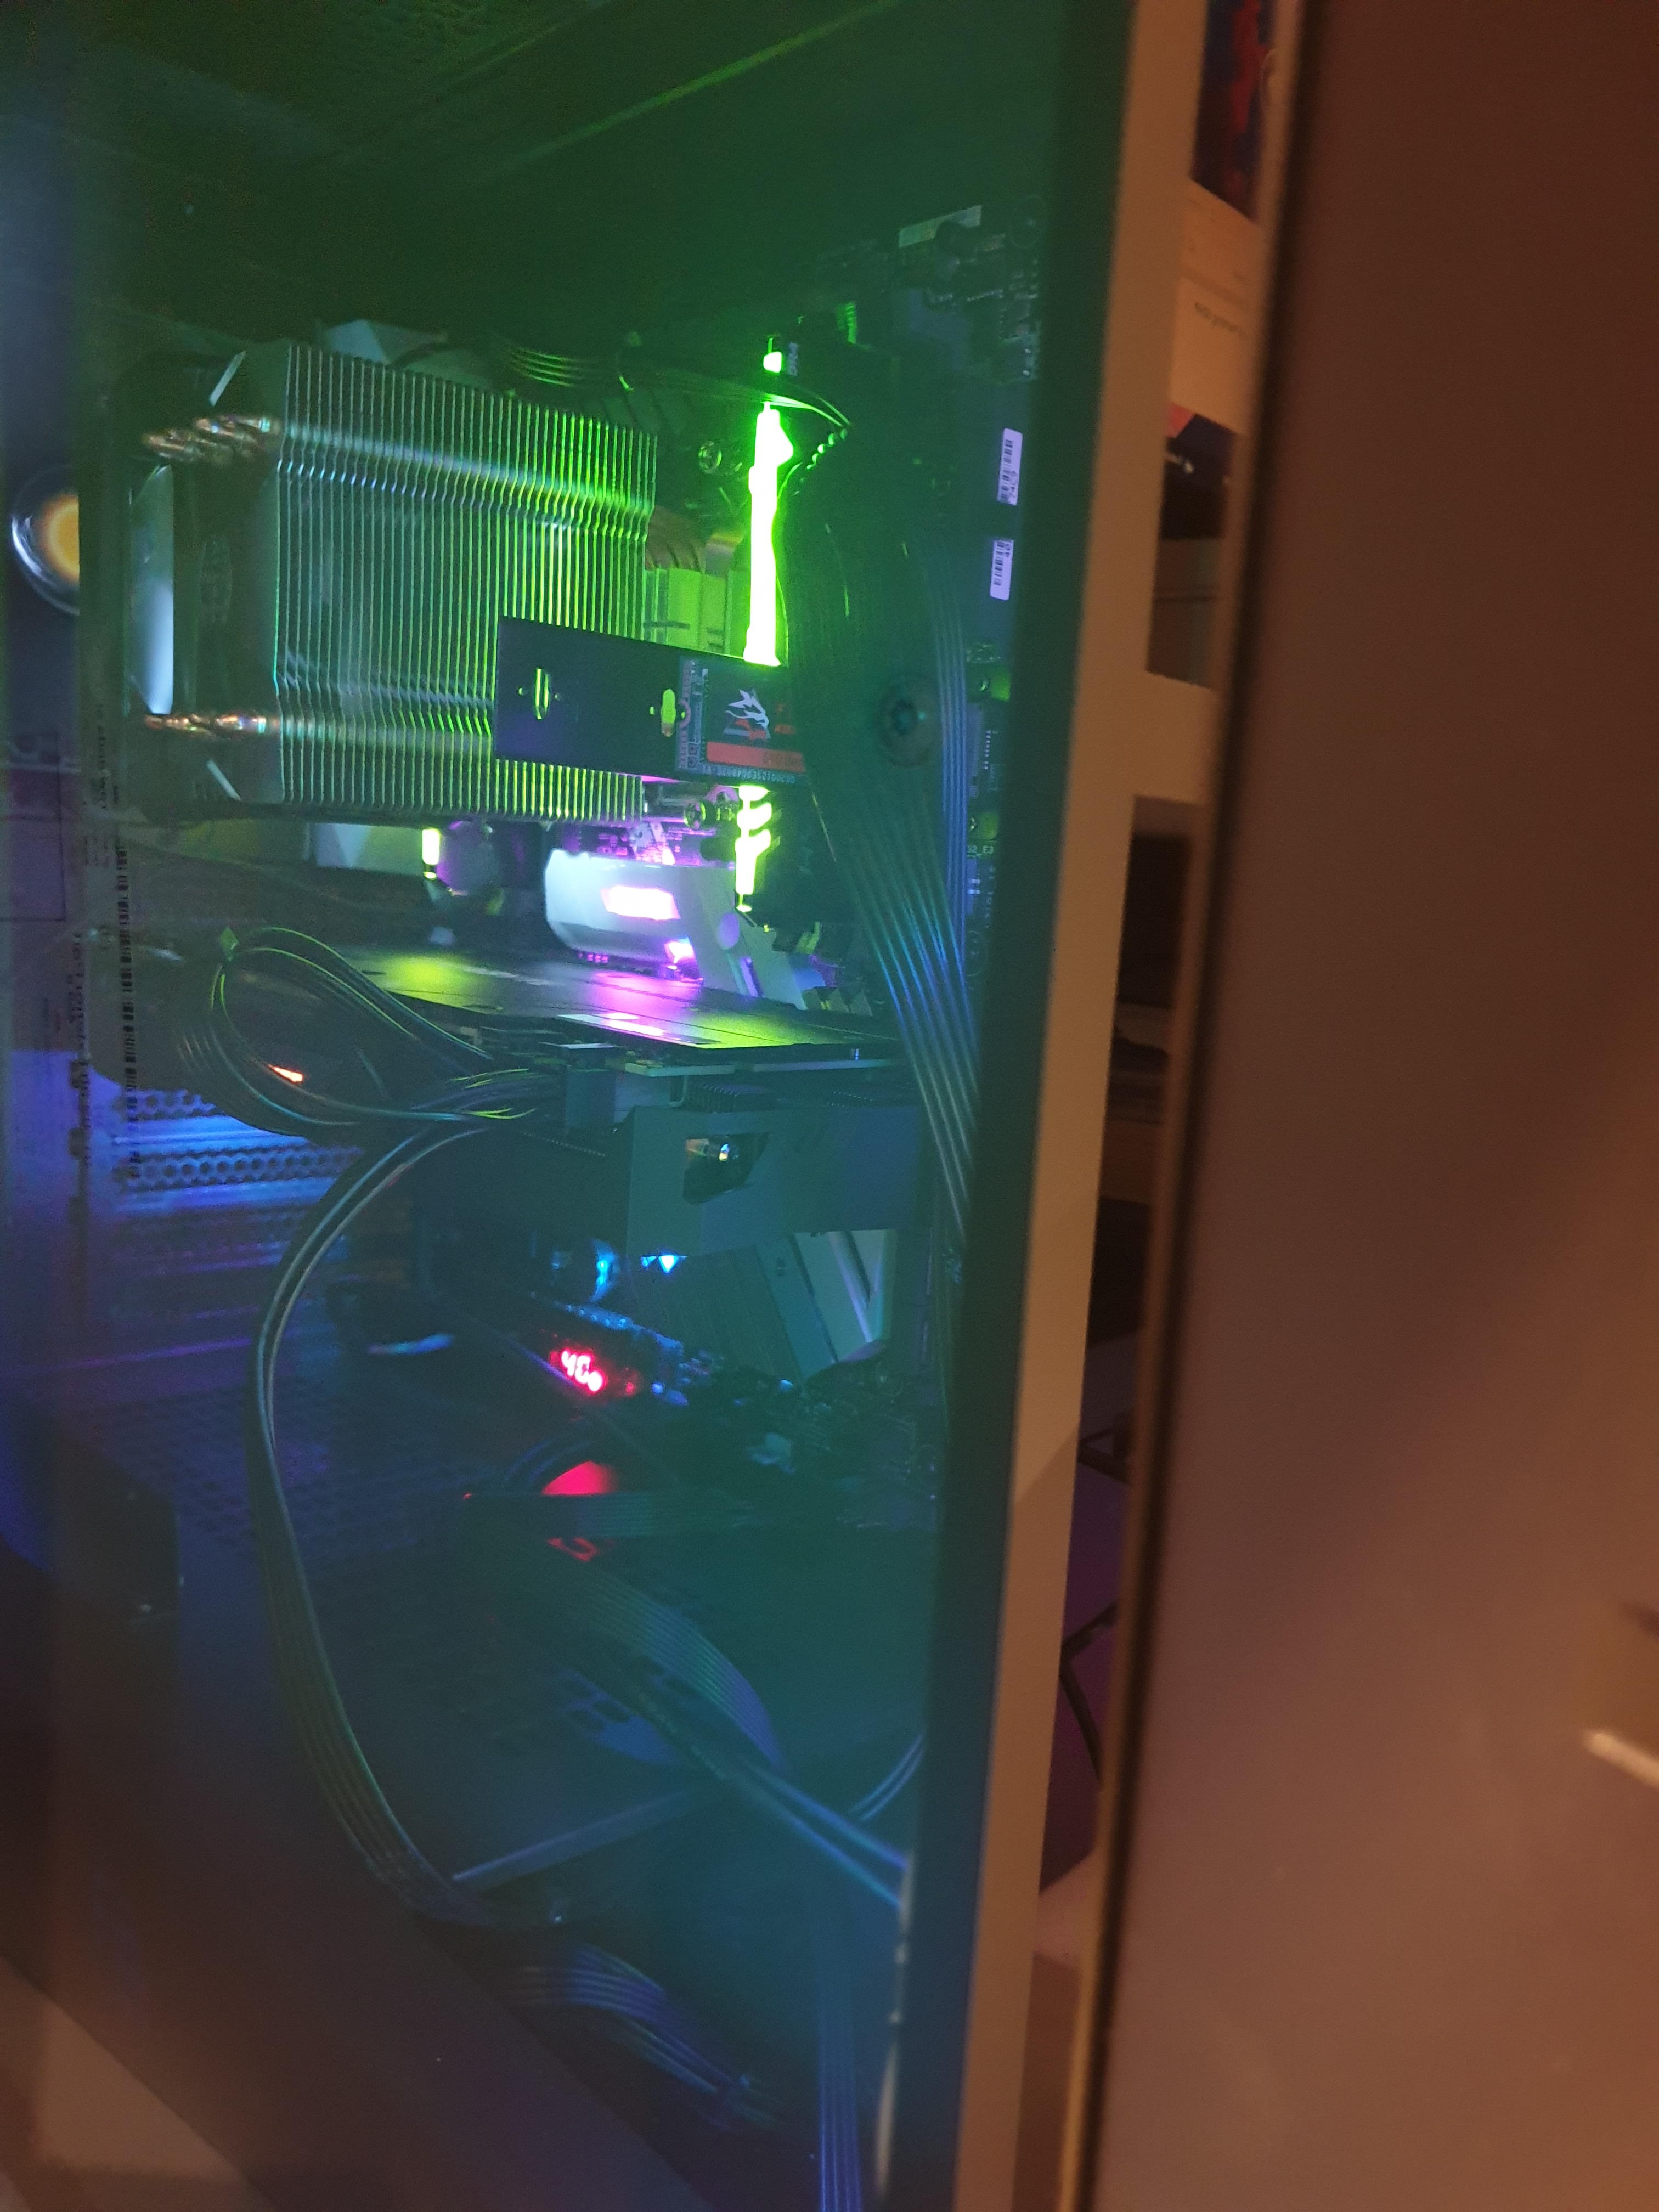
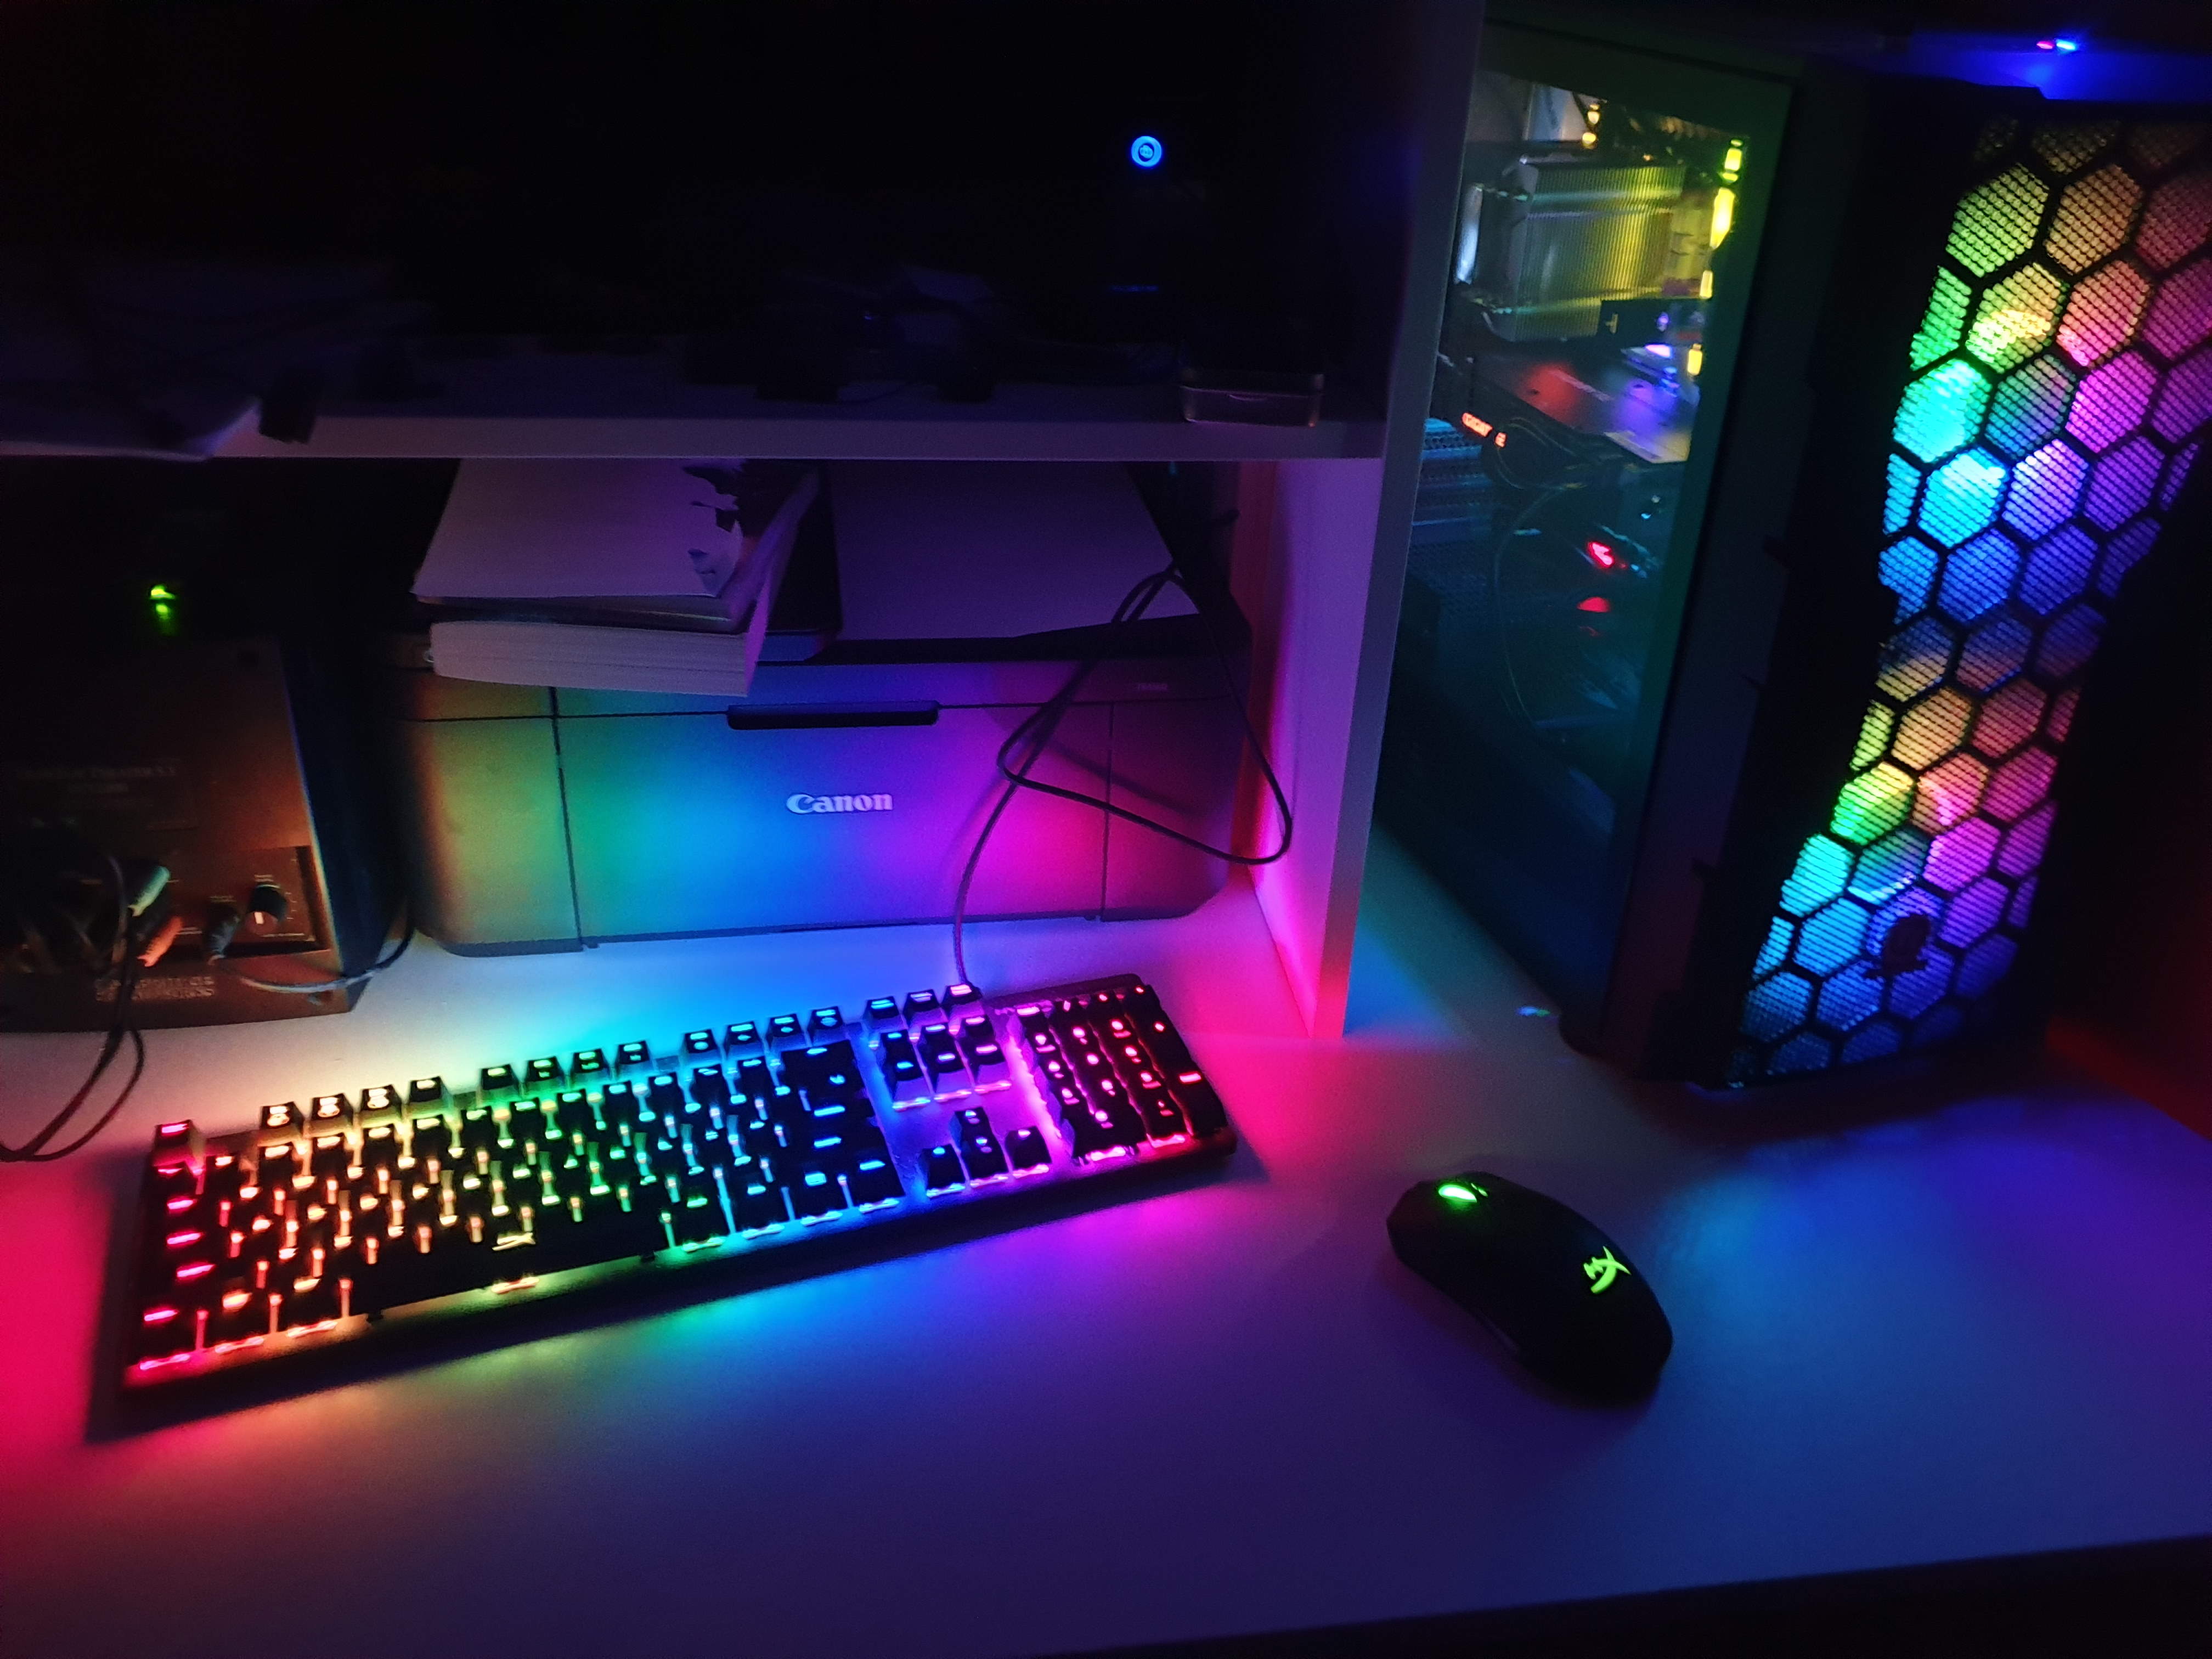
I kept the tempered glass panel off for a while after finally getting things connected simply because when I originally had most of these components together, it was in my older case (also a Thermaltake but I forget the model number/name) and the GPU seemed to be getting quite hot. This new case has two massive fans at the front, drawing in nice cool air and blowing it through and out via an extractor fan at the back. With this set up the GPU was running at least ten degrees cooler when idle. I originally thought the trend towards RGB everything was a little over the top… but now that I am surrounded by all these beautiful lights, I wouldn’t want to go back. I have even grown quite accustomed to the clack of the mechanical keyboard that I was a little iffy with originally.
Oh there are a couple of other things I should note. If you are setting up the RGB controller for the hyperX Pulsefire Dart, it might be worth connecting it via the cable. When I first tried to activate the colour control settings it informed me I needed an update, which was fine, but then it stopped part way and seemed to not want to go any further, I think what happened is the mouse went into a sleep mode and effectively was dead to the computer, plugging it in fixed that.
Also, if you have a VR headset, just check that you will still have sufficient connections for it when you upgrade to a new card, I ended up having to get a display port to mini display port cable, fortunately it didn’t cost much and it’s about 3m so it might actually be more useful than the old HDMI connection I was using with the VIVE. It is worth it though as response times seem much better, the is no noticeable lag when looking around… visuals are fluid throughout. I was always happy with my original setup for VR, but the difference here, while somewhat subtle, makes a big difference.
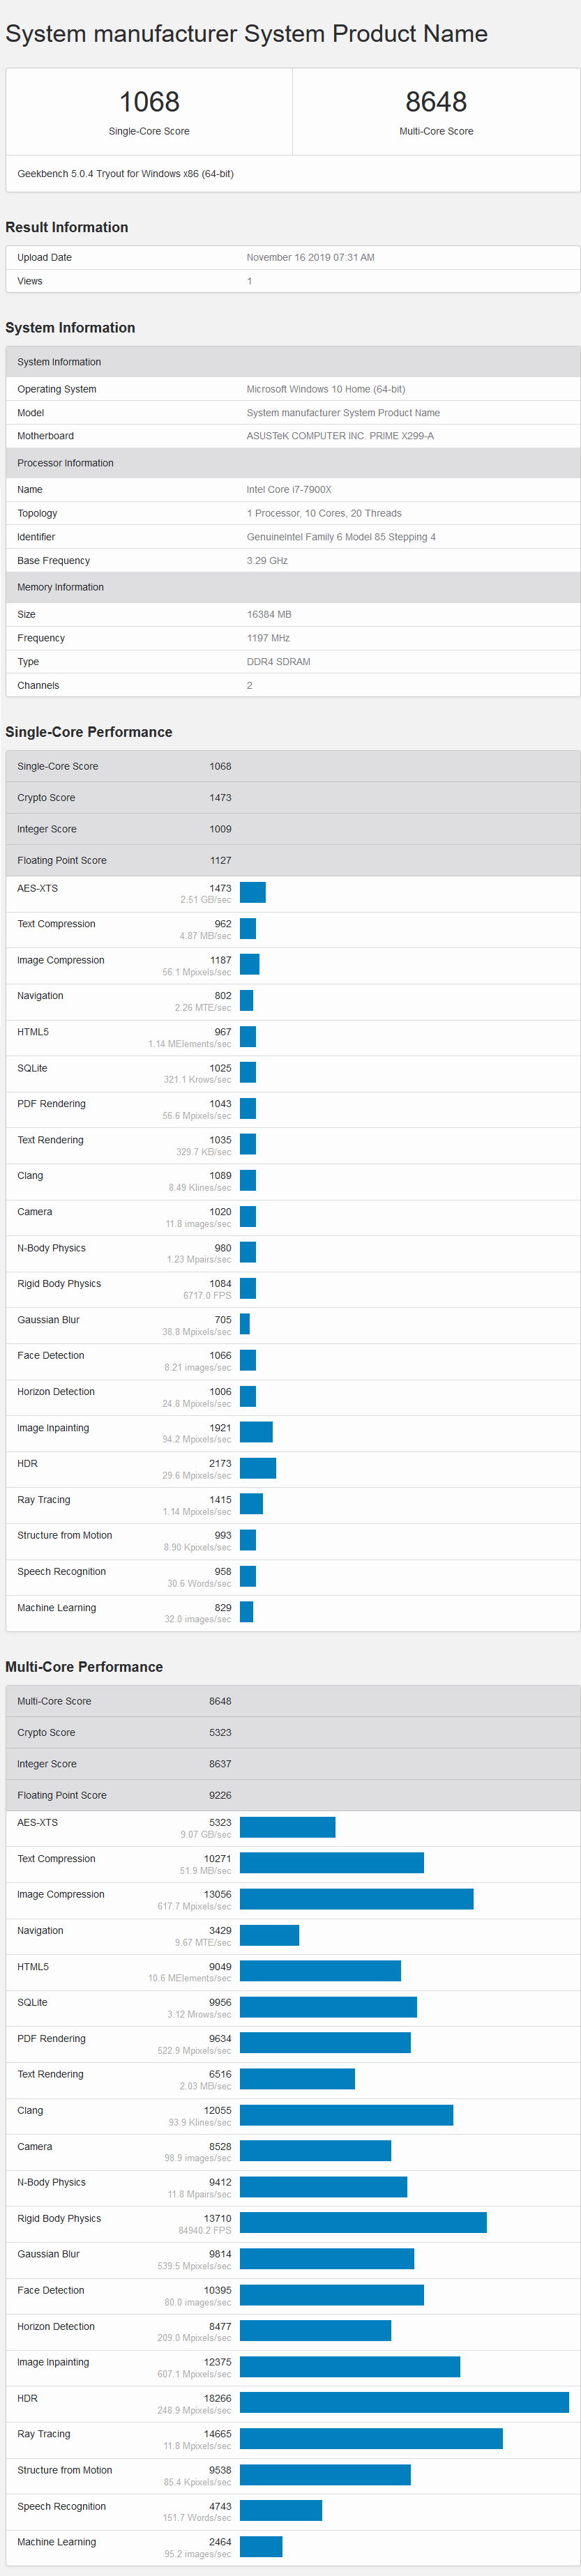
For those wanting some graphs and stats, the following are provided for your perusal.
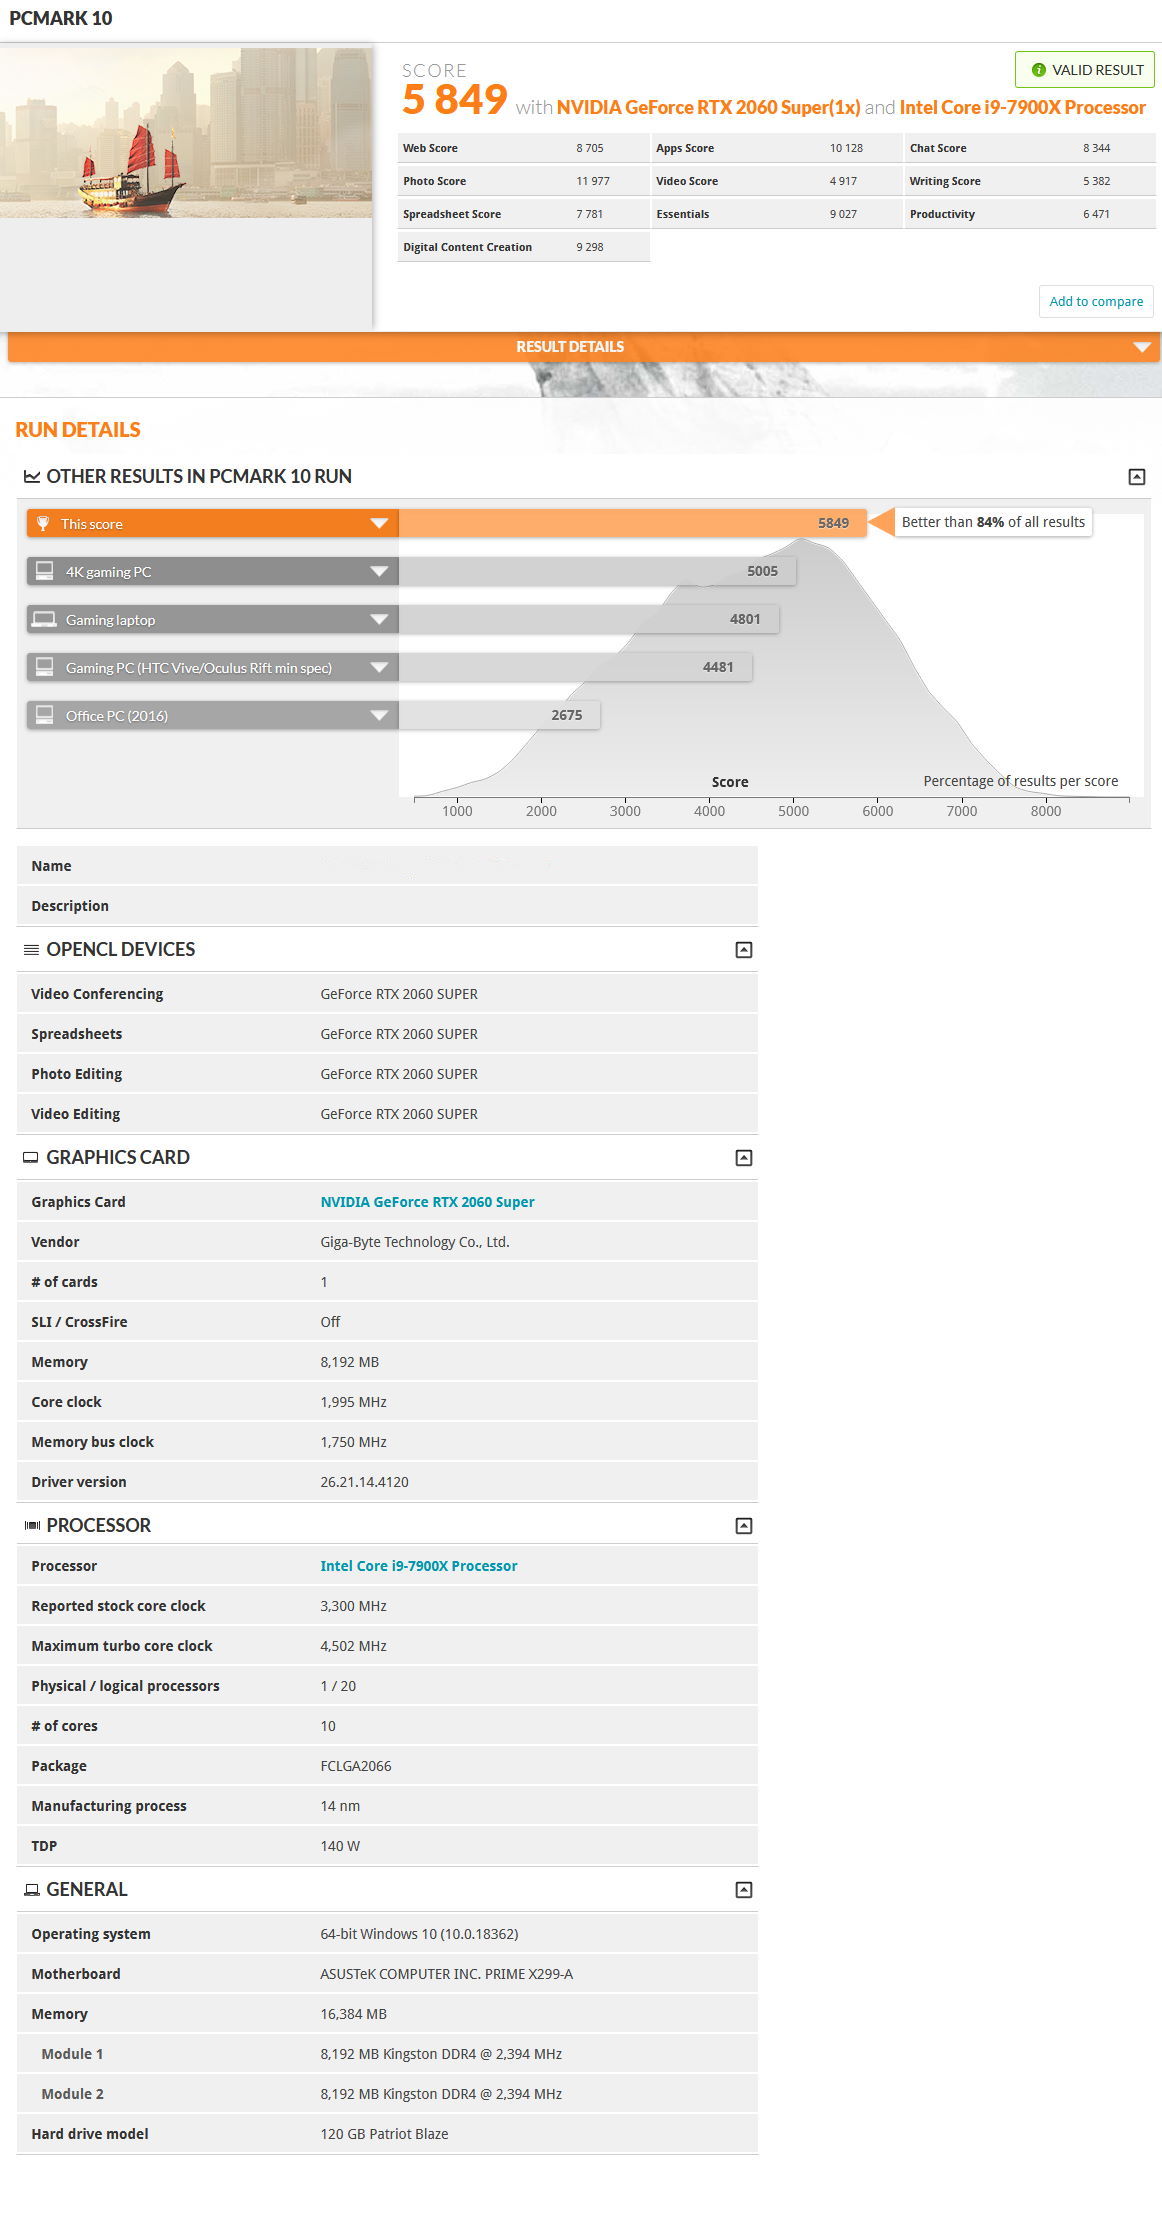

Ultimately, I’m very happy with my new system! I’m even pretty confident that I’ve got the cooling/heating issue with the GPU under control and I am (impatiently) waiting for Minecraft RTX to be released to really see what this GPU can do.
So a huge thanks again to Intel for supplying the chip that arguably got this started and now I’m off to stare at the pretty lights some more while I take my gaming to a supreme level!
About the Author
Chris O'Connor Father of four, husband of one and all round oddity. Gaming at home since about 1982 with a Sinclair ZX Spectrum. Moving on to the more traditional PC genre in the years that followed with the classic Jump Joe and Alley Cat. CGA, EGA, VGA and beyond PC's have been central to my gaming but I've also enjoyed consoles and hand helds along the way (who remembers the Atari Lynx?). Would have been actor/film maker, jack of many trades master of none.
Related Posts

MOZA Takes Flight at FSExpo 2026 →

Thrustmaster – FlightSimExpo 2026 Annoucement →

World Premiere: Official Ferrari x 24H LE MANS Simracing wheel →