
D-Link Smart DIY Security kit – Hardware Review
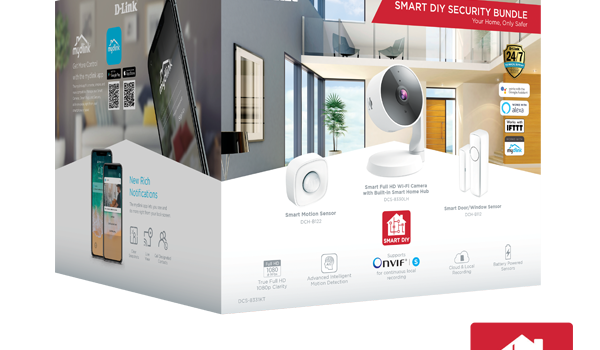
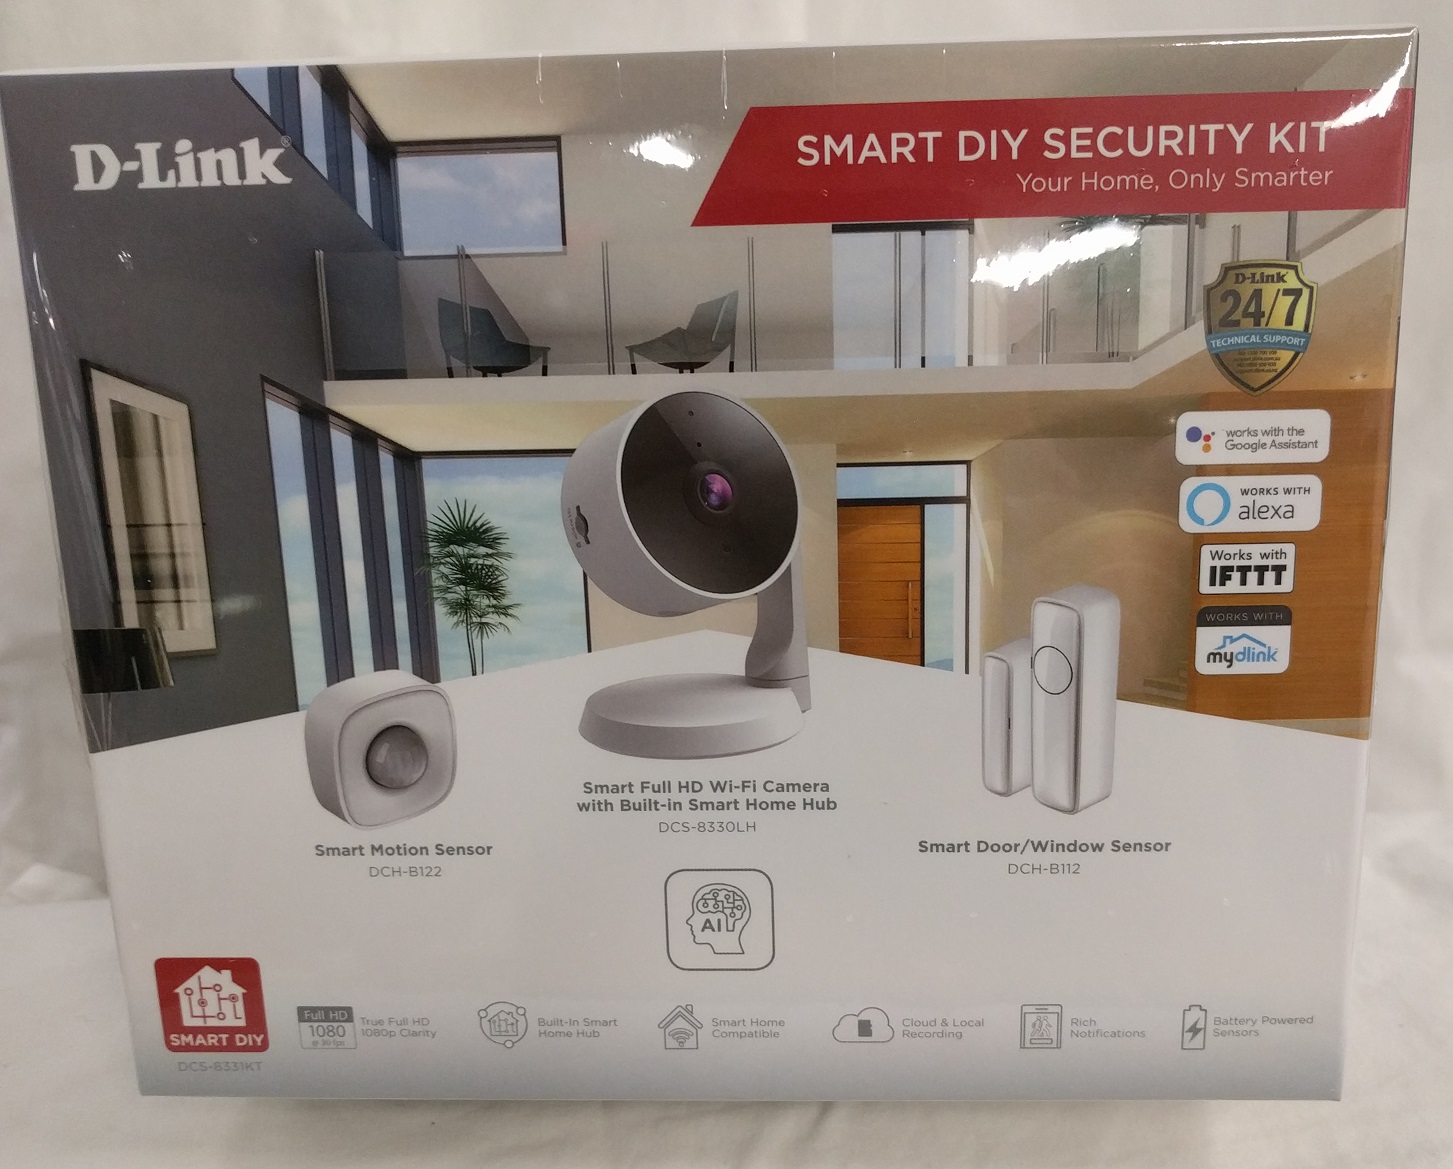
The D-Link Smart DIY Security kit is marketed as “Your Smart Home Security solution” and comprises of a bundle of three D-Link products that can each be purchased separately. They are:
- The DCS-8330LH “Smart Full HD Wi-Fi Camera”
- The DCH-B122 “Smart Motion Sensor”
- The DCH-B112 “Smart Door/Window Sensor”
In addition to the physical products, you also require a phone or tablet running Android or iOS and the mydlink app in order to utilise these products in any way.
To get acquainted with the product, take a look at this video:
The key benefits of these products include:
- 1080p 30fps Camera resolution with IR night vision
- Advanced motion/person detection features
- Cloud based recording and ‘event logging’
- Conditional scripting
- WiFi enabled network connectivity
- Expandable, modular devices
- Amazon Alexa and Google Assistant integrations
- Easy setup
This review will be focused on the built-in device and its features, excluding Amazon Alexa and Google Assistant integrations, and will evaluate:
- The hardware quality and design,
- Installation and setup,
- The features implementation and quality,
- Security
- Actual testing / use cases
Unboxing
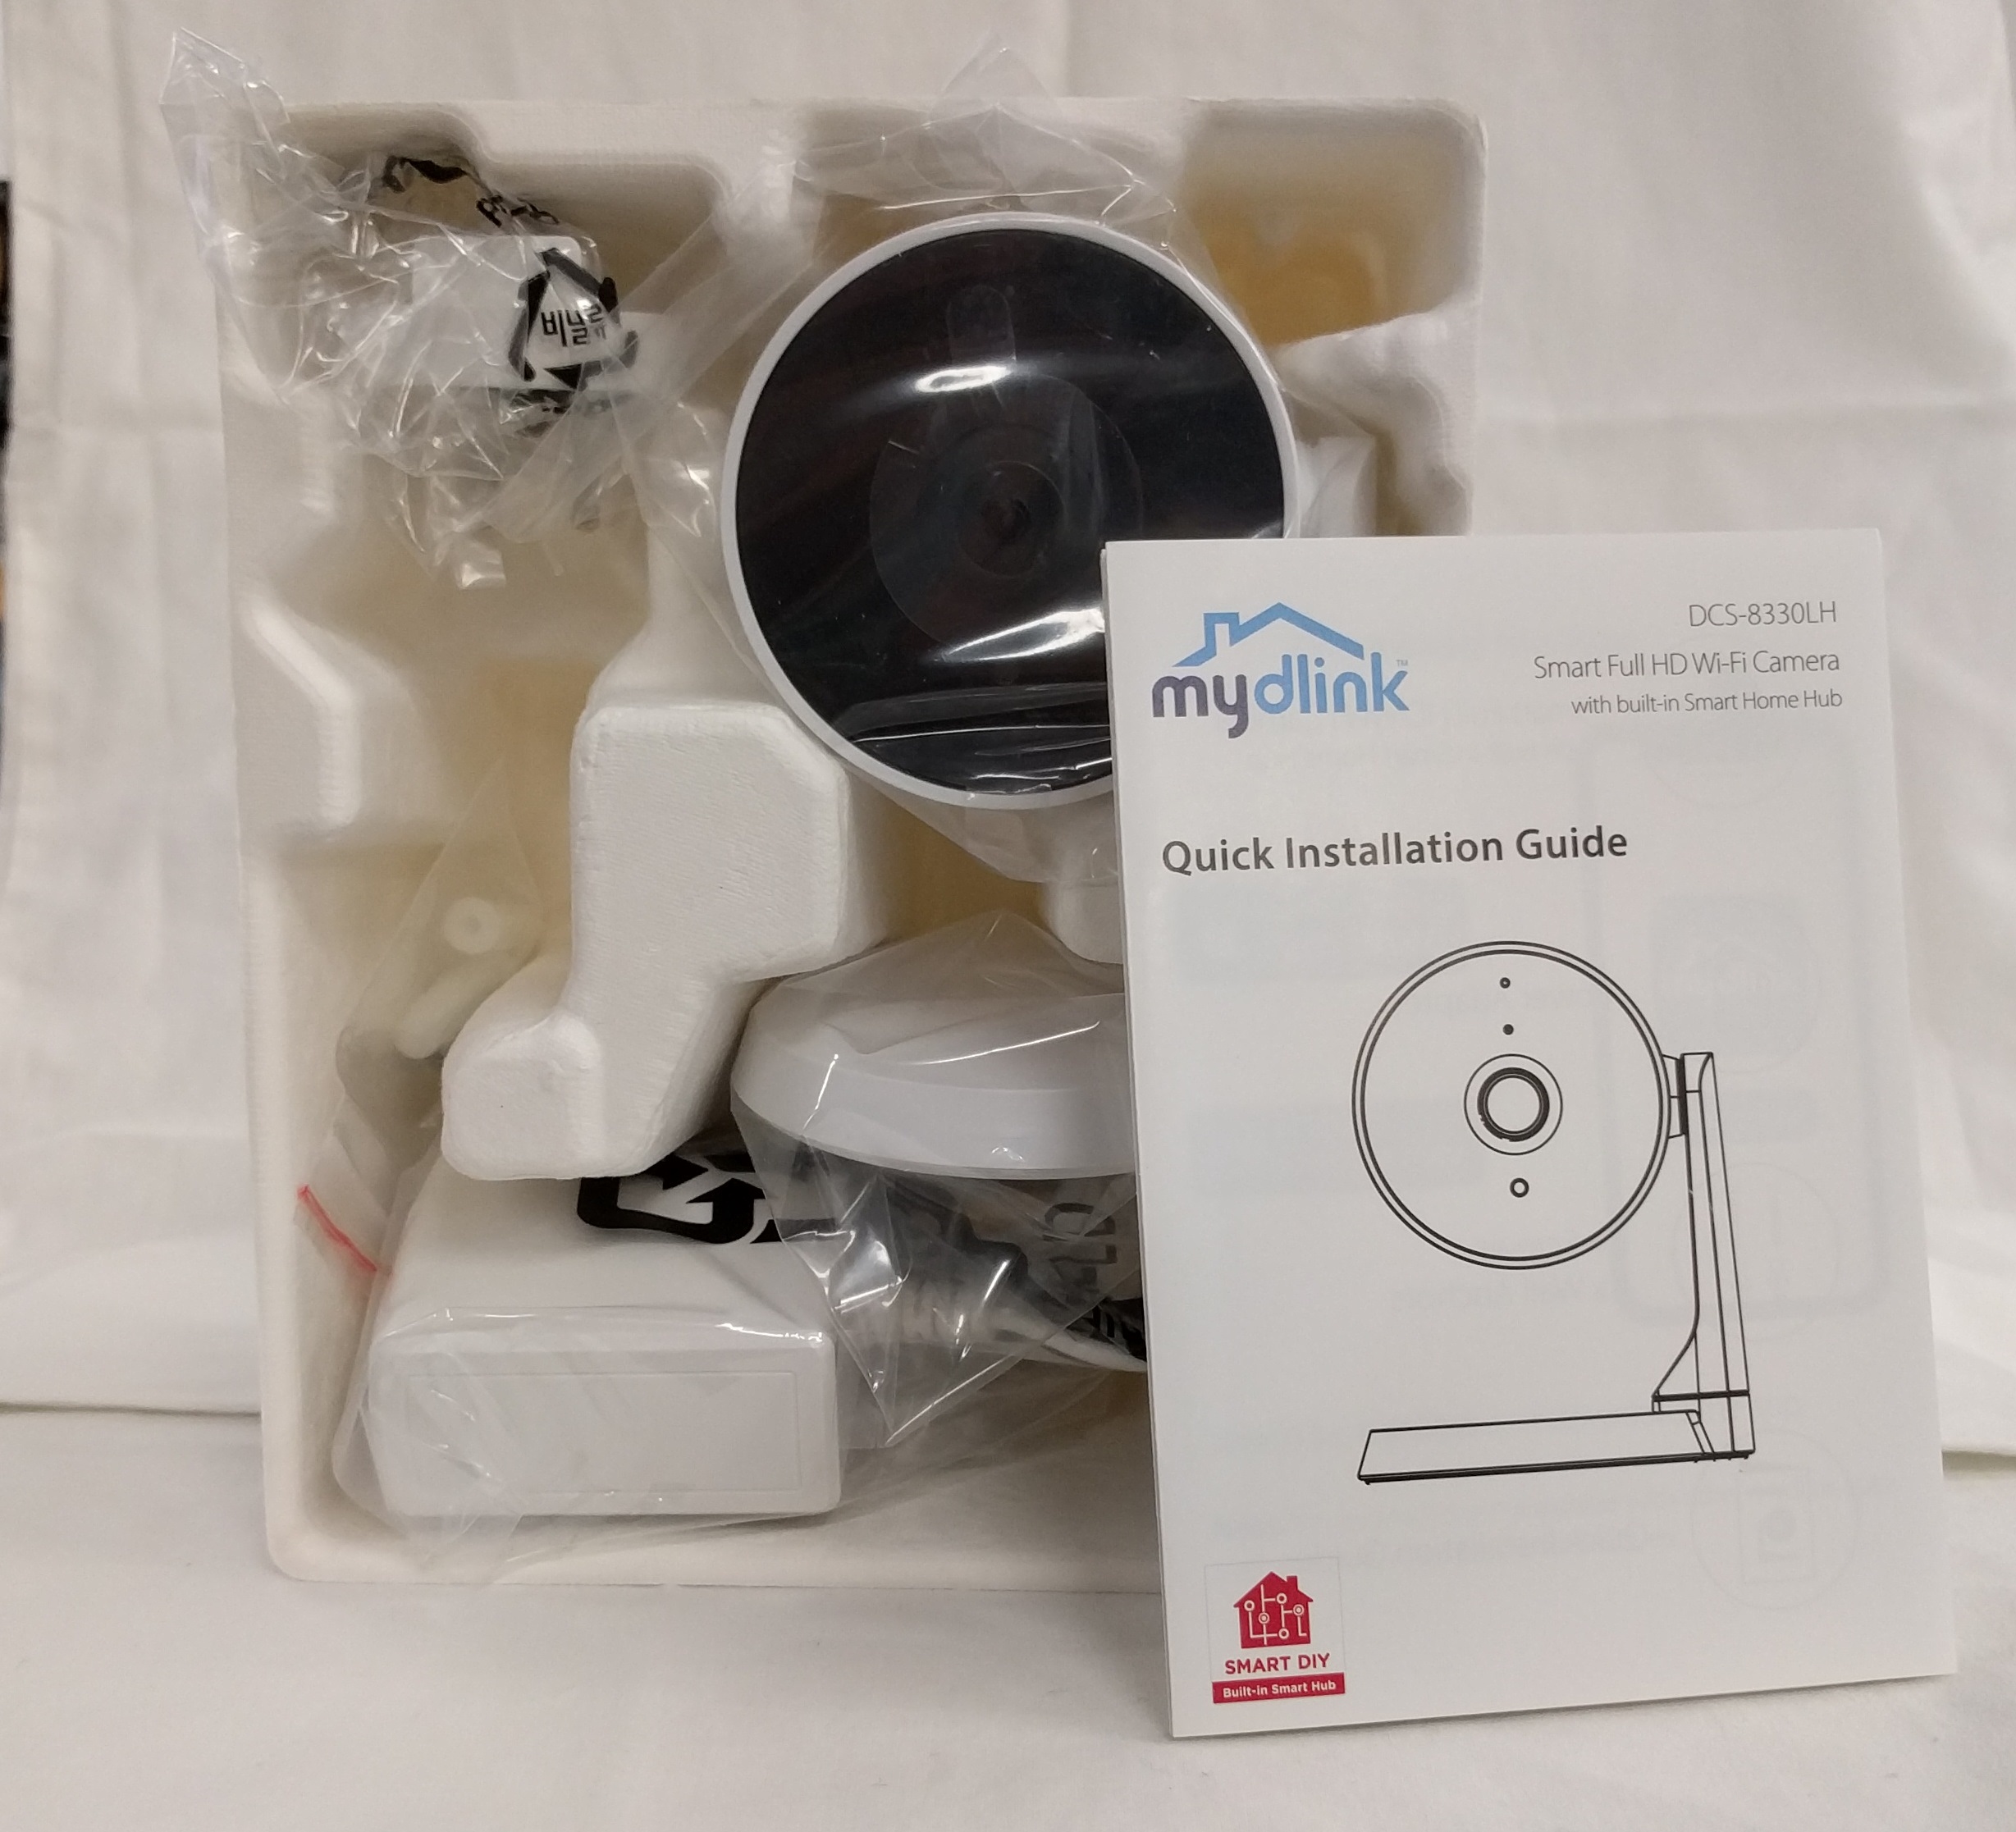
The box is well packed, consisting of three products each in their own separate box. Meaning the kit is the individual products just boxed together.

Each device includes all appropriate accessories, including quick start guide in English. It is well written, graphically annotated and should be easy to follow for most people.
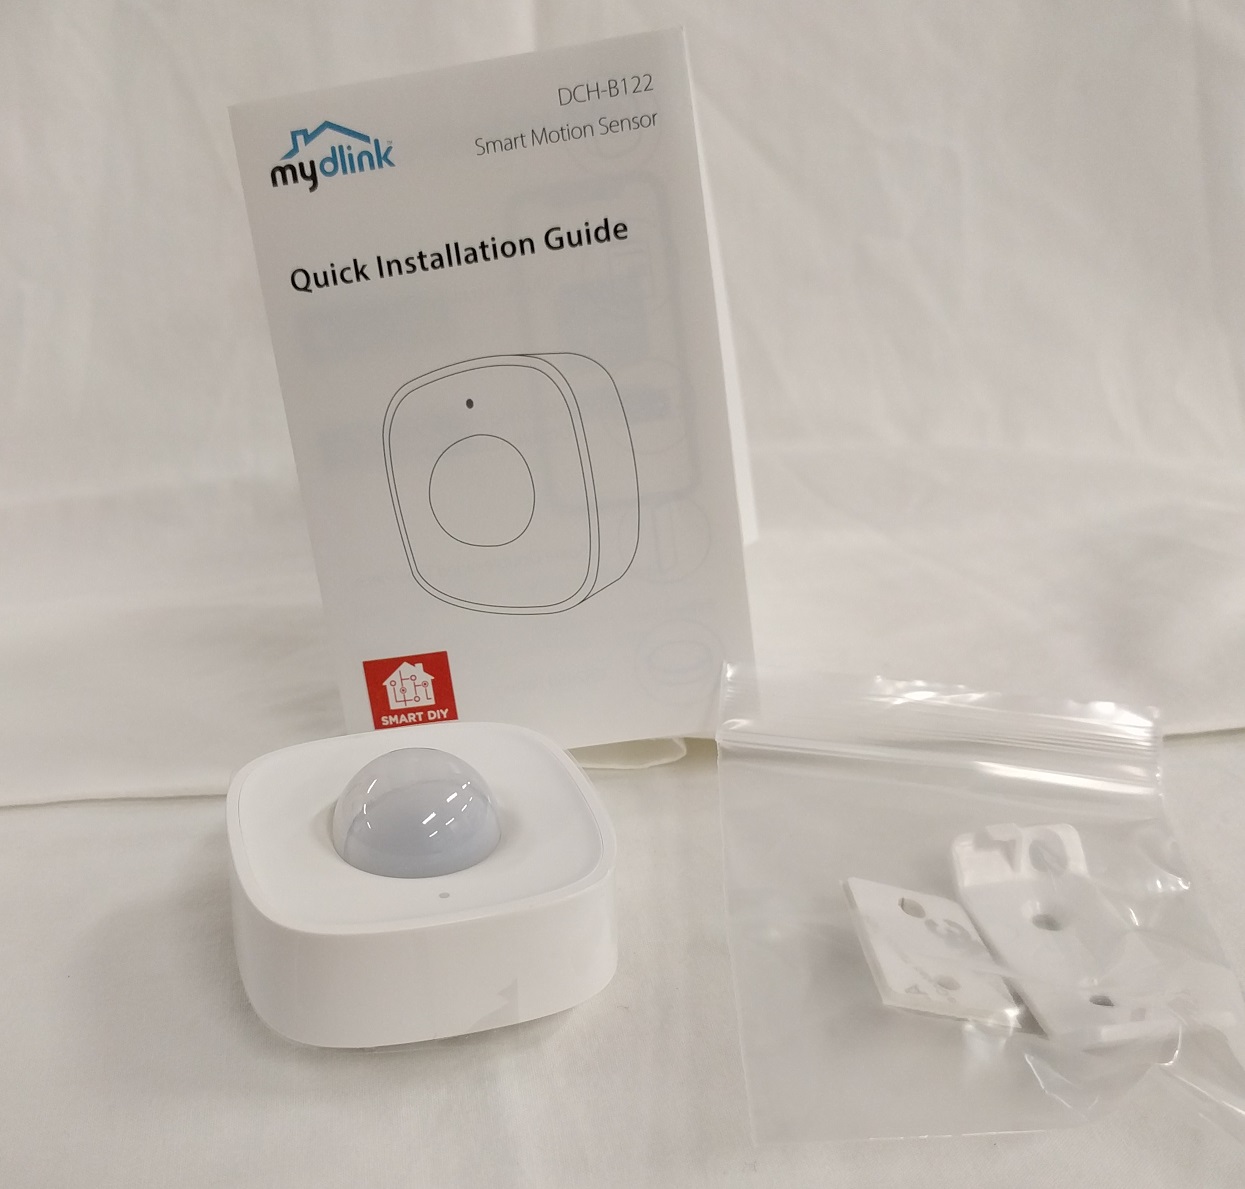
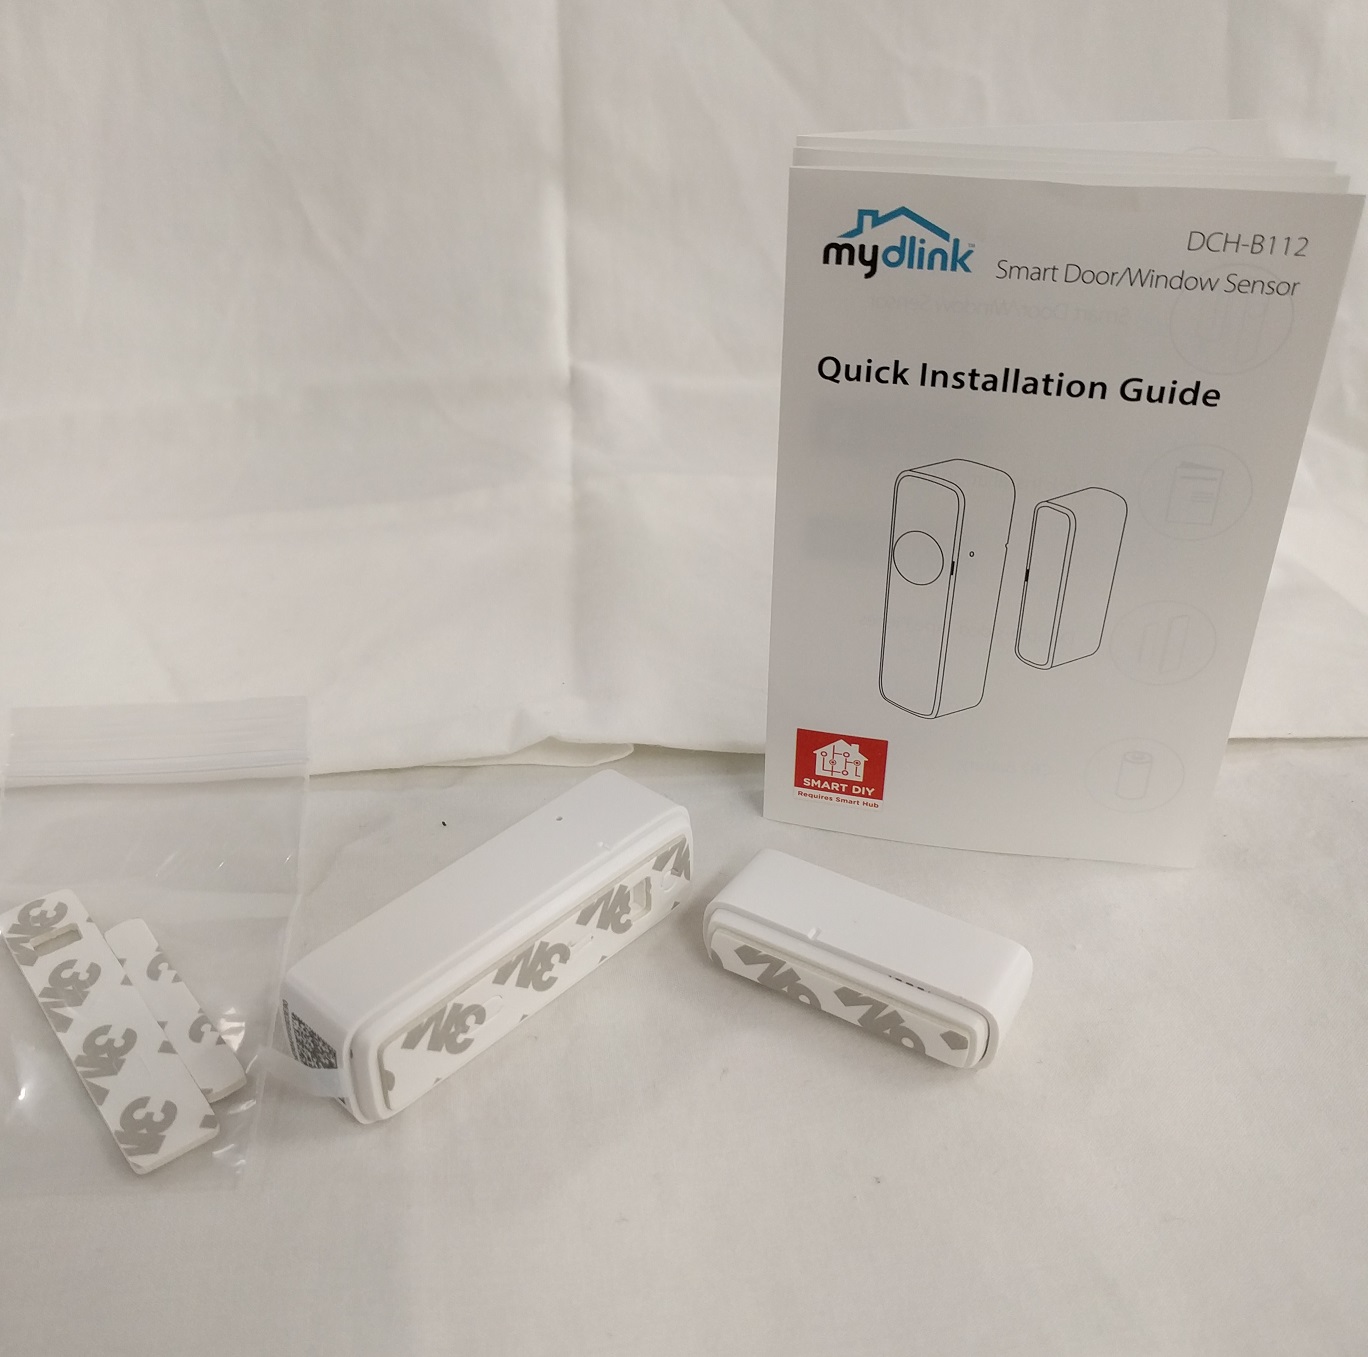
The motion sensor and door sensor include built-in batteries that are activated by pulling a tab. There is also a mounting bracket for the motion sensor and 3M adhesive strips for the door sensor already attached. The camera also includes mounting screws and a power supply which has a generous cable length (approx. 3m) as well as mounting screws; which is all a really nice touch.
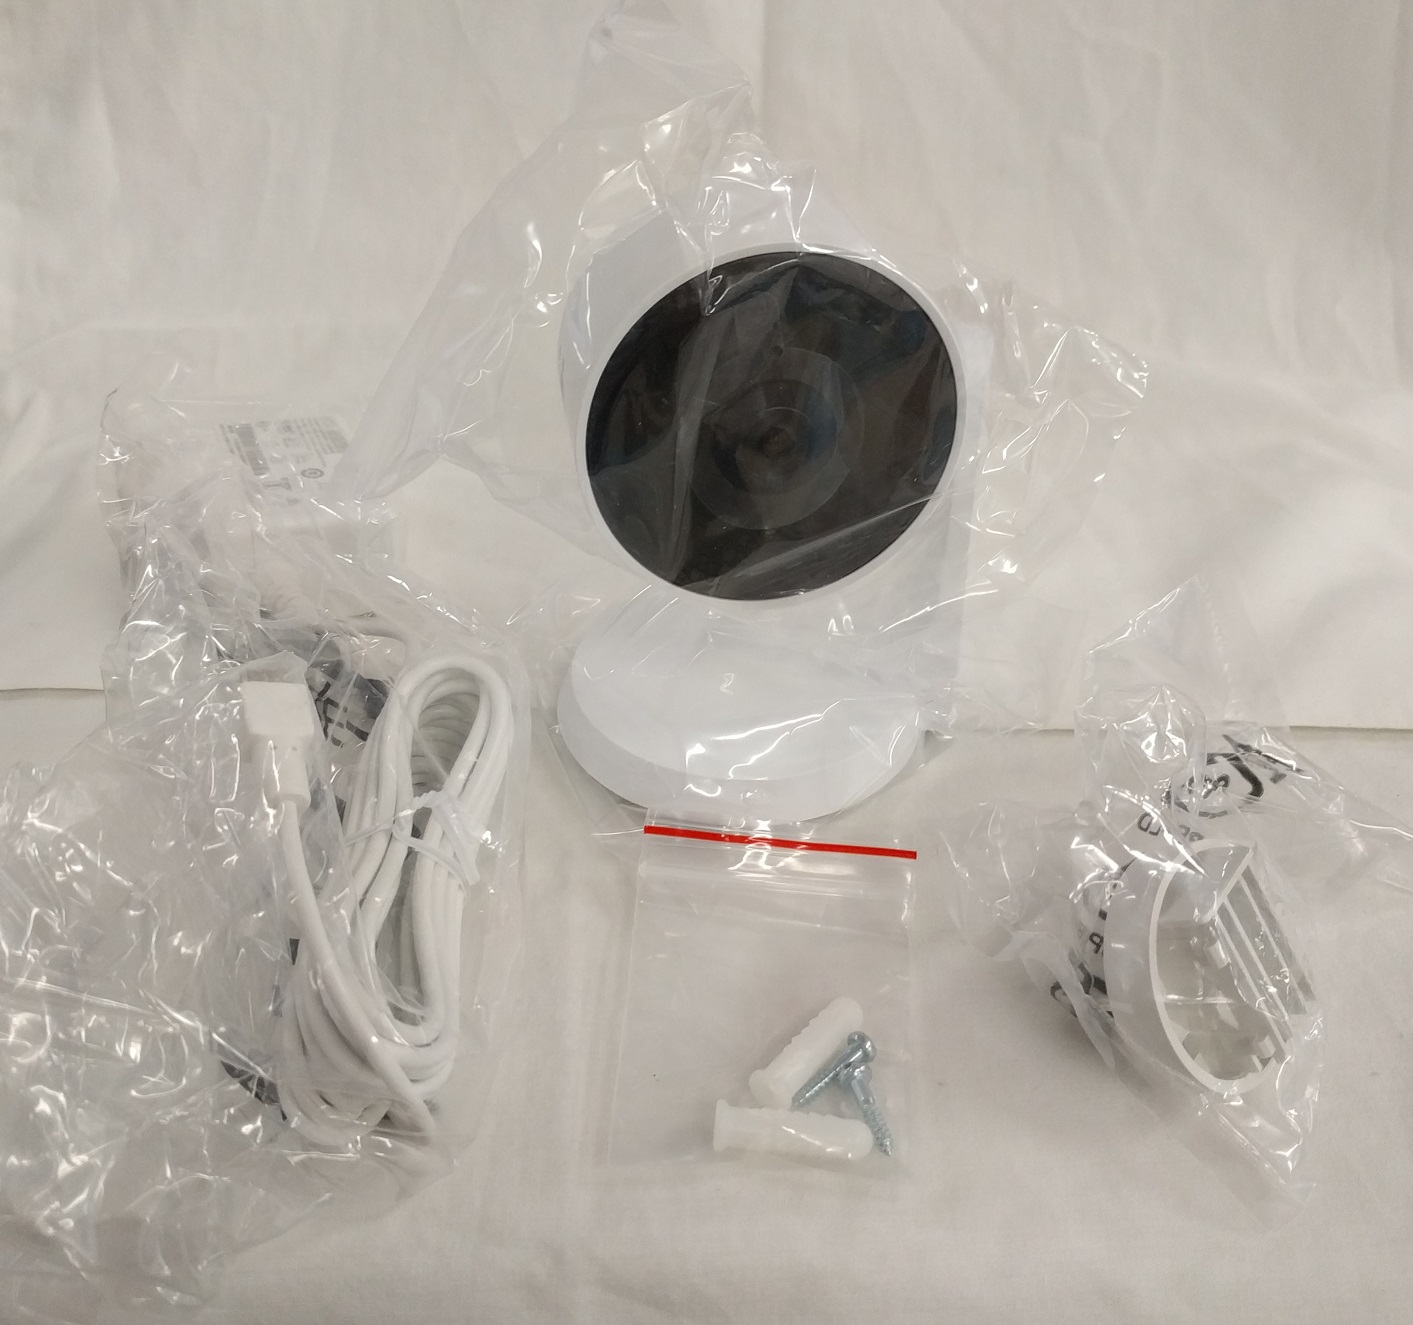
Worth noting is the power for the camera is connected via the base, which means it cannot be disconnected. The camera can be mounted inverted and rotated on its vertical axis around 300 degrees, whilst the stand can be rotated on the horizontal access around 60 degrees. This means that if you do mount it somewhere, it would have a fair degree of adjustability, but ideally, mounting against a wall in such a way that would allow its position to be corrected whilst maximising the range of the desired camera angle would be best.
The power cable is designed with a flat plug that sits flush on its base, perhaps possibly ‘too flush’ as mounting it to a roof may make it a little snug if needing to unplug it. There were no problems found with this though. This ultimately is neat and tidy and would allow for good cable management.
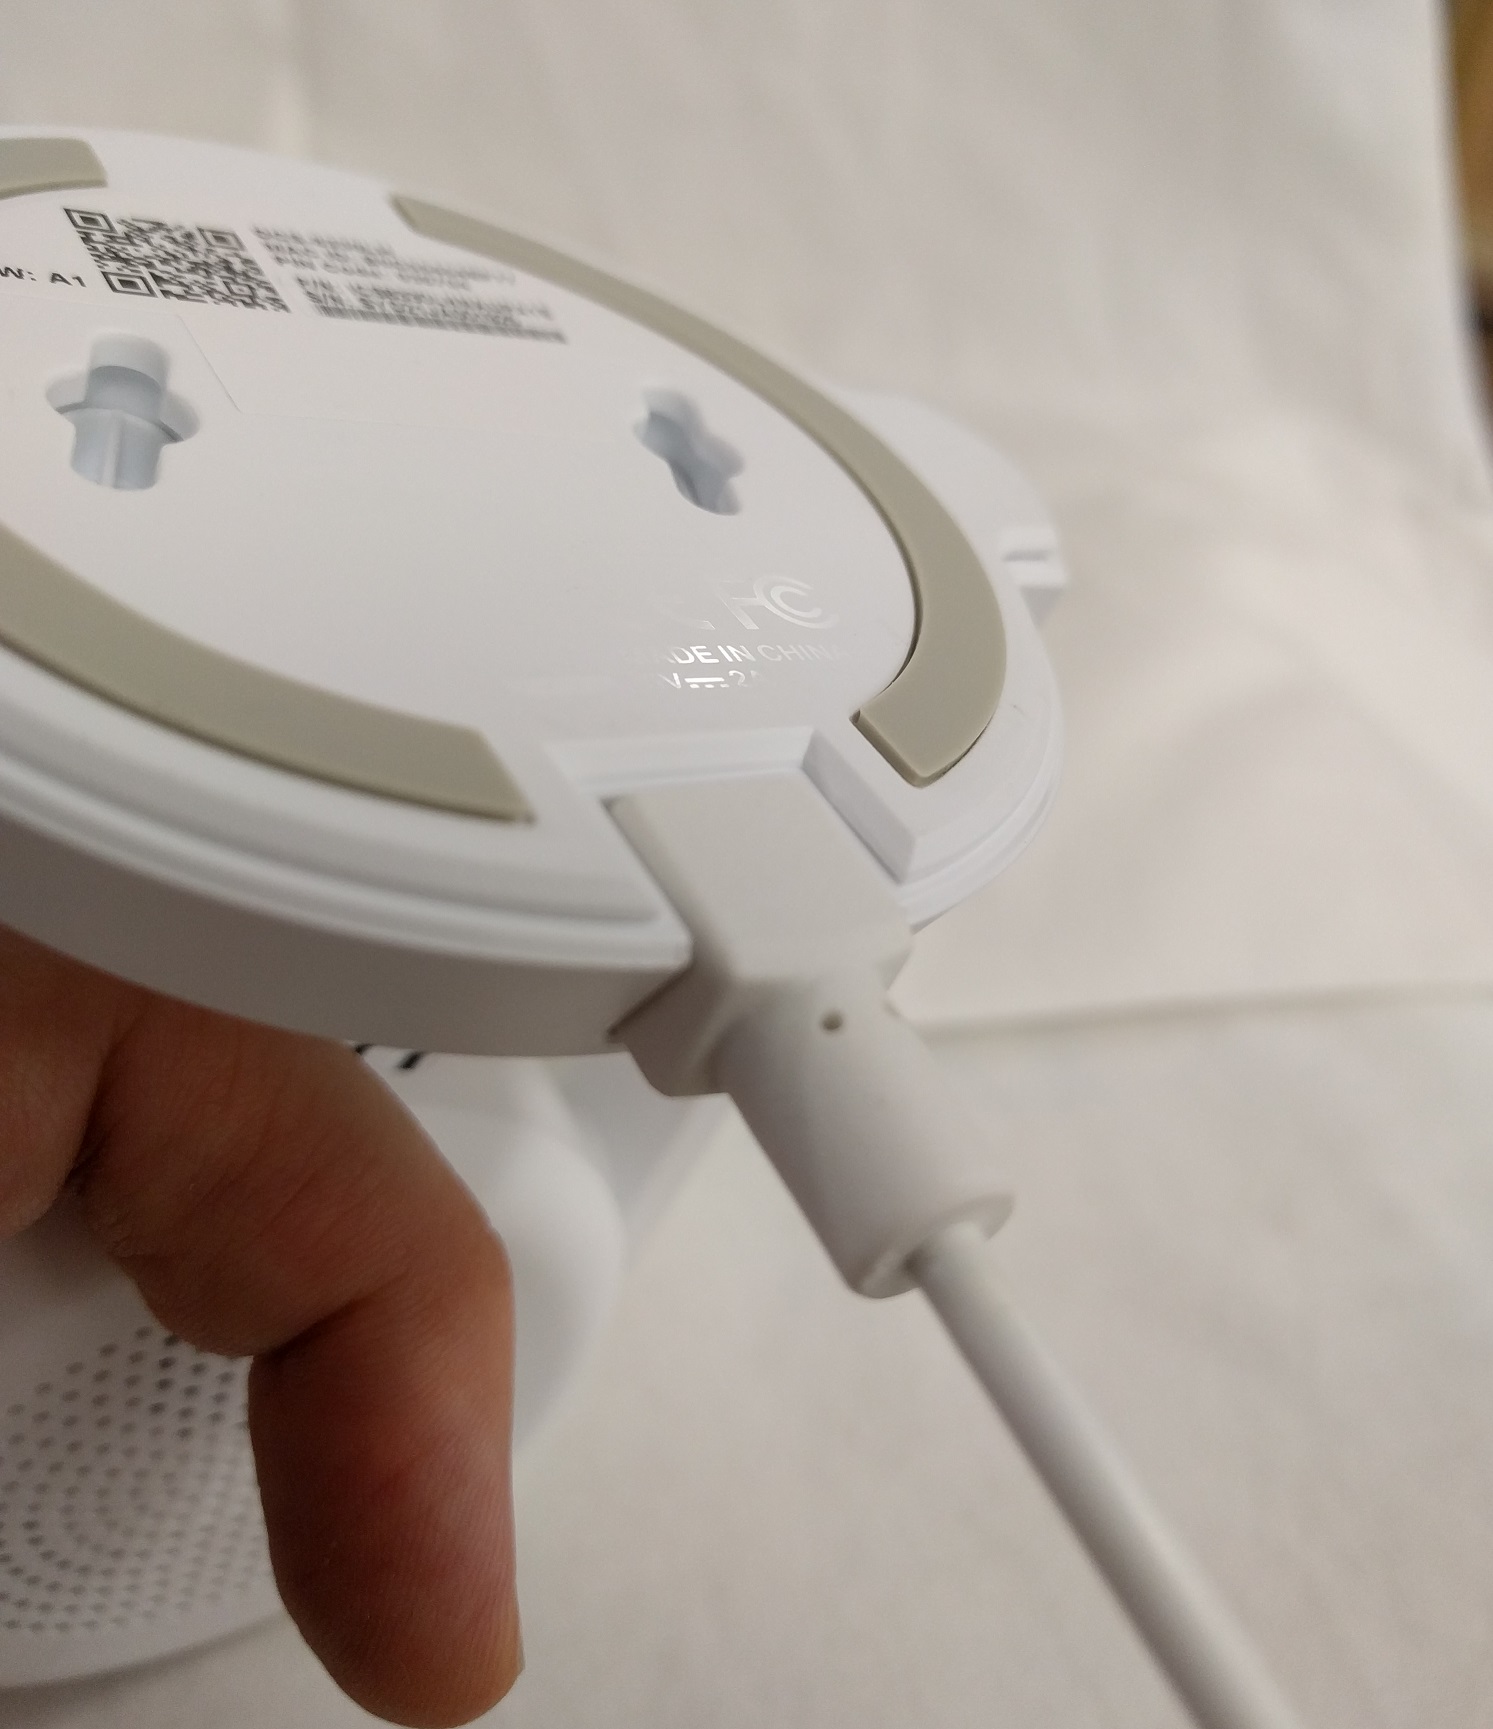
Flush power cable, wont foul the bottom. QR barcode for pairing (top left)
The power requirement may be considered to be a bit hungry, but not too much. 5v @ 2A is required, which is fair when considering the camera’s role in the kit. One of the best design elements is the power supply, having a nice scalloped area and stand-off ring built into the power supply. It is already rather slim and not likely to annoy its neighbours on a power board, but it actually allows you to get access to the switch on a power board without having to unplug it. You can safely plug it into a wall or power board without having to turn the switch on first. Brilliant innovation and a good precedence set by D-Link here.

Installation and setup
Following the quick-start guide, which is an easily assumed-process, is quite simple; Plugging in the camera, downloading the app and running it, scanning the QR code on the base of the device. The application will step you through the initial setup process and this is pretty simple.
Unfortunately, the first time use required a mandatory firmware update – in that it kept pestering and pestering to update and no amount of deferring kept the prompts at bay. No user, whether experienced or not wants to be given a defer option to an optional update that can’t successfully be deferred, that’s just not fair. To make matters worse, the network connection at the time of the first setup was a very slow dialup-speed testing network, typically used for IoT applications. This was the only network available at the time of unboxing and was useful to answer the initial question “Where will this device get the firmware update from?”
The device will attempt a firmware update via the WiFi network it is connected to, and it will also fail and time out if the speed of that connection is poor. The time out will also not be graceful or forthcoming, which is likely a result of the app not playing so nice. In order to get around the time out messages etc several force closures of the app was required and a reboot of the camera in order for it all to sync up again. Unfortunately, the firmware update did not succeed and after a few minutes of being in the app, going back to the main screen caused firmware update prompts again.
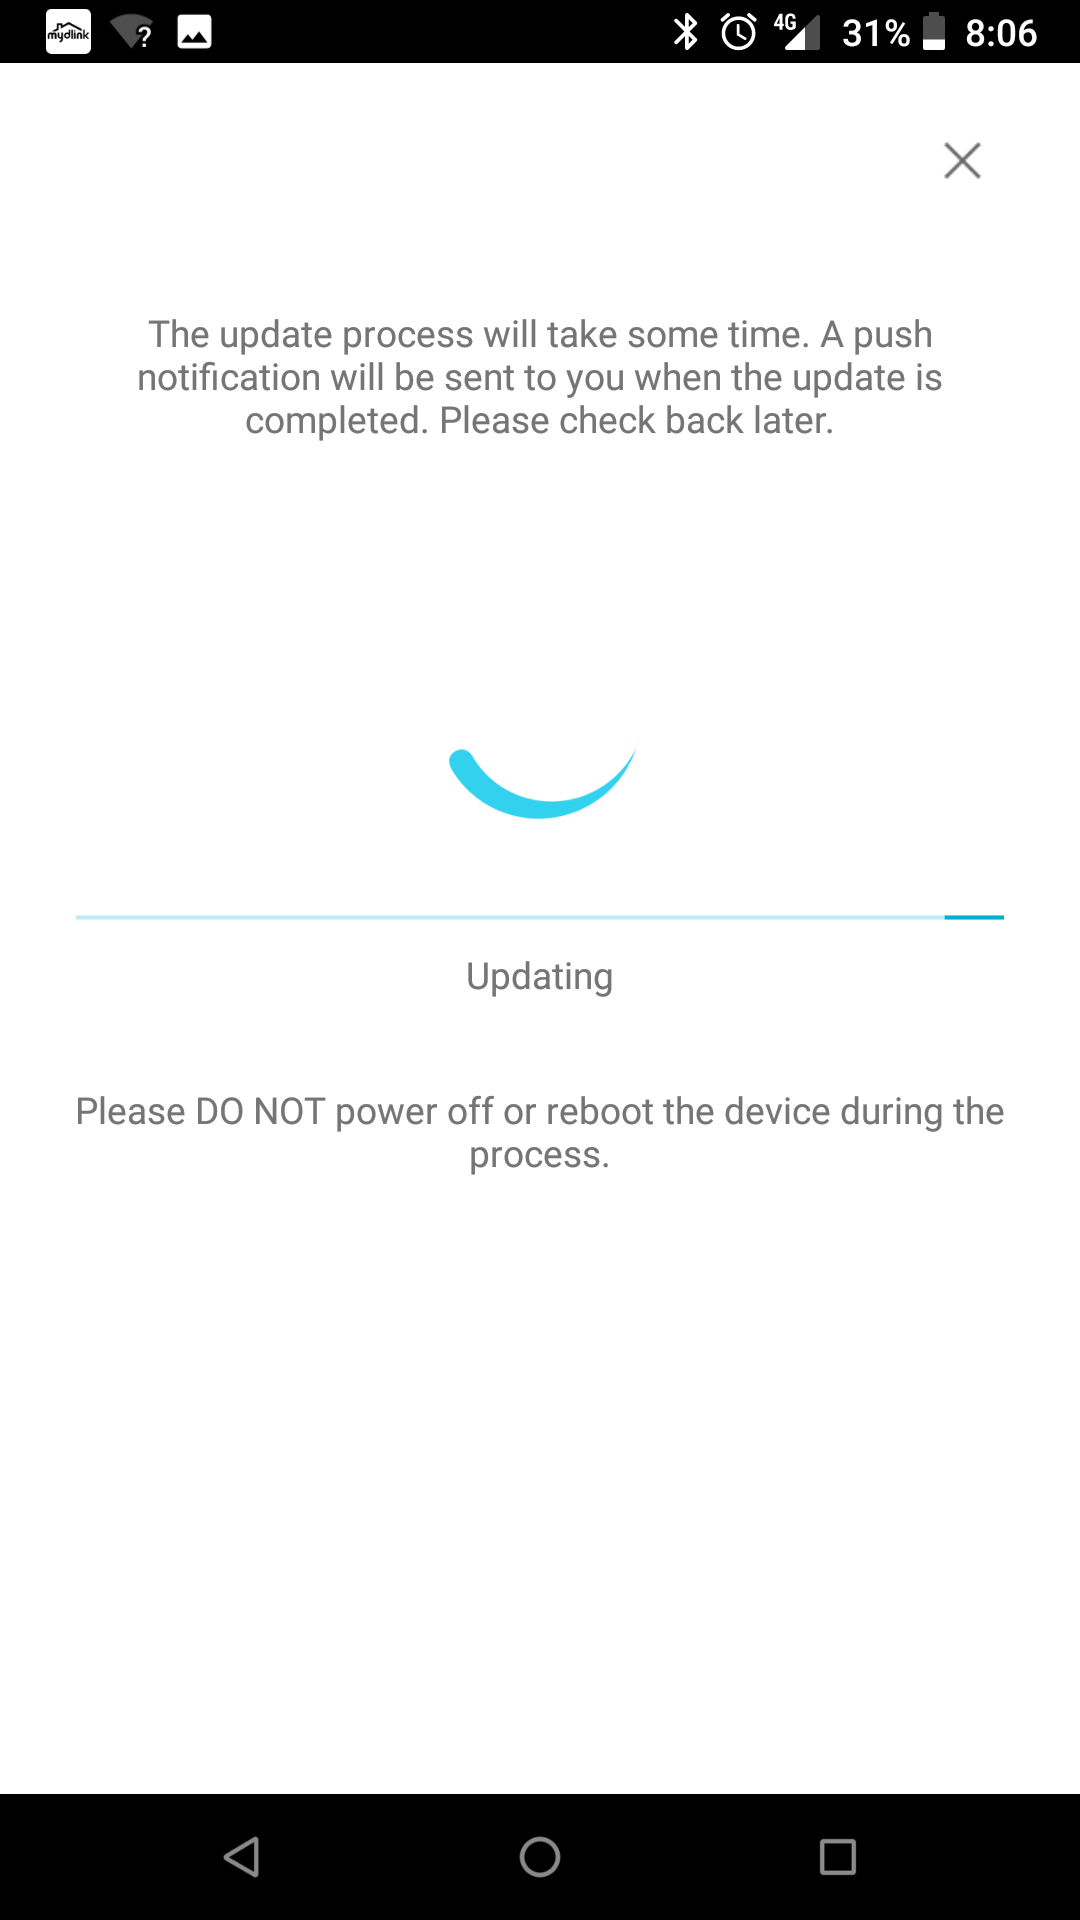
Most people will not experience this behaviour but it can be frustrating if you do. Once on a better connection the firmware update was an easy process, taking only a few minutes with the device rebooting and the application, once restarted detected the device again and no re-configuration was necessary.
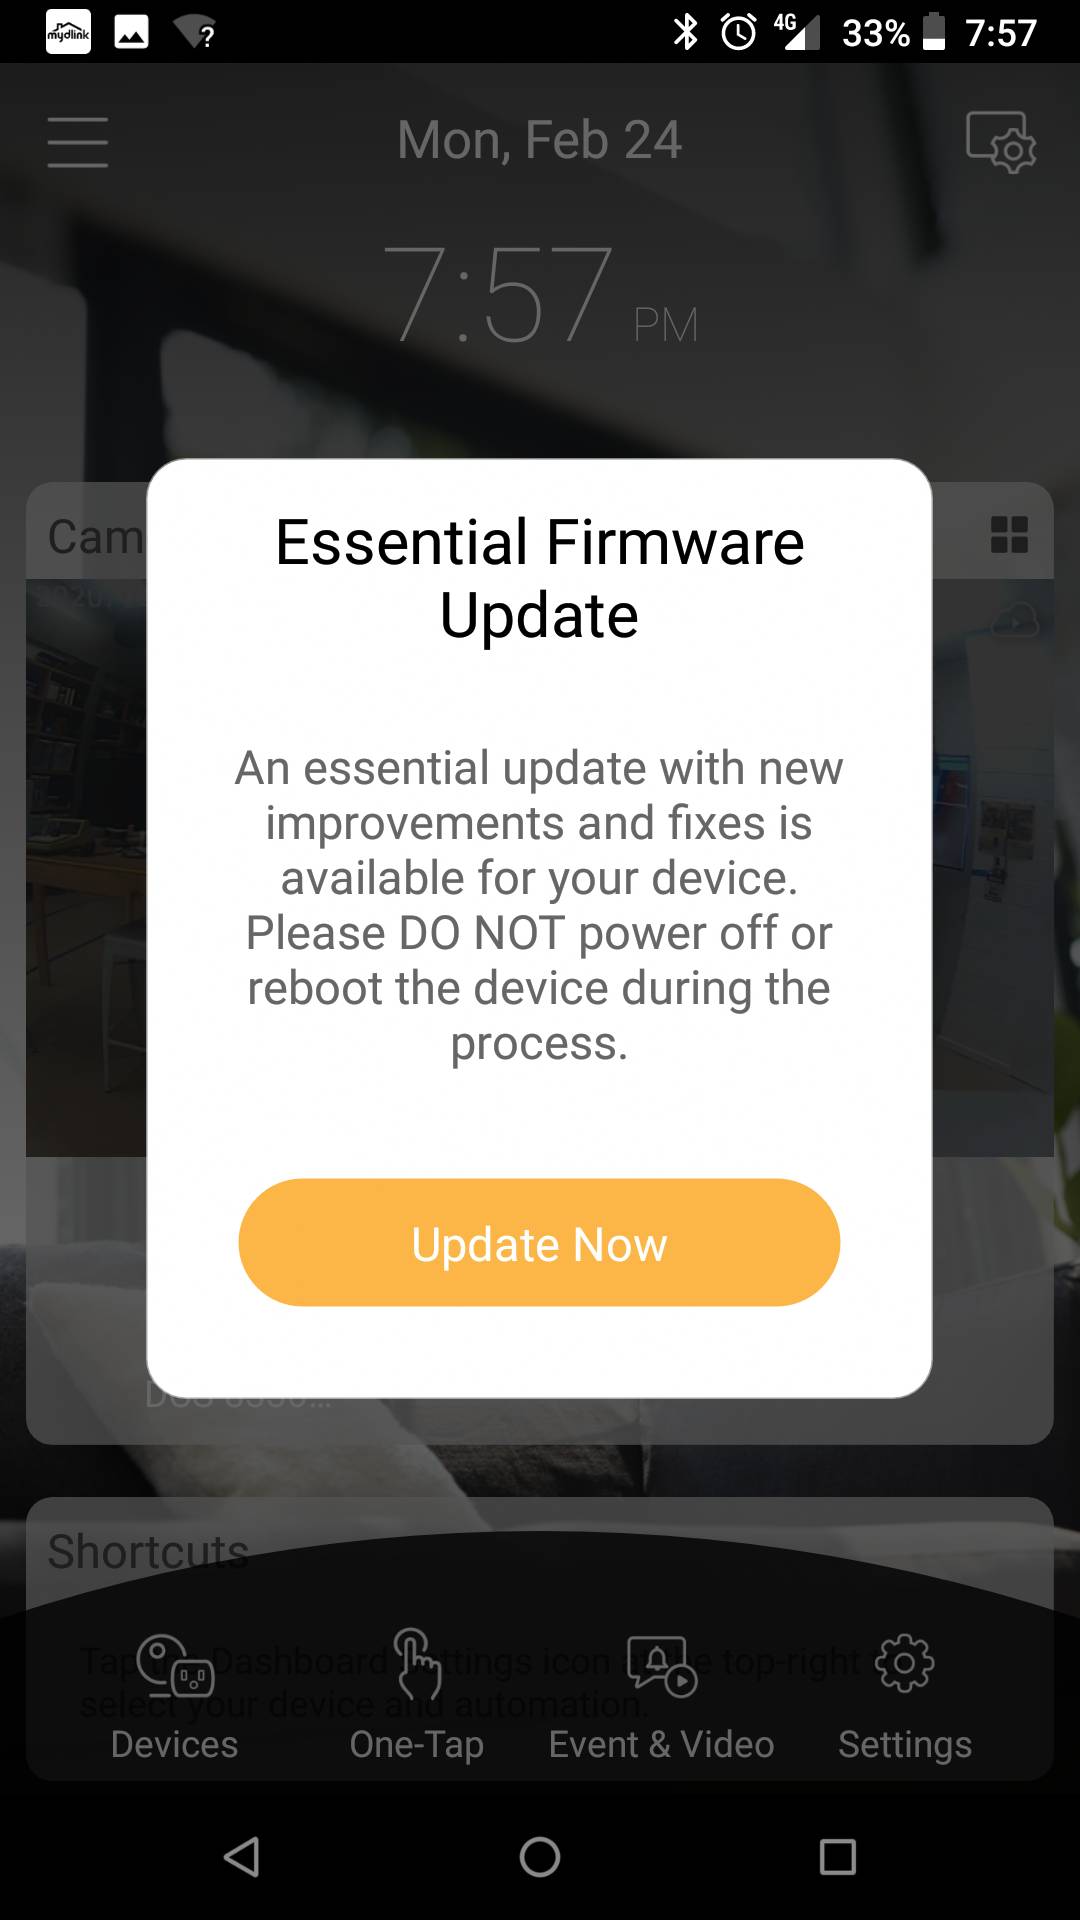
Last prompt for firmware update – this time not optional
Adding the first device, in this case the motion sensor was a snap, the app provides a shortcut button on the main screen and the process is much the same, by scanning a QR barcode, the application searches for the device and pairs it to mydlink. The next device however was a bit more annoying, adding the door sensor was not possible by the same method of using the shortcut on the home screen, instead that took you to the list of devices and you were not permitted to ‘pan across’ to the add new device button. There is a menu, with an add device link and you’re good to go. It is just very clumsy and not intuitive.
The QR code on the door sensor was not as camera friendly as the others and took ages to line it up steadily for the camera to focus and recognise the QR code in the right proportions. To say it was very hard would be unfair, but it was not easy. It would have been great if there was an ability to enter the numerical code in, but this was not an option.
The mydlink App
The first problem with the app comes from finding it, identifying which is the correct app and hopefully, being able to use it if you already have other D-Link solutions that require other apps. The documentation clearly states which application you need and that there is no compatibility with other D-Link home apps. Using the correct wording when searching the play store or itunes app store is essential so mistakes are not made.
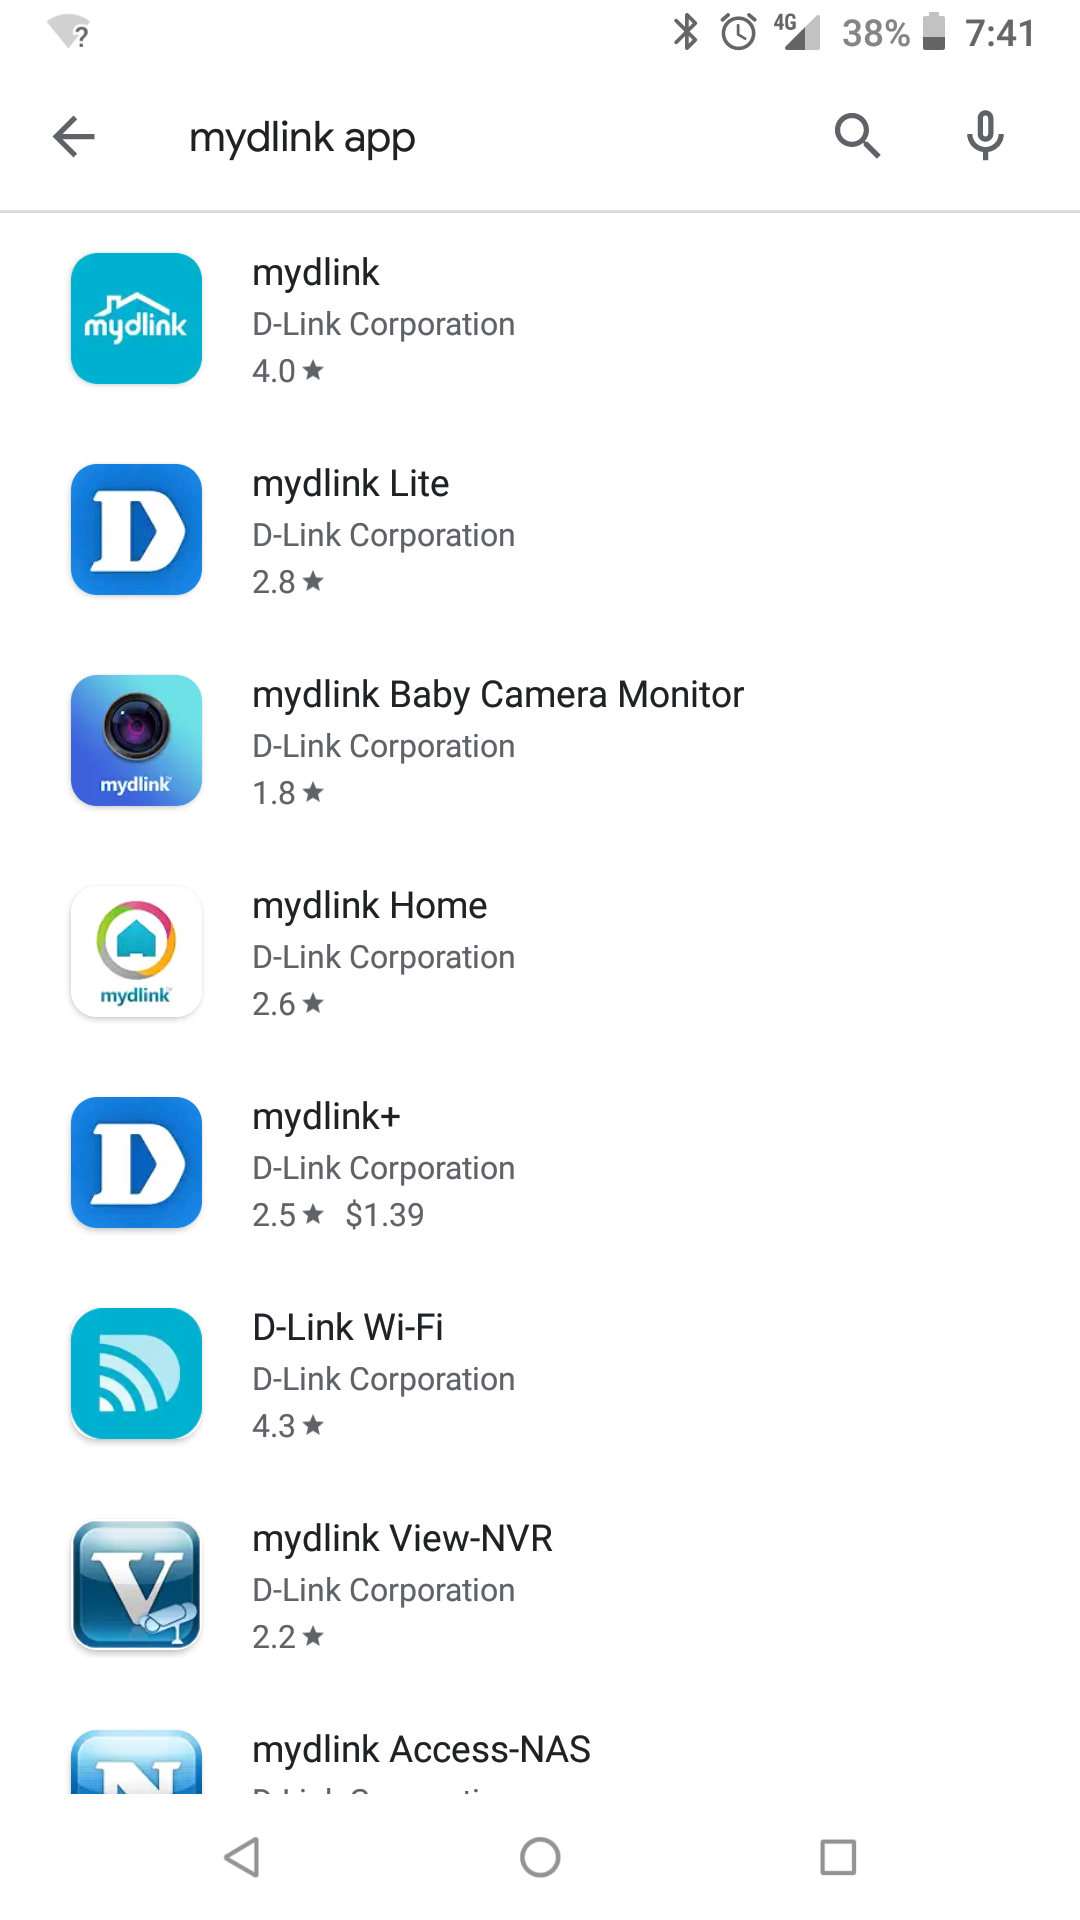
Use “mydlink app” in search, the top app is the correct one.
In order to use mydlink app, an account must be created, license agreement and other terms and conditions accepted. Specifically, the agreement requires you to allow collection of your data, which includes the video footage, to be collected and stored by D-Link. This is a requirement for the applications core functions.

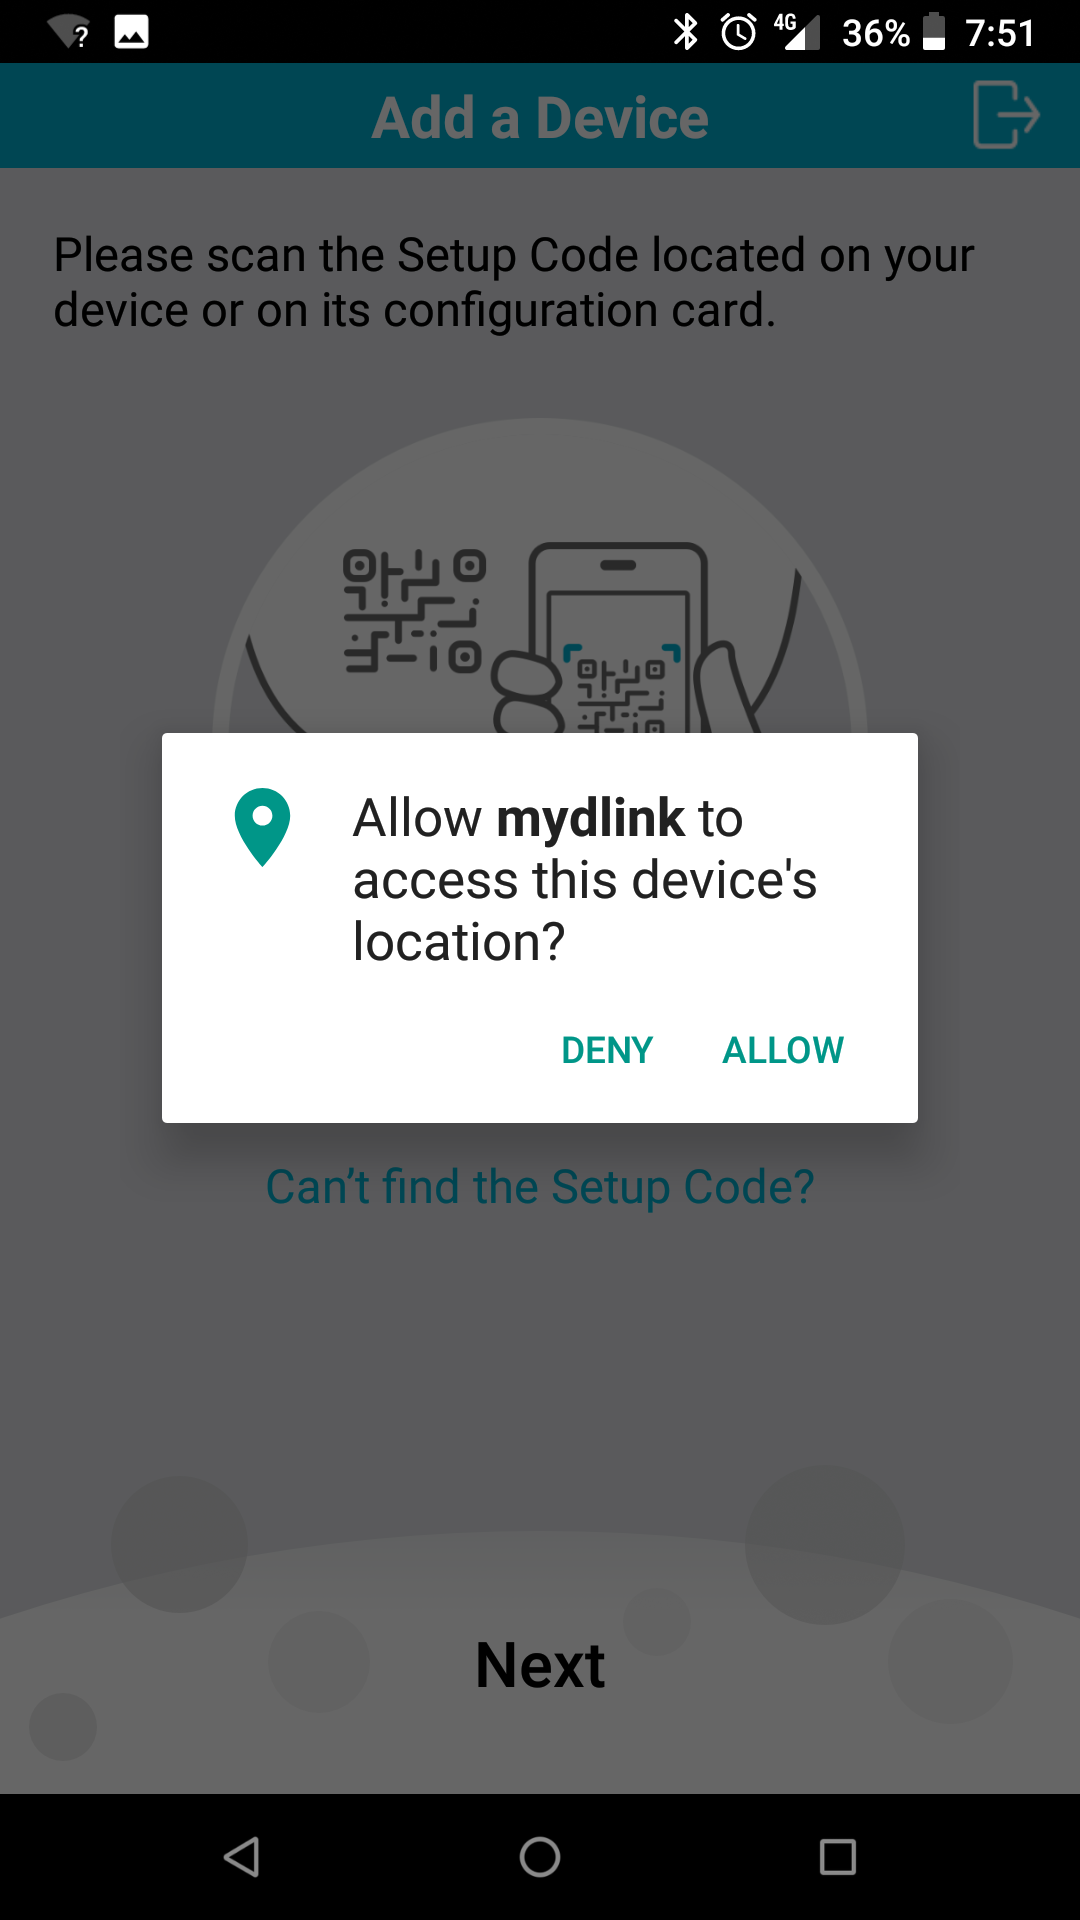
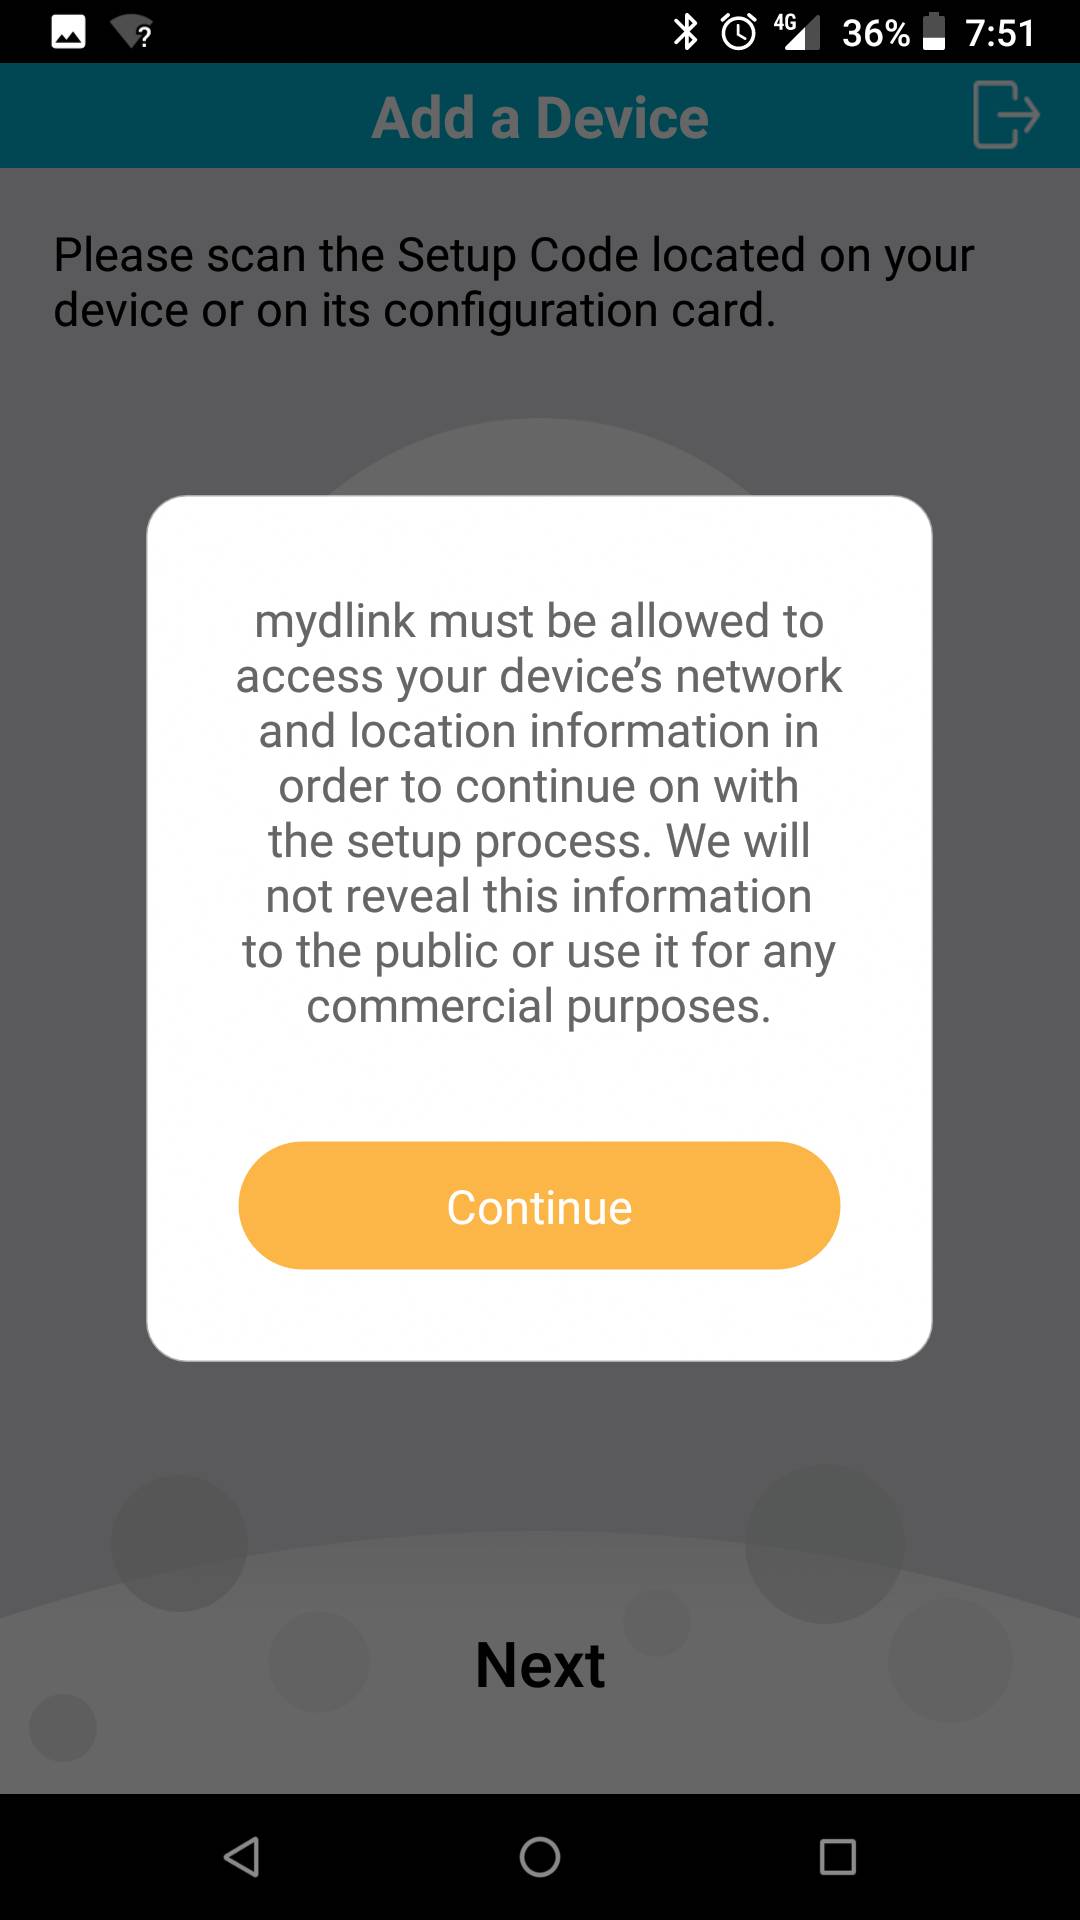
The app also requests location and network access permissions or without it will not work.
As mentioned previously, the app has some clumsy implementations. It is a very graphical intensive application that appears to be best suited for a tablet or larger phone. On a smaller phone the buttons and touch targets for those buttons seem to be smaller than the button outline and required a number of taps in order to find the sweet spot where the button responded. These spots were not uniform in any way and seemed to shift for static buttons that remained across different screens. Of course this could be a phone-specific issue, but the inability to use an add device shortcut a 2nd time, and delays with some features initialising and changing screens was still a low point.
With that being said, clumsiness notwithstanding, all functions do work and work as expected. The app itself has a built in help menu linking to videos that work from within the application and these are helpful and informative and that is a really nice touch. The application presentation is visually appealing, going for a circular theme, with lots of glitz and glamour; unfortunately visual appeal seems to have taken priority rather than core functionality.

Stock media photo showing an optional Light labeled as “Kitchen Light”
The application allows you to add, remove, give meaningful labels and locations to devices, view the time-log of events, view the current live status of a sensor, view a live camera feed or turn on/off recording, and create ‘one touch’ shortcut modes that configure your devices based on scripted settings.
For instance, you can create an ‘at home’ mode where camera recording is turned off, door sensors are not triggering events and the motion sensor doesn’t notify you of movement. Conversely you can create an away mode where everything is turned on, or mix and match sensor activity with or without recording.
By far the best feature of the application and the camera is the advanced person detection and zone options for the camera. This allows you to aim your camera somewhere and zone off a section of the frame for movement detection, or zone in a small box around a ‘monitor zone’ such as a door way or window or as the marketing material suggests a baby’s cot. (see video above). This is exceptionally easy to do from the options and with a swipe of a finger or two you have advanced zone or person detection. This feature is amazing, no exceptions.
The app also allows the scripting of routines, such as when to start recording and when to notify you via push notification to your phone or tablet. There is arguably some ‘advanced’ options here, but really it is lacklustre. Once you drill down to the nitty-gritty you are left with just the ability to record or not record, notify or not notify in a few combinations. Some sections can’t be scripted together in a single script but can be chained, and its use does depend on the amount of devices and the individual application of those devices.
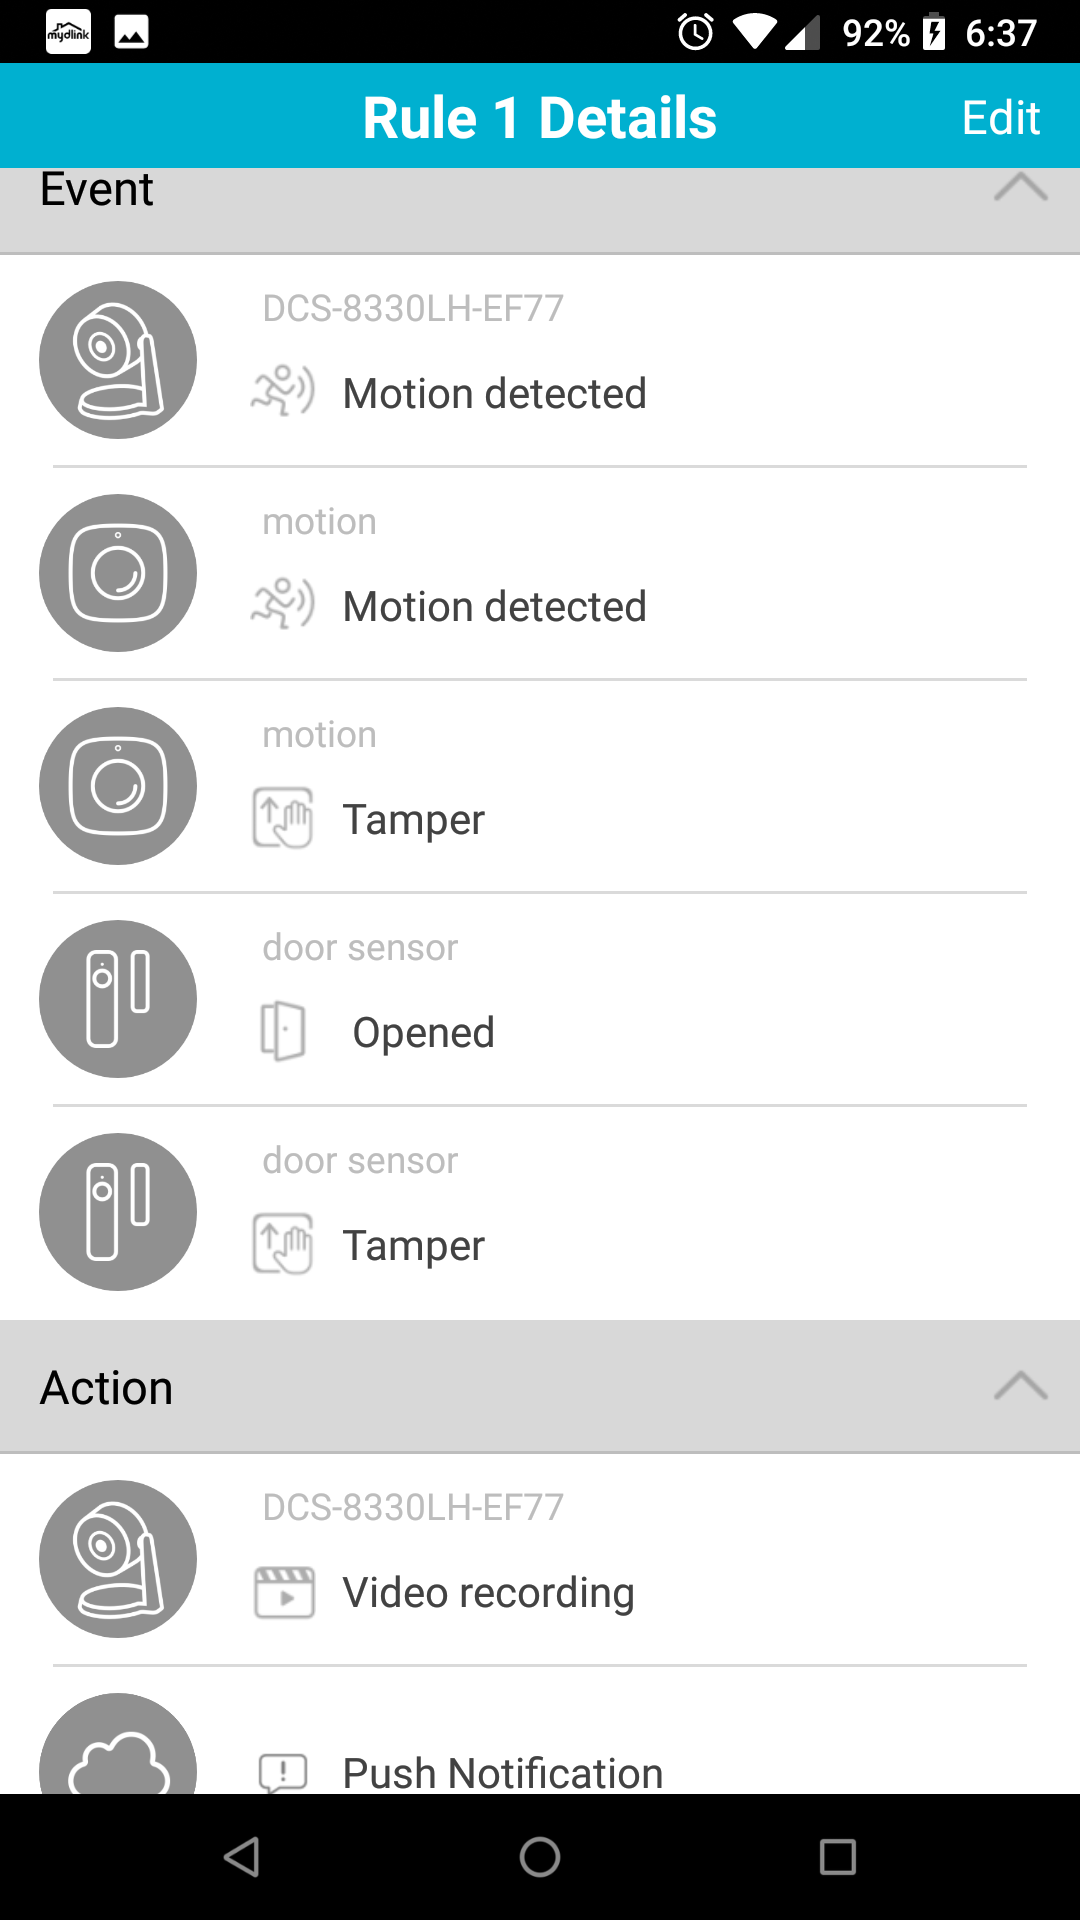
Creation of rules based on events. Actions are Recording and Push notifications. That’s all.
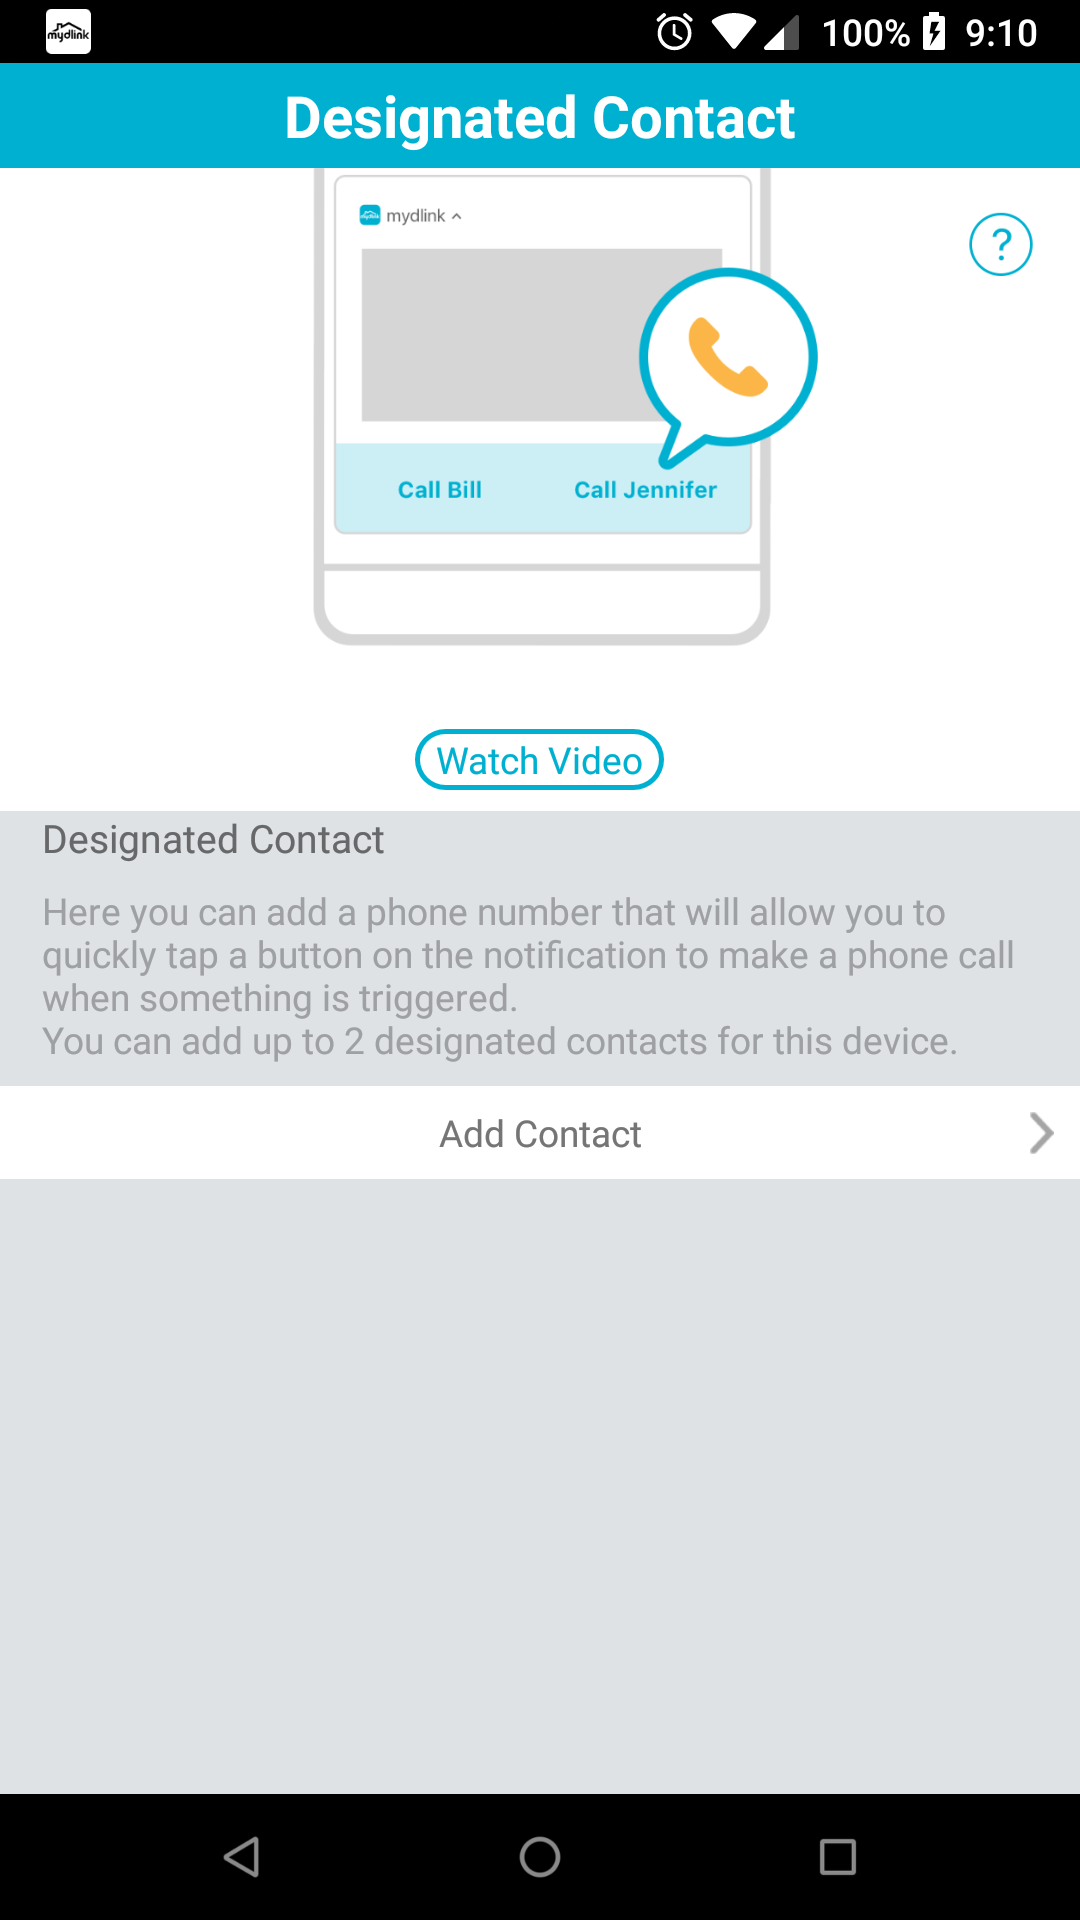
Disappointingly, there is no option for email notifications, no calling features, no delayed actions or limits, notification confirmations or acknowledgements, and really nothing happens once you get a push notification which ultimately requires the recipient to be within range of signal and/or data. The registered phone/tablet will always receive a notification if that is enabled in the script. There is an option to add at least one additional contact shortcut from the phones contact list for you to manually dial the person if the sensor is triggered, however this feature seems to be globally based by sensor not individual script and was not tested.
So, in essence, you have advanced person detection options and zoning with a high quality camera with the ability to link multiple door and motion sensors and automate when to record, when not to record and when to send a push notification out. You can only notify the phone/tablet which has the registered devices, and if you do want to notify a 2nd person, they have to receive all notifications for the sensor for all automation rules and contact them the old fashioned way. All push notification text is fixed and the only changes possible are the labels of the devices.
Linking to Alexa and Google Assistant appears to be a simple process and a video is included to get you started. The catch is it also appears to be one or the other, however this was not tested. Interestingly, it does appear that whichever one is flagged in the application, at least one appears to be ‘on’ even when not configured, more on that later.
The motion sensor
The motion sensor is quite slim for its size, has a great ‘field of view’ and a designated top indicator so the orientation is clear. The top portion of the lens appears to have some shading or lensing, this is different in contrast to perhaps the standard PIR sensor that you can buy for an Arduino/Raspberry Pie etc. It is either to stop or shape light, or limit false positive detections. Either way, the response of the motion sensor is superb. Any attempt to try and mask/trick it to test that top layer just results in a tamper warning anyway.
The LED indicator does not always seem to track with motion in real time, this may be a setting or intended, it is a bit unclear. The LED operates upon pairing and start up functions and does seem to trigger on some movements but then does not respond if you are sitting in its field of view for a while despite having monitoring enabled. Otherwise, this sensor is a solid product for sure.
The door sensor
The door sensor is a very accurate and very good sensor. One side has all the circuitry and of course the battery, the other side is a passive end. It is nothing new with these devices. There is a button located on the front, which is for pairing and perhaps some other functions. When the device is rebooted pressing this button once turns it back on within a minute or so, but so does ‘opening and closing’ the sensor. So the button probably doesn’t really matter much most of the time?
The two components have an alignment notch that must be aligned when installing, however a good 1.5cm deviation seems to be acceptable. The accuracy would diminish the further apart from alignment the two components are. This tolerance of 1.5-3cm or essentially field effect is the limit that a door can be ‘flapping in the breeze’ and not set off the sensor. So for example a knock on the door or wind blowing rattling the door around won’t produce too many false positives.
Unlike the motion sensor which is difficult to take for a walk and get a sensor reading, this device could be tested. At approx. 20m from the front door, the signal cut out and the app no longer reported a change in the sensor reading. The distance was a bit more forgiving with more of a line of sight, but as soon as I was abeam of the brick wall or a metal fence it was an immediate cut out. It is difficult to say precisely what the range of the sensors will be, especially as the batteries start to drain. It will possibly be limited in double brick, industrial or certain building types. It would be fair to say that most homes including two stories will be okay.
The camera
The camera is actually the central hub for all devices. As such, it has not only the camera but the mydlink hub with its associated circuitry.
The camera image is exquisite at 1080p, at least when viewed from the phone. Images on our website are compressed so showing a photograph from the device wouldn’t do it any justice anyway; it is truly a great camera in its own right. You can configure the camera for 1080p and 720p recording. Lower modes are not provided.
The infrared system is pretty good as well, with a full audible click as the IR bulbs engage and disengage. The image is as you would expect, lossy in definition since its black and white only, and complete with deer in the headlight ghost-eyes reflections. In terms of how this works, there is a slight pause/delay between changing modes, and in a room with lights off and glow from a monitor or TV, it does seem to trigger at a certain threshold, which seems reasonable and adequate. This however cannot be adjusted in any way.
The camera has a micro SD card slot which is stated to read up to 256GB. When connecting an SD card the application will report its presence and allow it to be formatted, this is reasonably quick and video can be set to record on it without much effort. The card slot itself physically is on the side and easy to insert and remove a card. The edge of the card is exposed and visible, with a spring push/push trigger for insertion and removal.
Security
This device will connect to a 2.4G WiFi network but does not appear to support any other band. The device is configured initially what seems to be through Bluetooth. This is confirmed when changing WiFi networks, Bluetooth must be enabled or will be prompted to be enabled first. It is therefore likely the sensors are also using Bluetooth but this has not been confirmed. The requirement for Bluetooth is stated on the camera’s box under minimum requirements.
The camera/hub is also running a web server on port 80 and 443 and a quick web browse to the devices local LAN IP gives a html page response on port 80.
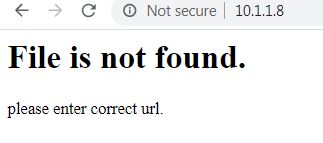
A telnet session to port 80 returns no response and disconnects once you send too much data to it. Interesting that it does seem to respond via chrome browser but not with standard http commands via telnet.
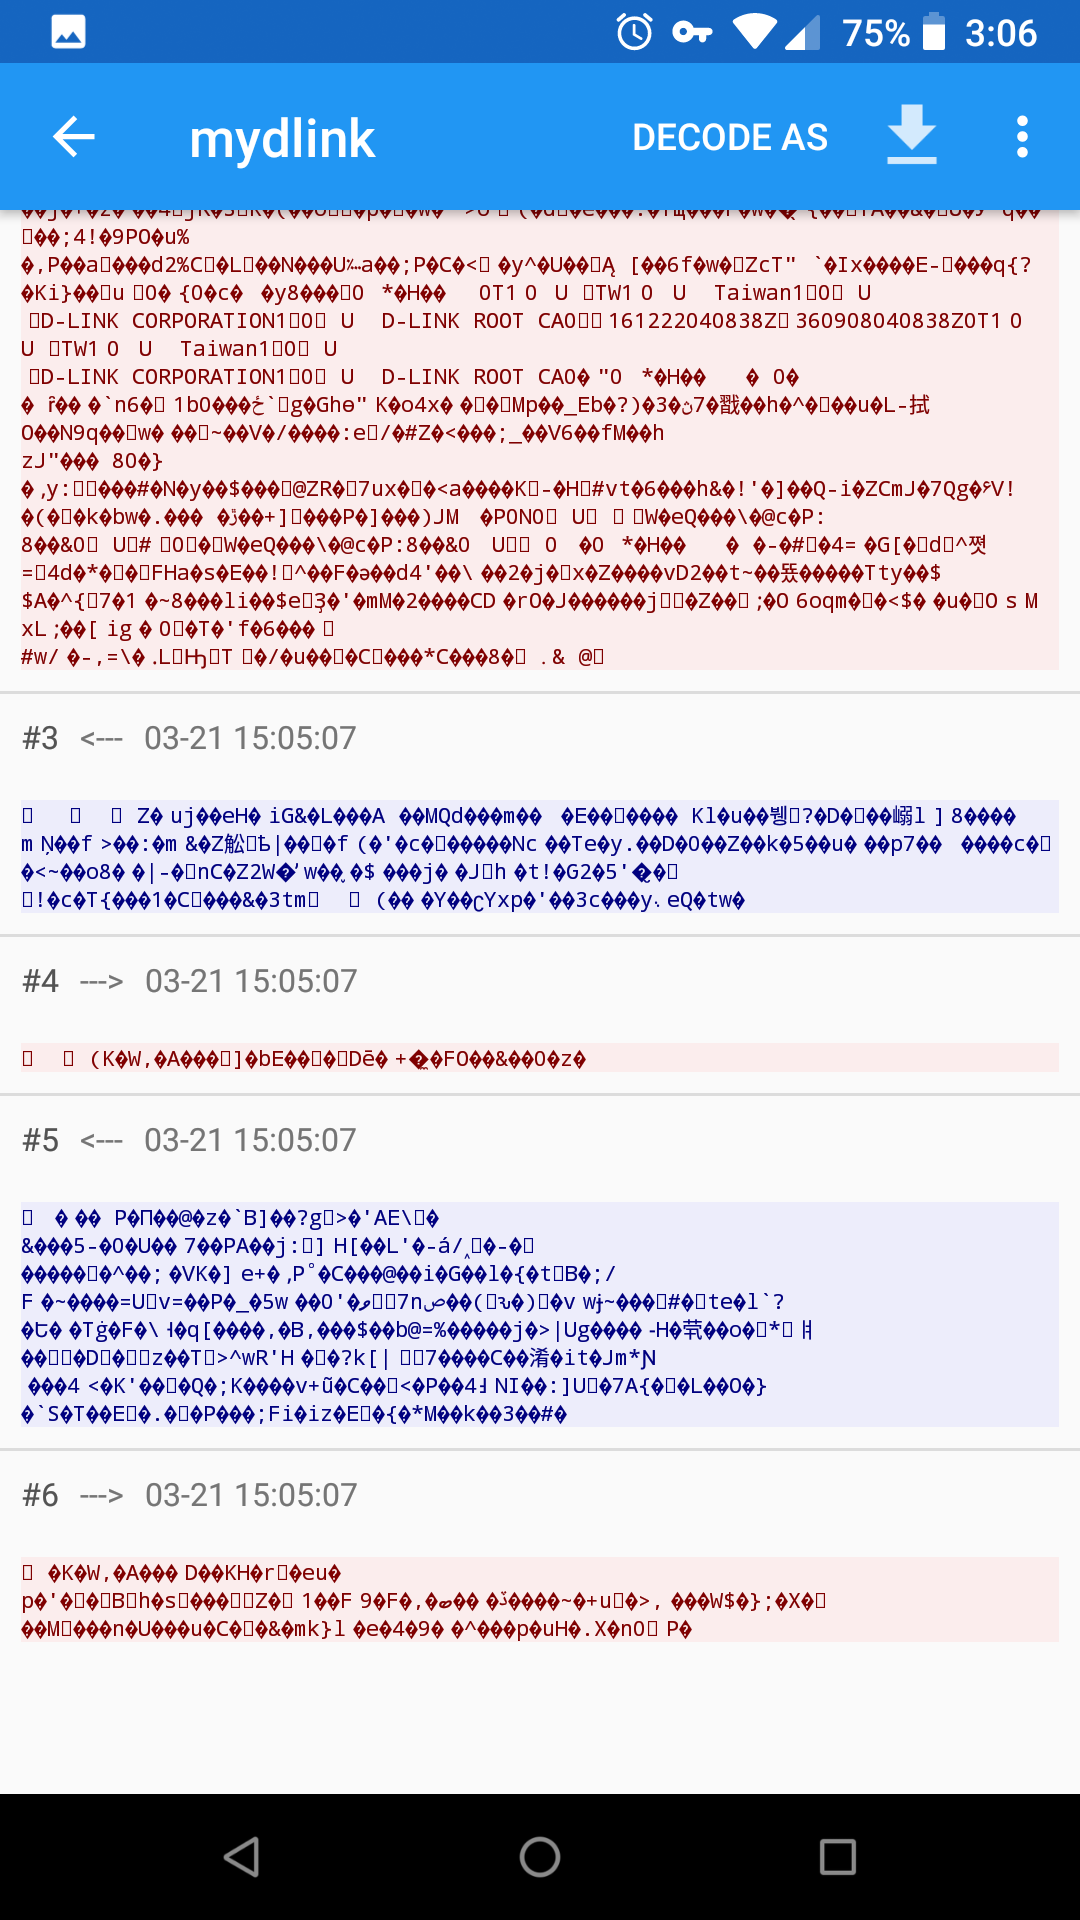
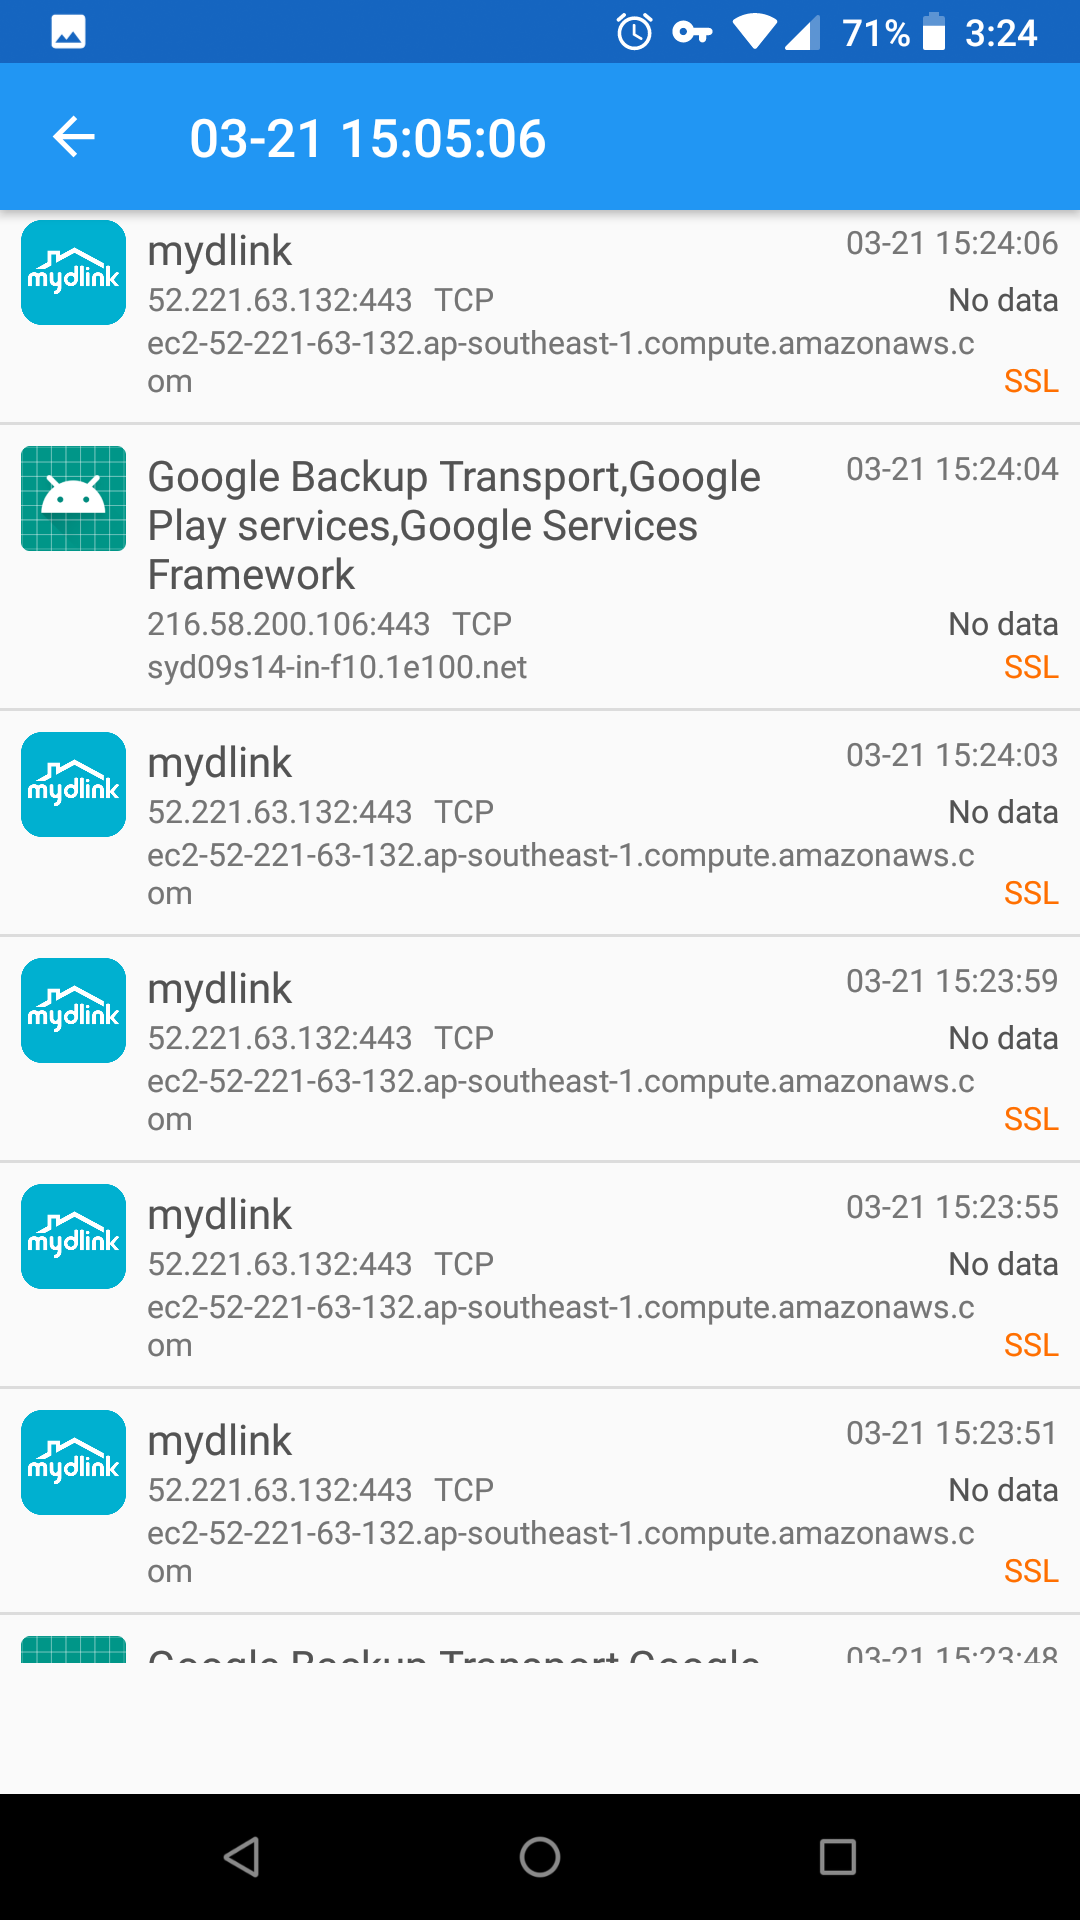
By exposing the phones network adaptor to a man in the middle packet capture, we can see that the communication in and out of the app to the camera is via port 443 with SSL encryption. We also see something quite interesting; there is a constant connection to D-Link’s server as well as to Amazon’s servers.
Across several minutes, there were a number of presumably keep-alive/login attempts with no data being sent to these targets. Turns out nature of the packet capture (using VPN man in middle pcap) seemed to disrupt sign-in to the server (probably because of the certificate) and these may have simply been the apps login attempts. It would seem likely that a secure SSL VPN is being created to the D-Link cloud and it is through this that the application signs in, and by which you can then view the camera. As to whether if you are on the local LAN the camera feed is direct or through the cloud was not easy to determine, since in this scenario the camera storage was set to SD card but the login to the app requires network connectivity. So there is really no way to validate a local viewing.
The most concerning is the Amazon connection, since this was neither requested, setup or otherwise expressly authorised. The non-configured option for “3rd party integration” is set as Google Assistant and aside from the phone itself attempting to contact google, the mydlink application did not. From a personal data security standpoint, this is quite concerning, but the acceptance box was ticked.
Outside of the scope of a review, is it possible to ‘hack in’ to this device? Well in short, yes it probably is. Assuming that the app could be decompiled, or there is a webserver vulnerability, it is always possible. More likely though the webserver itself could be DDoS’d and the camera / server could freeze or reboot. But generally, the door isn’t left wide open, the comms are secured via SSL and sensor readings aren’t being transmitted over WiFi in plain text, so nobody on the network can easily access the devices. That’s good.
Physical Security and suitability
One of the marketed selling points of these devices is that this is a ”DIY Smart Security System”, but some preconceptions come to mind with respect to security and usage. Unfortunately there are a few issues that would need to be taken into consideration with this product.
| 1. Outdoor use | Unsuitable.
· The ABS plastic casing is not suitable for prolonged exposure to the elements and will breakdown and fail. · The camera system SD card and port cannot be exposed to water/dust/weather. · The sensors and camera system and SD card is subject to theft and tamper. · The mounting system for the camera and sensors are not rated for serious rigid and fixed installations. |
| 2. Range and signals | · Tested maximum range of sensors is approx. 20-30m in clear open air from the network access point and camera.
· There is no 4G/5G mobile data failover. Reliant upon the internet access in the home. |
| 3. Theft | The system is closed with its primary device (camera) being the sole weak point. System can be disabled by any single action such as:
· Disruption of power to the device/home · Theft of the camera · Theft of SD card (if in use) · Theft / compromise of cloud storage data |
| 4. Forced action / Software / Licensing | Any situation whereby software is unavailable for the device will render the system inoperable to the user
· Application being banned by Play Store/iTunes · Application incompatible by phone update · D-link server updates (outages) · D-Link no longer providing service · Rejection of future terms and services · Failed firmware updates · Banned from D-Link services/breach of terms |
| 5. Control device | Consideration should be given to the control method of the system and is not appropriate for:
· More than one operator / Administrator · Managed IT services and clients · Persons prone to losing phone or tablet |
As a ‘security system’, this is a closed system contingent upon the reliability and perhaps continued goodwill of D-Link as a service provider for this system, as well as the phone or tablet device continuing to be compatible with the application, which as we all know it’s common for applications to become incompatible or unstable upon new phone updates.
As this system is highly susceptible to being disabled or stolen and rendered inoperable as described above, it really is difficult to accept this product qualifies as a legitimate security product, especially given the fact that the video footage can only be stored on local SD card or exclusively to cloud via D-Link’s paid cloud storage solution. But most importantly, the expectation and presumption of any surveillance device is that you can easily download/save the video footage. Unfortunately, that just isn’t the case here. Yes the timeline can be filtered and viewed easily, and a download link when viewing a video clip is at the bottom, however saving what could be large mp4 files to your phone or tablet is not always an option, nor is it easy or DIY for most people to locate the saved file and get it off the phone.
D-Link do offer a cloud based storage solution for an additional fee and so by that measure, there is some room for significant storage, with up to 30 days storage for USD99.99 a year. But if the average person has a requirement to show police some footage of a break-in and can’t download recording and easily put it on a flash drive, then this product won’t be that useful.
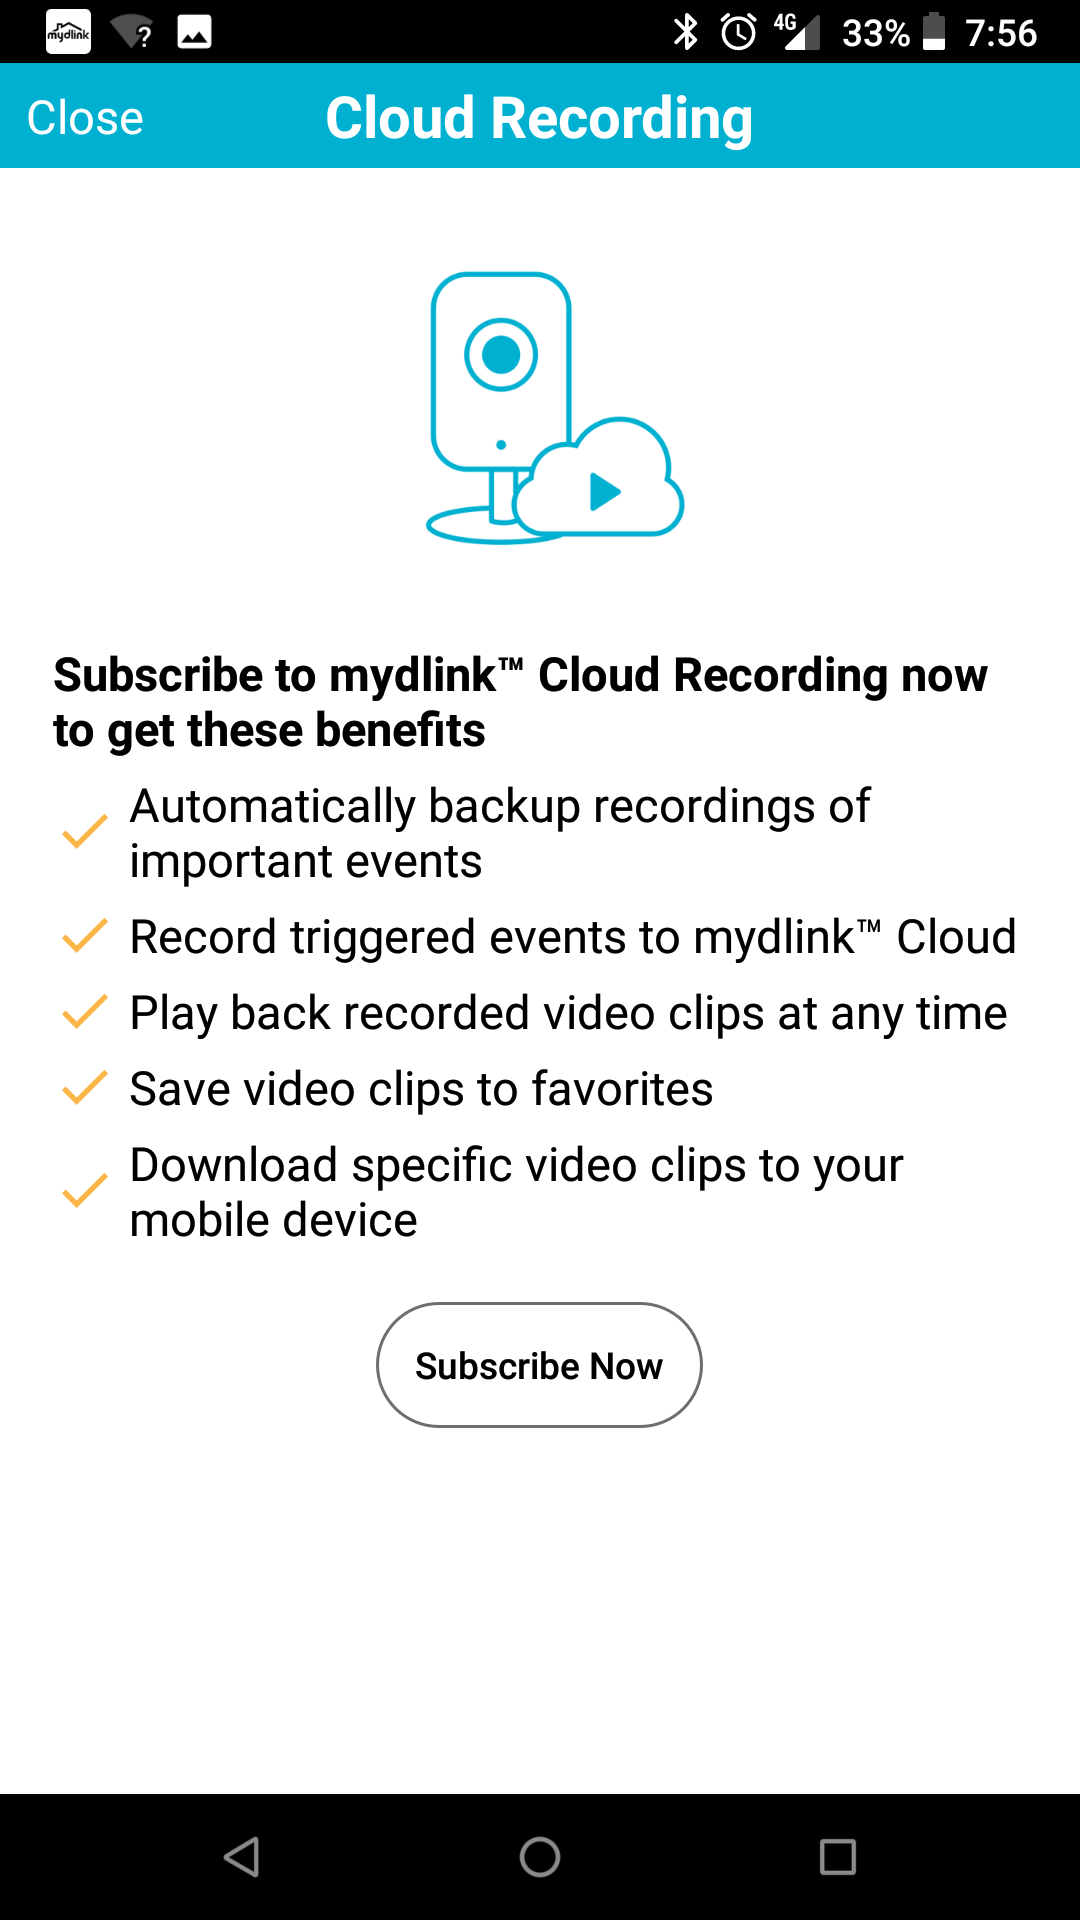
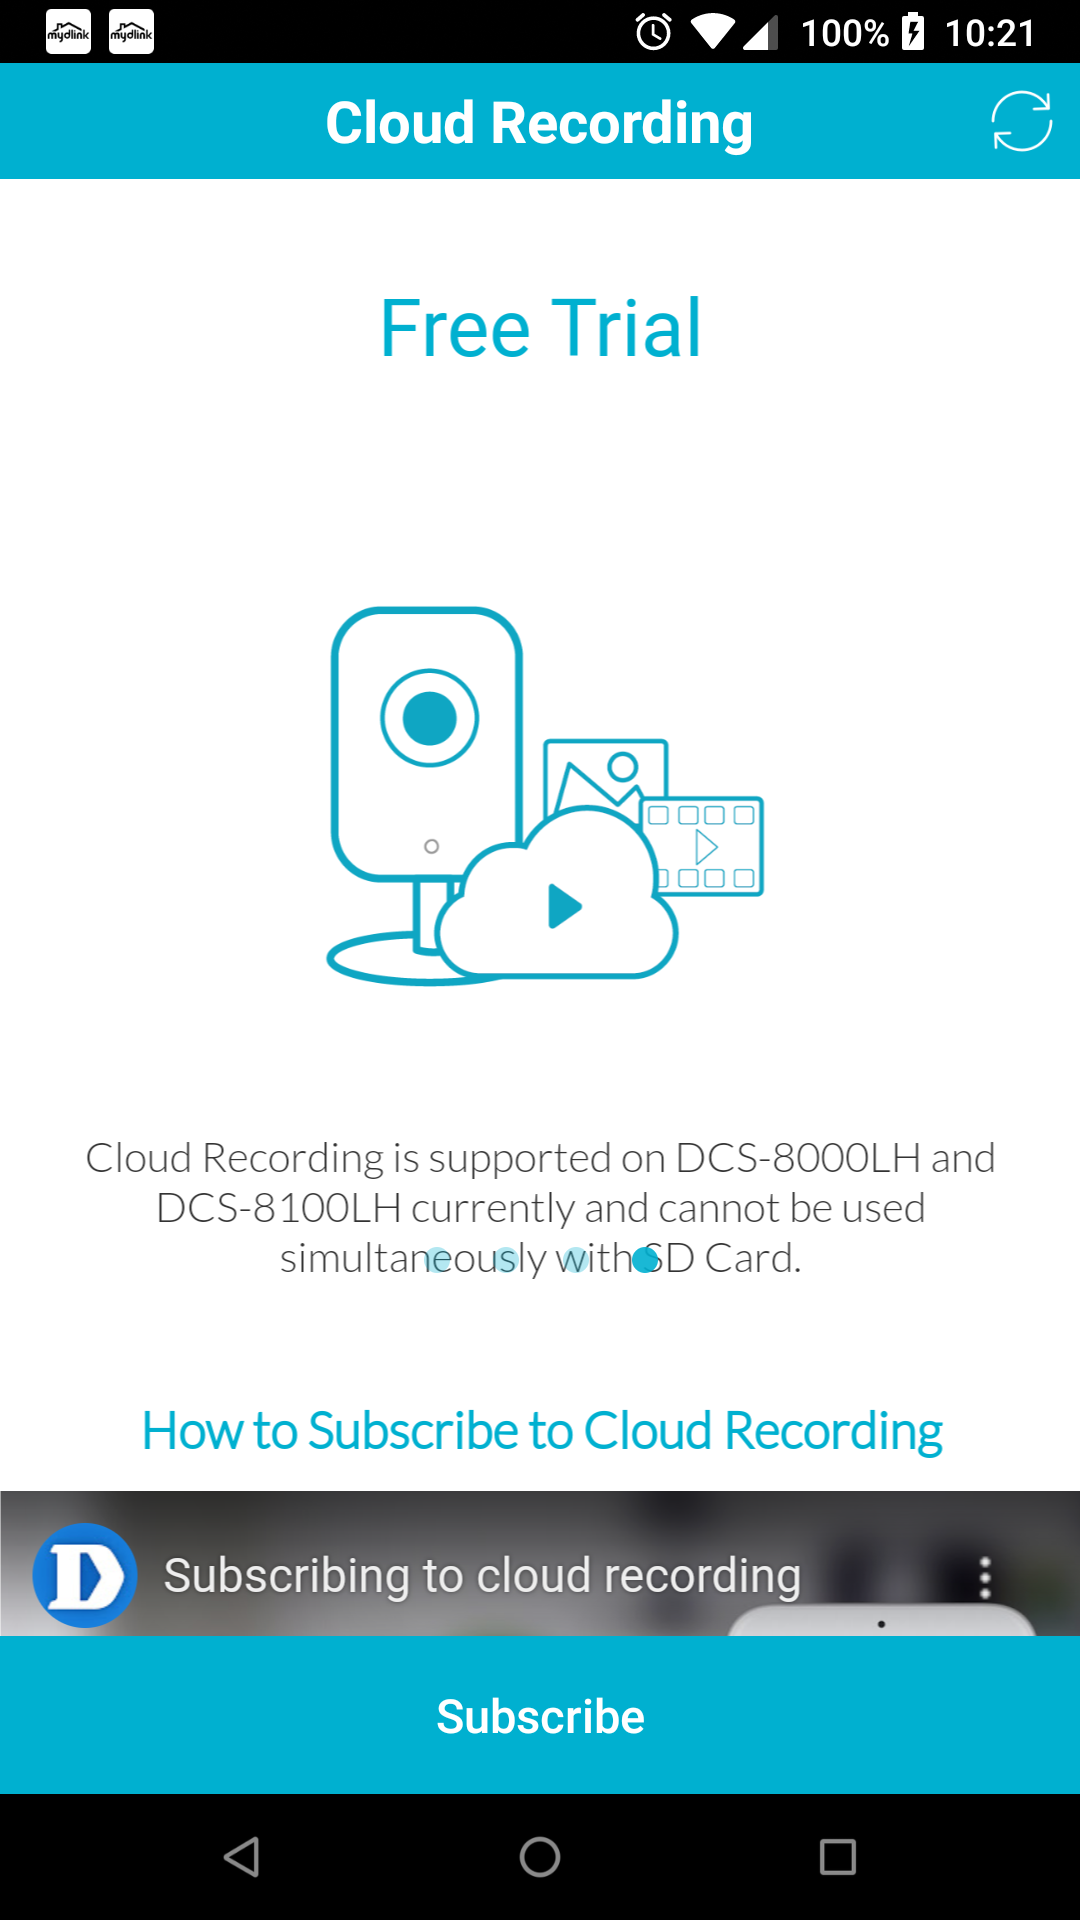
Possibility of a free trial, but cloud or SD not both at same time!
With that being said, and with great admiration – what is exceptionally useful is the time log of events. Specifically, the event log will time stamp the trigger of each enabled sensor as it happens. This could literally show point of entry, movements around the house and point of exit and the time between each interval. This could be invaluable to police and to the homeowner in their efforts to secure the property in the future. Again though, for this feature to be useful in that scenario, the ability to email the log as a CSV or even pdf would be useful.
Actual performance and tests
As mentioned previously, the sensor limits were tested with the door sensor to being around 20-30m from the camera/WiFi access point, at further distances there was no change detected or reported from the sensor.
The camera and devices were setup in a single room around 5x10m2 for testing. In this environment, the sensors operated perfectly and as expected. The camera functionality with and without zoning and motion detection also worked perfectly as advertised. The sensor performance and camera performance of these products are exceptional.
The push notifications are for the most part consistent, however when the system is triggered and you are walking around in the trigger zone, you will be ‘pelted’ with constant push notifications. As mentioned, there is no way to limit the notifications or control the thresholds. Ideally you could put some limits on, or even make allowance for perhaps the dog crossing the line or a single movement without a door open event etc, unfortunately fine grain triggering and adjustment isn’t possible.
Each push notification will coincide with a logged event in the event log. Push notifications and mode configurations, sensor changes etc will work so long as the phone has any data connection. Inconsistency may arise when the phone has no data connection but an event/push notification has been triggered, at which point when data is restored the notification may or may not be received.
Changing profiles/automations seemed a bit jittery, there is a noticeable pause or delay between the changes from one mode to the next, and if the sensors are firing, the change does not always seem to occur. The delay is likely due to the change going through D-Link server and is therefore not instant.
Final thoughts
As a DIY product, this product is easy to setup, install and not too difficult to configure. D-Link also offers technical support for their customers if help is needed. As a security / surveillance system, this product does not pass what most would consider the bare minimum.
As a home automation system, there is some merit, the camera is excellent and if integration or API’s were available there would be some applications for this kit. Equally there would then be some use in electronics projects with Arduino, Raspberry Pi and robot building communities with respect to the camera and PIR sensor.
The foreseeable expectation and suitable use of this product is likely one of lower end indoor use scenarios such as, baby monitoring, guarding the bar fridge or liquor cabinet from the teenagers, or catching the dog climbing up on the couch. As far as an automation kit, as it stands with the current features, activating a recording or sending a single push notification is as about as useful as a broken clock.
The lack of controllability, notification options, camera storage targets, trigger thresholds and other adaptability that comes as standard with any automation product is the main reason that this range of products cannot be taken seriously over competitor products, or be used effectively by the home automation enthusiasts.
This product has potential, but sorry D-Link, it’s just not there yet.
Summary: Great quality sensors, with marginal single use indoor application potential.
2.8
Squandered potential
About the Author
Scott De Lacy Scott has a professional IT background spanning over 18 years, is an hobbyist electronics designer, talented musician, holds qualifications as a trainer and experience in emergency and community services sectors. He reviews Movies, PC and XBOX One games, and hardware.
Related Posts

Kiwi Ears Aventus Bluetooth Coaxial Driver DJ and Gaming Headphones Review →

Corsair VOID Wireless V2 Gaming Headset Review →

Google’s most advanced Chromebook Plus yet and new helpful AI features →