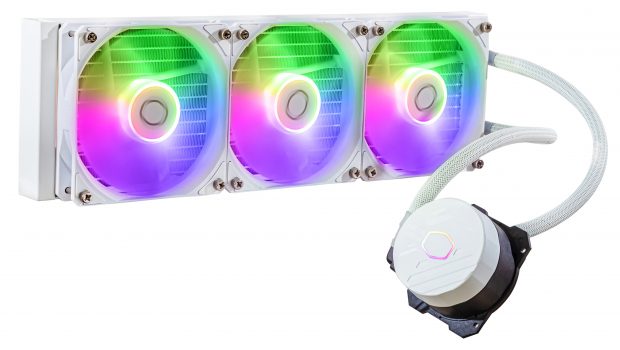
CoolerMaster MasterLiquid 360L Core ARGB White – Review
AIO liquid cooling is a very busy and competitive space. There is seemingly very little variations in design, aesthetics and quality between brands.
It would seem that the last mile gains are focused on efficiency and reduction of operational noise of the pump and the fans, which each brand is fiercely attempting to out-do the others.
Some brands are actively attempting to reduce costs, which can often be seen in the fan quality, hosing, box and packaging, and sadly, even in the copper plate.
CoolerMaster have typically released high quality AIO coolers and the MasterLiquid 360L Core ARGB has been garnishing a reputation of being more quiet than many alternatives.
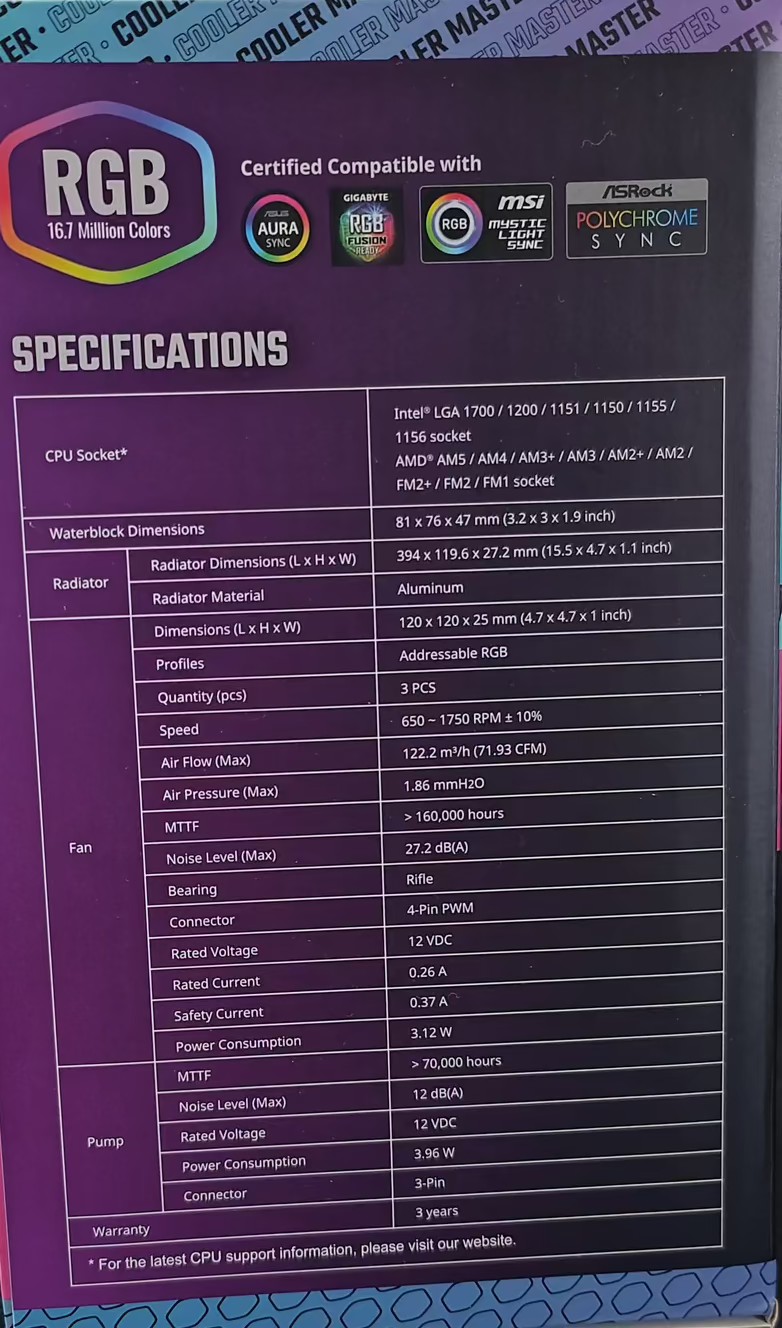
Specifications
|
Product Number |
MLW-D36M-A18PZ-RW |
|
Exterior Color |
White |
|
CPU Socket |
LGA1700, LGA1200, LGA1151, LGA1150, LGA1155, LGA1156, AM5, AM4, AM3+, AM3, AM2+, AM2, FM2+, FM2, FM1 |
|
Radiator Material |
Aluminium |
|
Radiator Dimensions |
394 x 119.6 x 27.2 mm / 15.5 x 4.7 x 1.1 inch |
|
Pump Dimensions |
81 x 76 x 47 mm / 3.2 x 3 x 1.9 inch |
|
Pump MTTF |
>70,000 Hours |
|
Pump Noise Level |
12 dBA (Max) |
|
Pump Connector |
3-Pin |
|
Pump Rated Voltage |
12 VDC |
|
Pump Power Consumption |
3.96W |
|
Fan Dimensions (L x W x H) |
120 x 120 x 25 mm / 4.7 x 4.7 x 1 inch |
|
Fan Quantity |
3 PCS |
|
Fan LED Type |
ARGB |
|
Fan Speed |
650-1750 RPM ± 10% |
|
Fan Airflow |
71.93 CFM (Max) |
|
Fan Noise Level |
27.2 dBA (Max) |
|
Fan Pressure |
1.86 mmH₂O (Max) |
|
Fan Bearing Type |
Rifle Bearing |
|
Fan MTTF |
>160,000 Hours |
|
Fan Power Connector |
4-Pin (PWM) |
|
Fan Rated Voltage |
12 VDC |
|
Fan Rated Current |
0.26A |
|
Fan Safety Current |
0.37A |
|
Warranty |
3 years |
|
Series |
MasterLiquid Lite |
|
Cooler Type |
Liquid Cooler |
|
Radiator Size |
360 |
Specifications as posted on CoolerMaster product page.
The key items of note, which determine the noise level, is the Fan and the pump noise level, which has been specified as the maximum. Cooling efficiencies are a product of the overall airflow the fans could be capable of moving across the radiator – which will never be the maximum in a real world application, nor does it account for the temperature of the air being moved through the radiator.
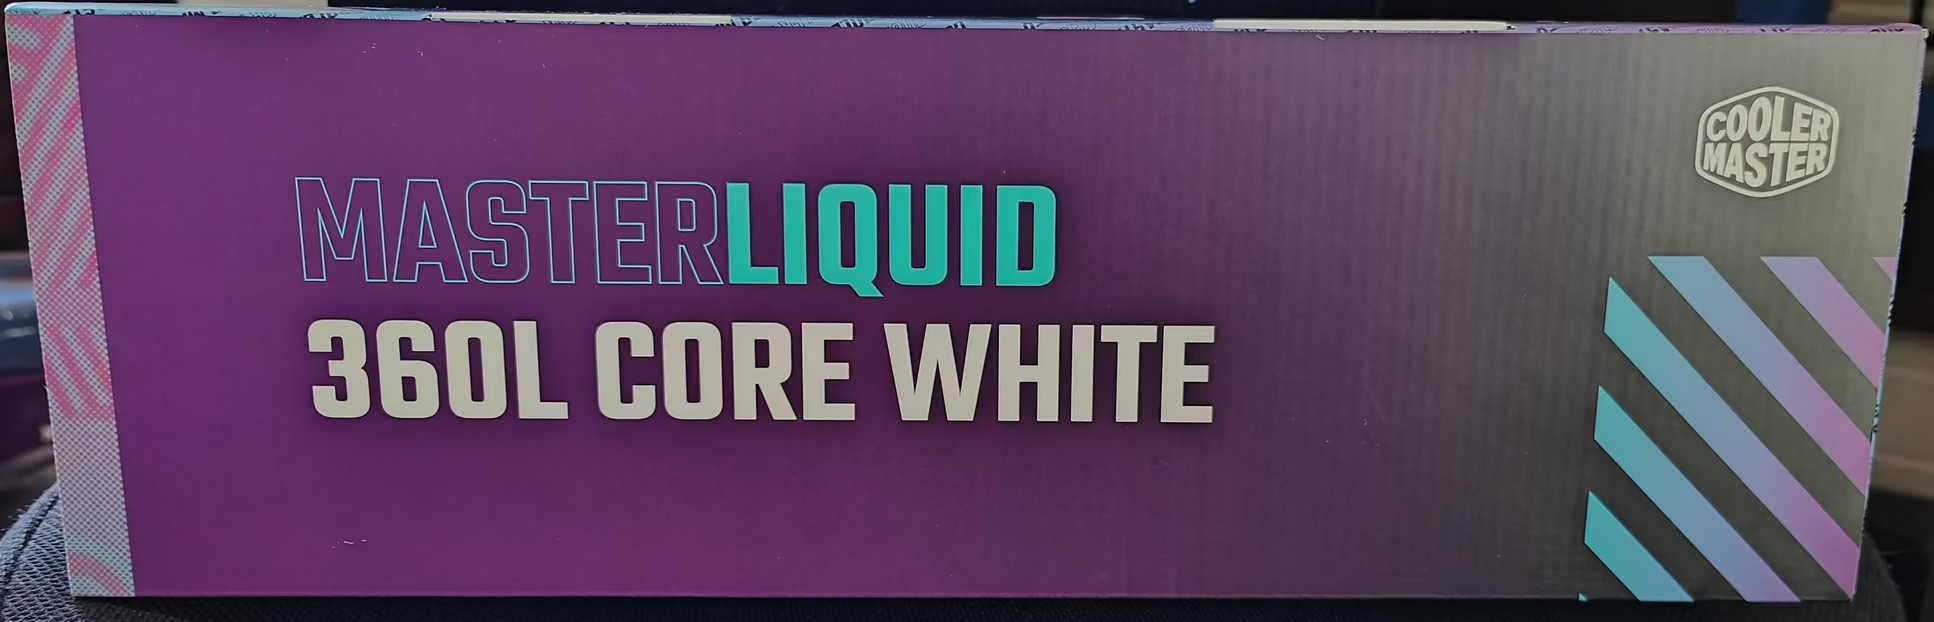
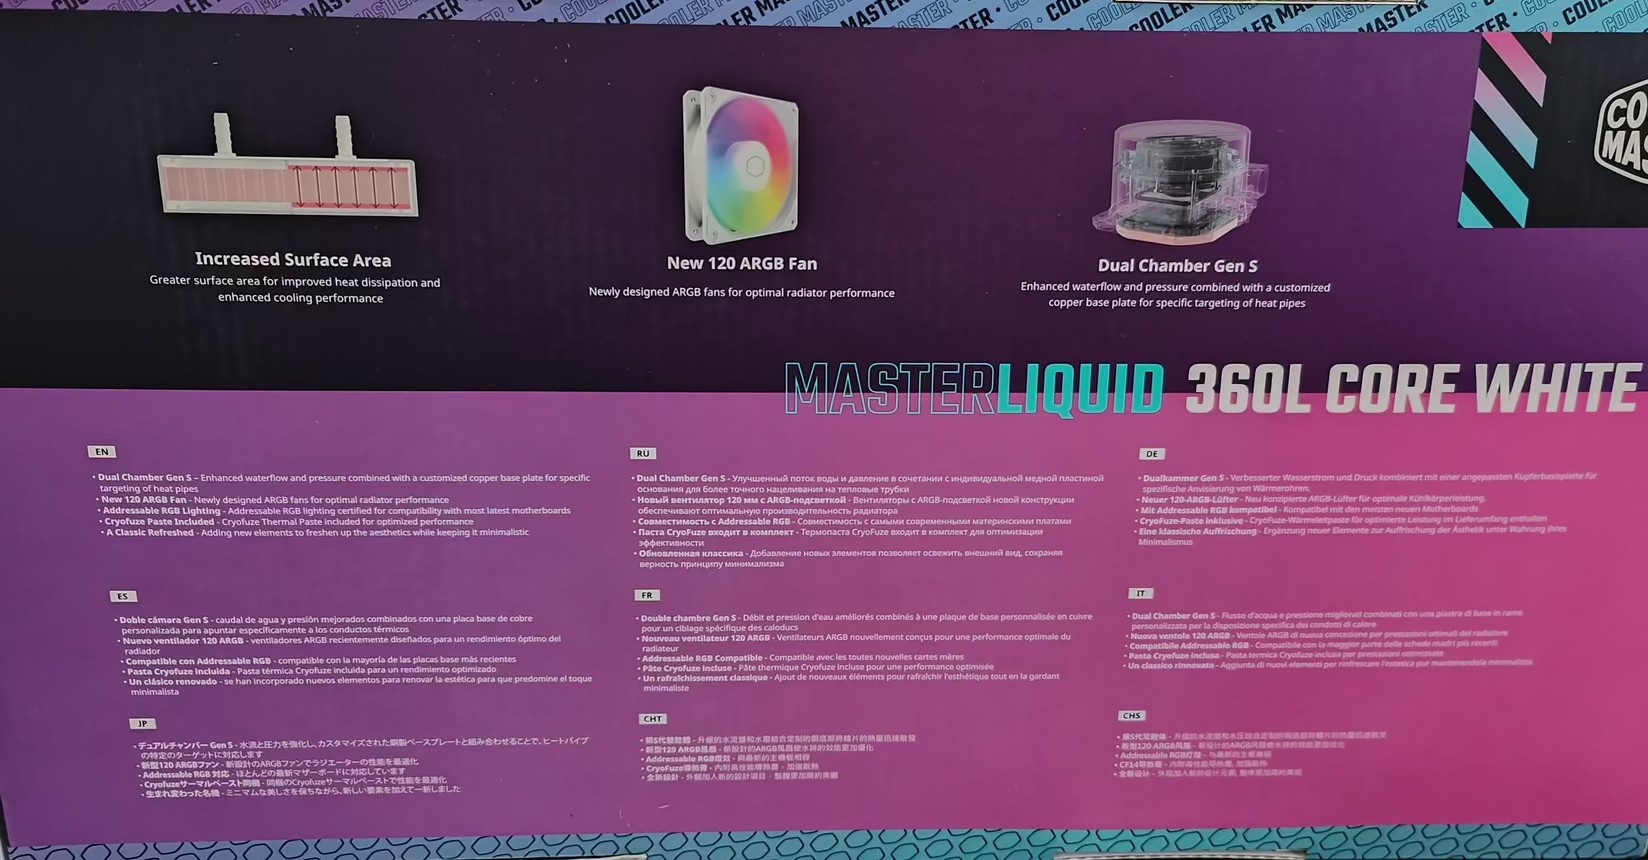
Unboxing and First Impressions
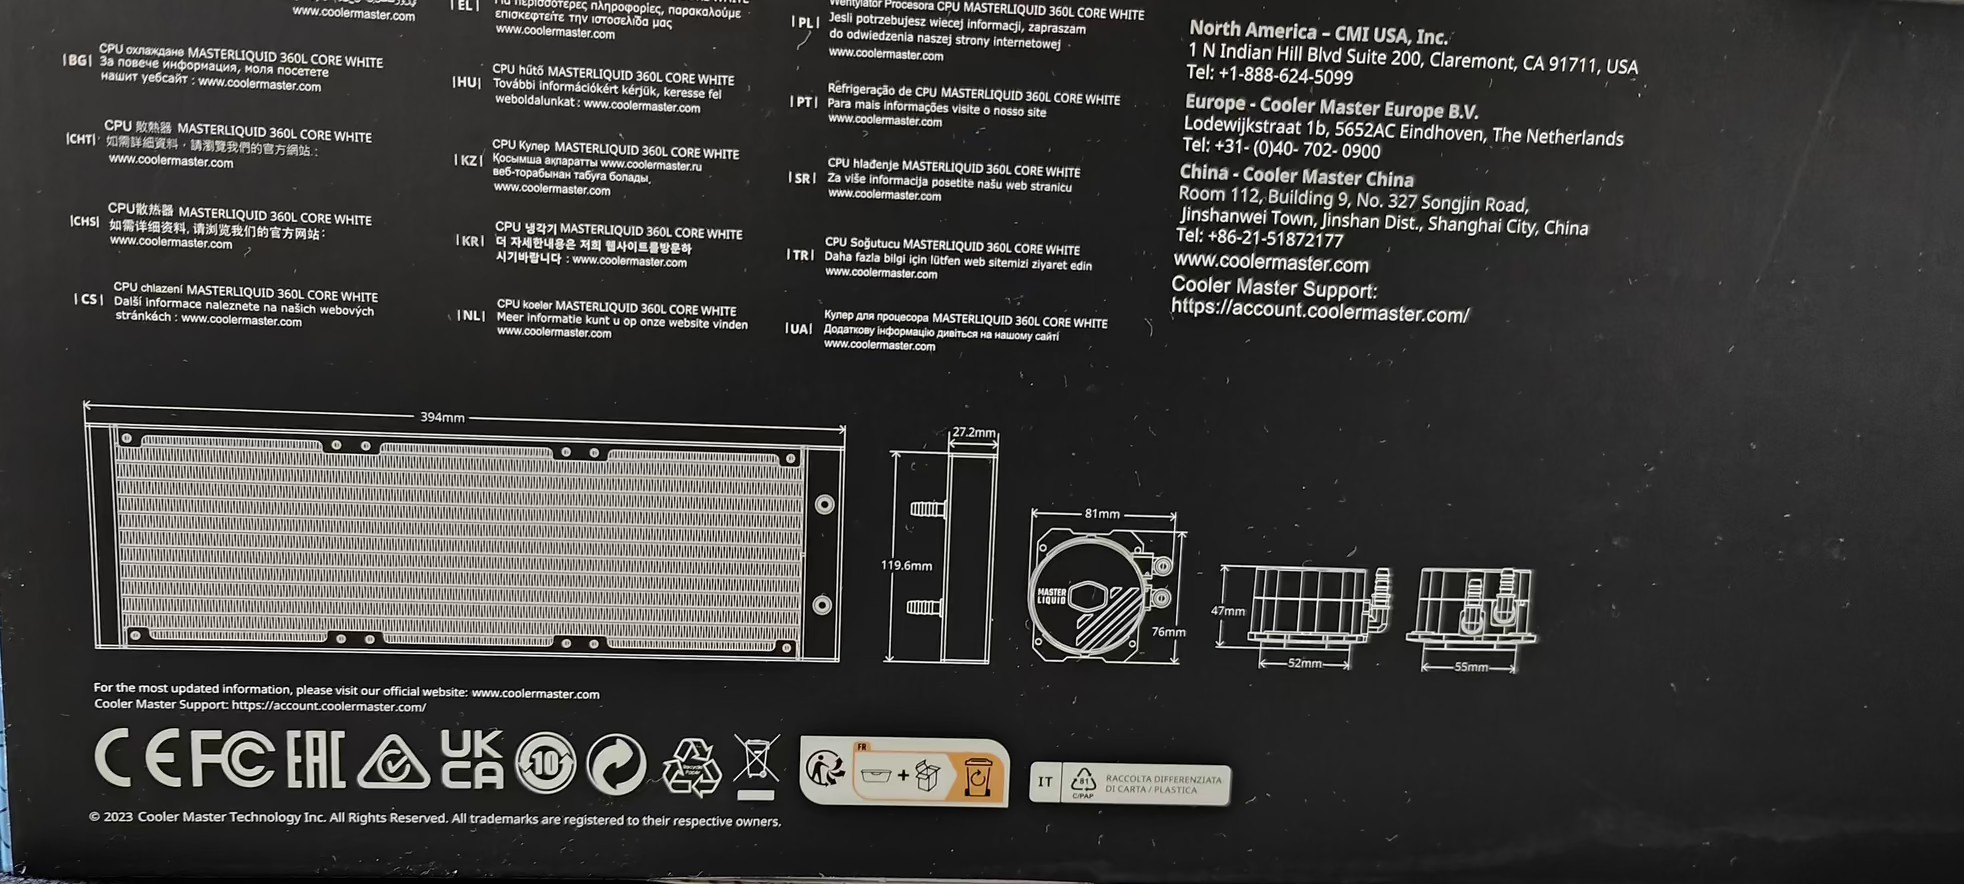
The box is quite impressive, it contains a really useful schematic and measurements which enables the purchaser to make an informed choice – namely, to know if it will fit in their case, prior to purchasing.
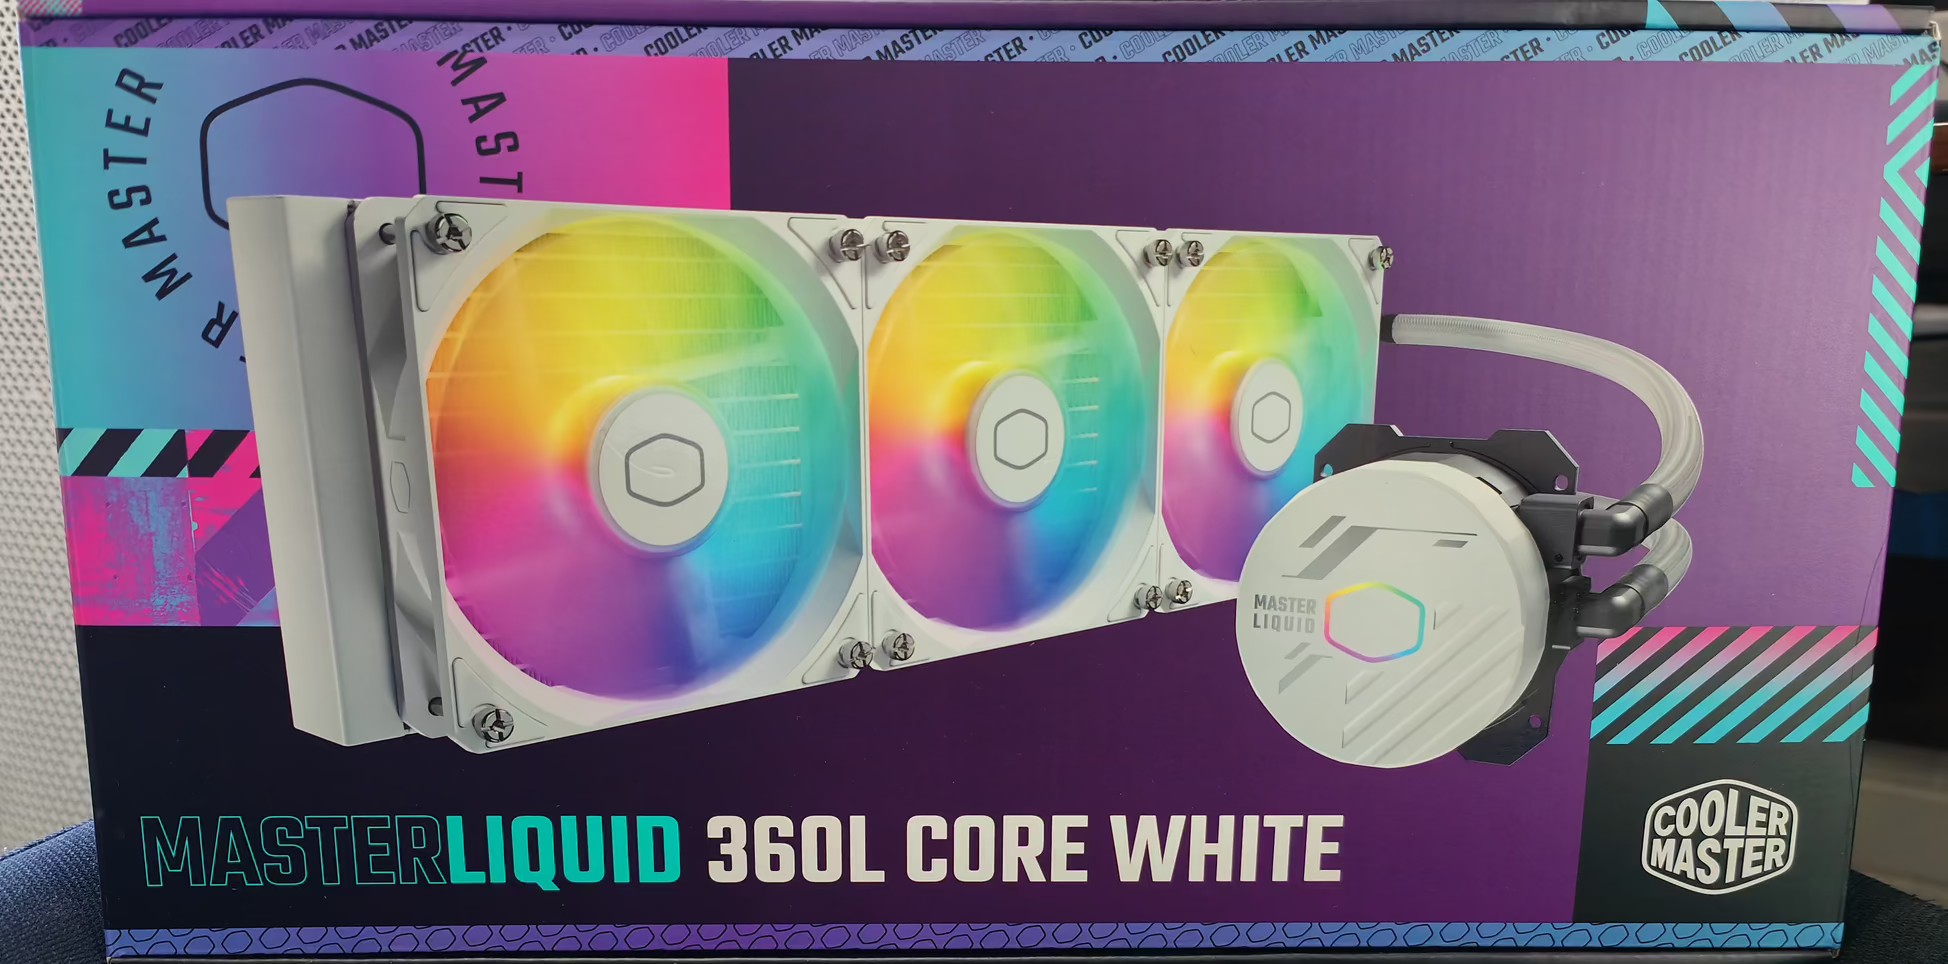
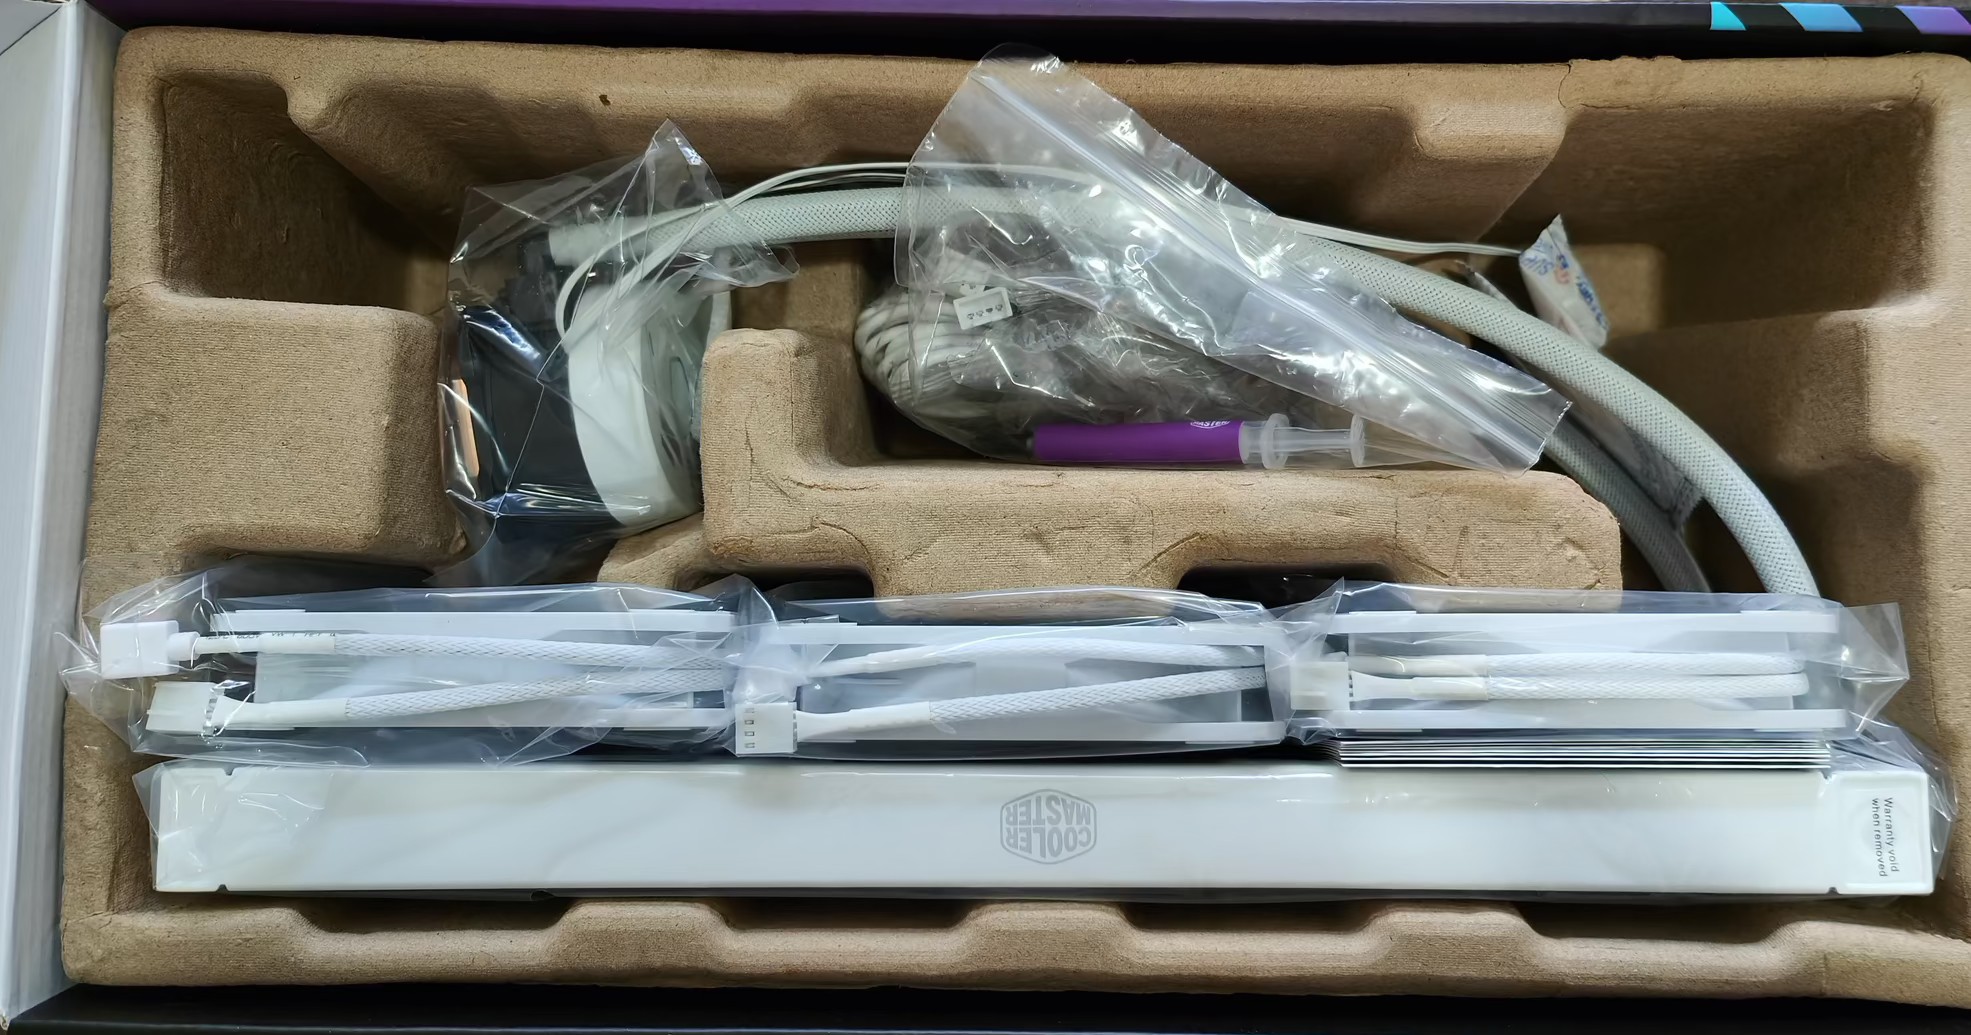
The first view of everything.
The inside presents well and logically. Although in comparison to some other brands, eg Thermaltake, there is a bit more box and material for effectively the same amount of contents. What determines the overall dimensions and inner carrier of these AIO cooler boxes is going to be heavily influenced by the tubing length and rigidity; which means longer and thicker tubes will require a larger box.
The downside of the box is that once it is open, the flap has no “tuck tab” to seal it back up. So it is left to flap in the breeze and catch on anything near by. A nit-pick for sure, but a real problem when you want to stack your box away in the cupboard but a flap keeps pushing out.
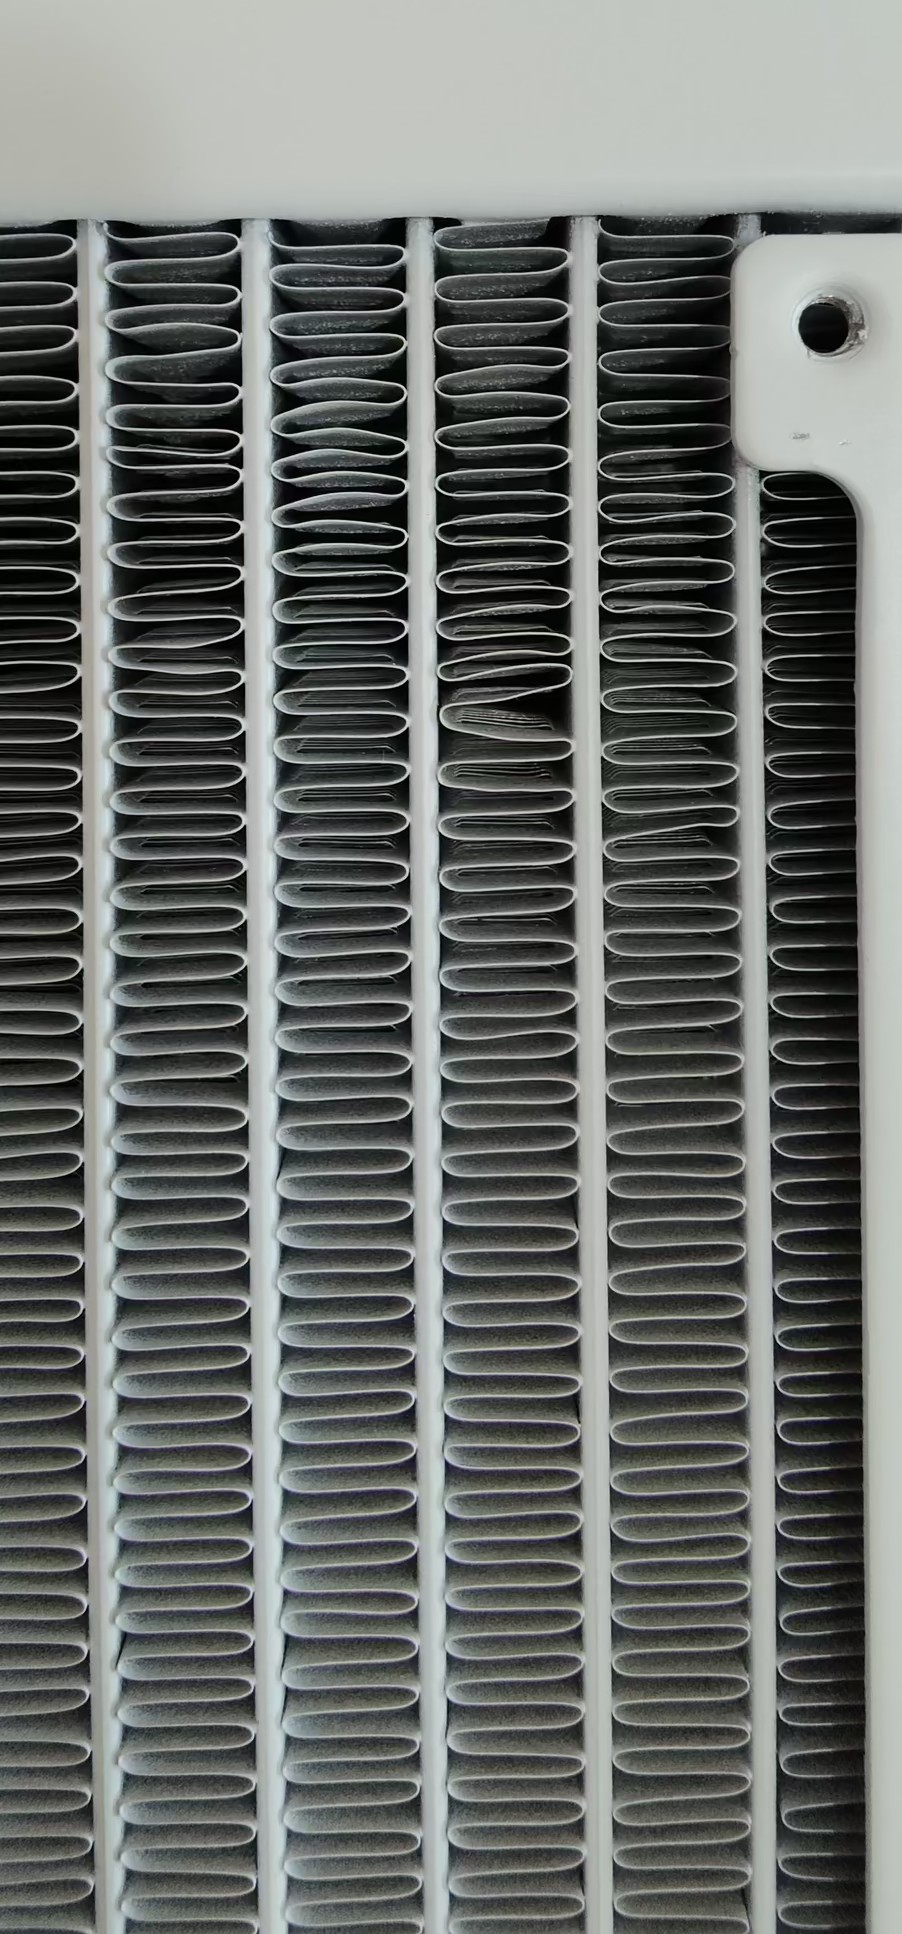
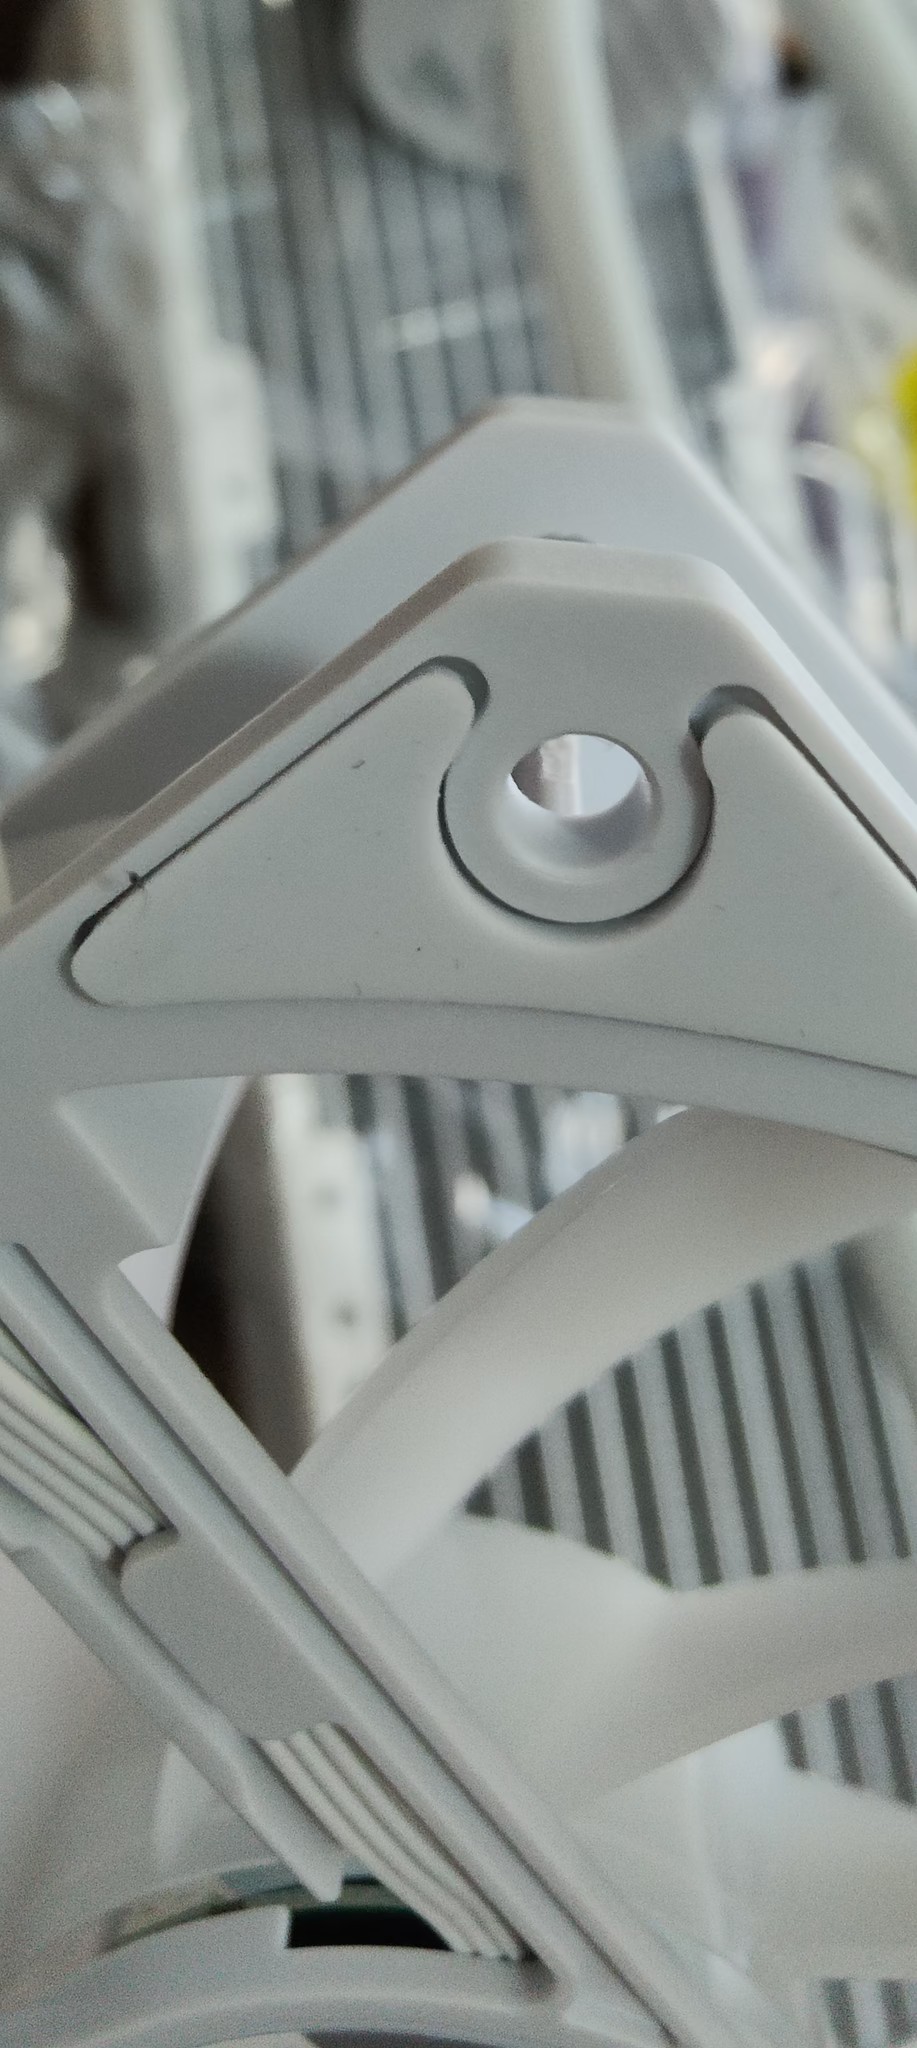
The radiator looks unremarkable and no different to any other brand. Although, because this is the white version, we can see every single blemish and defect much more clearly. This means that the white paint on black is noticeable in the screw holes and the grill.
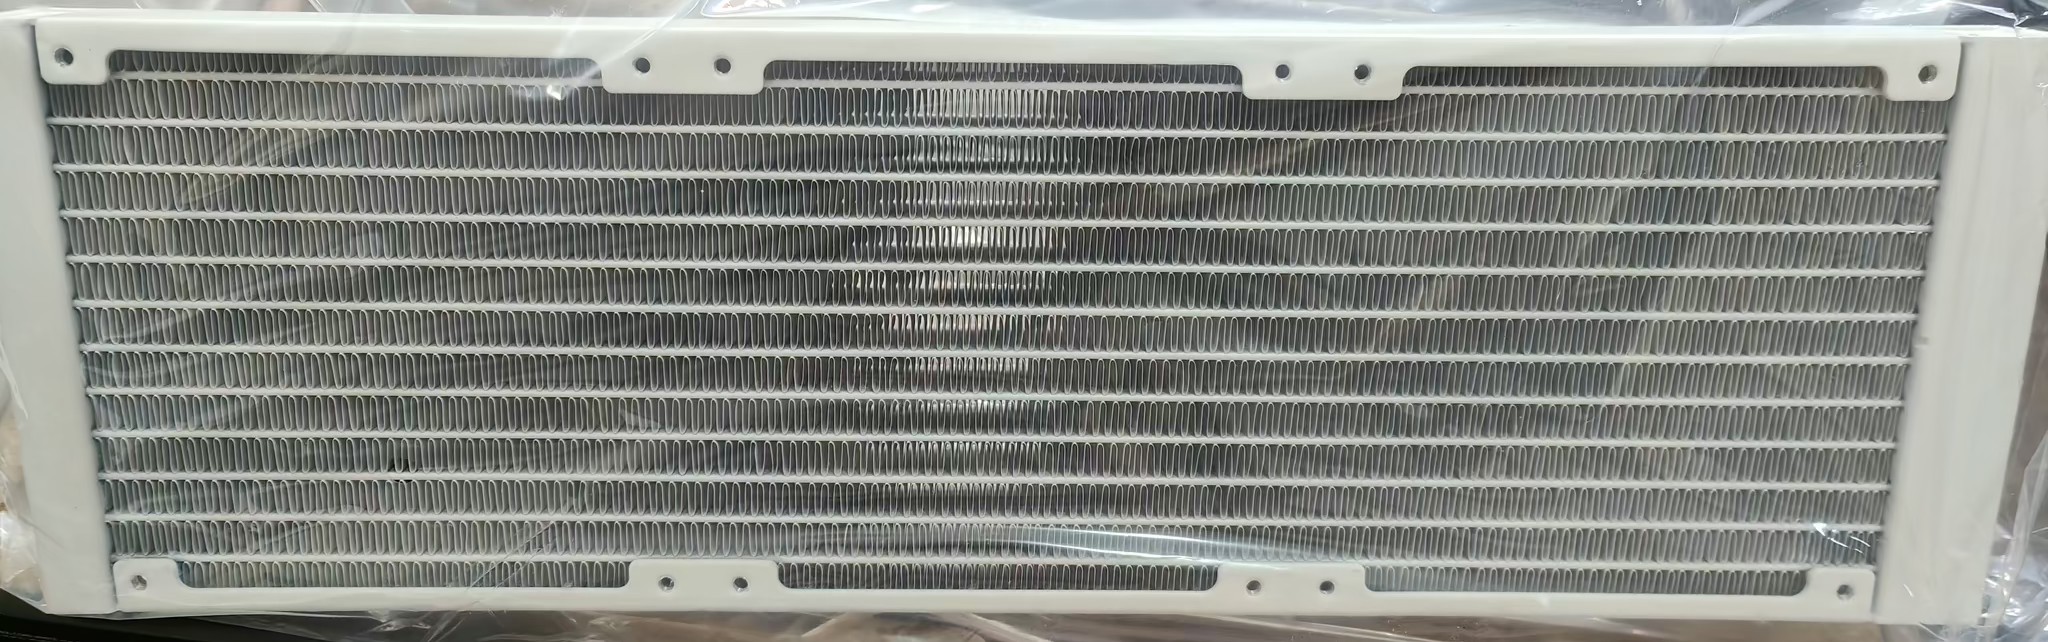
Out of the box view.
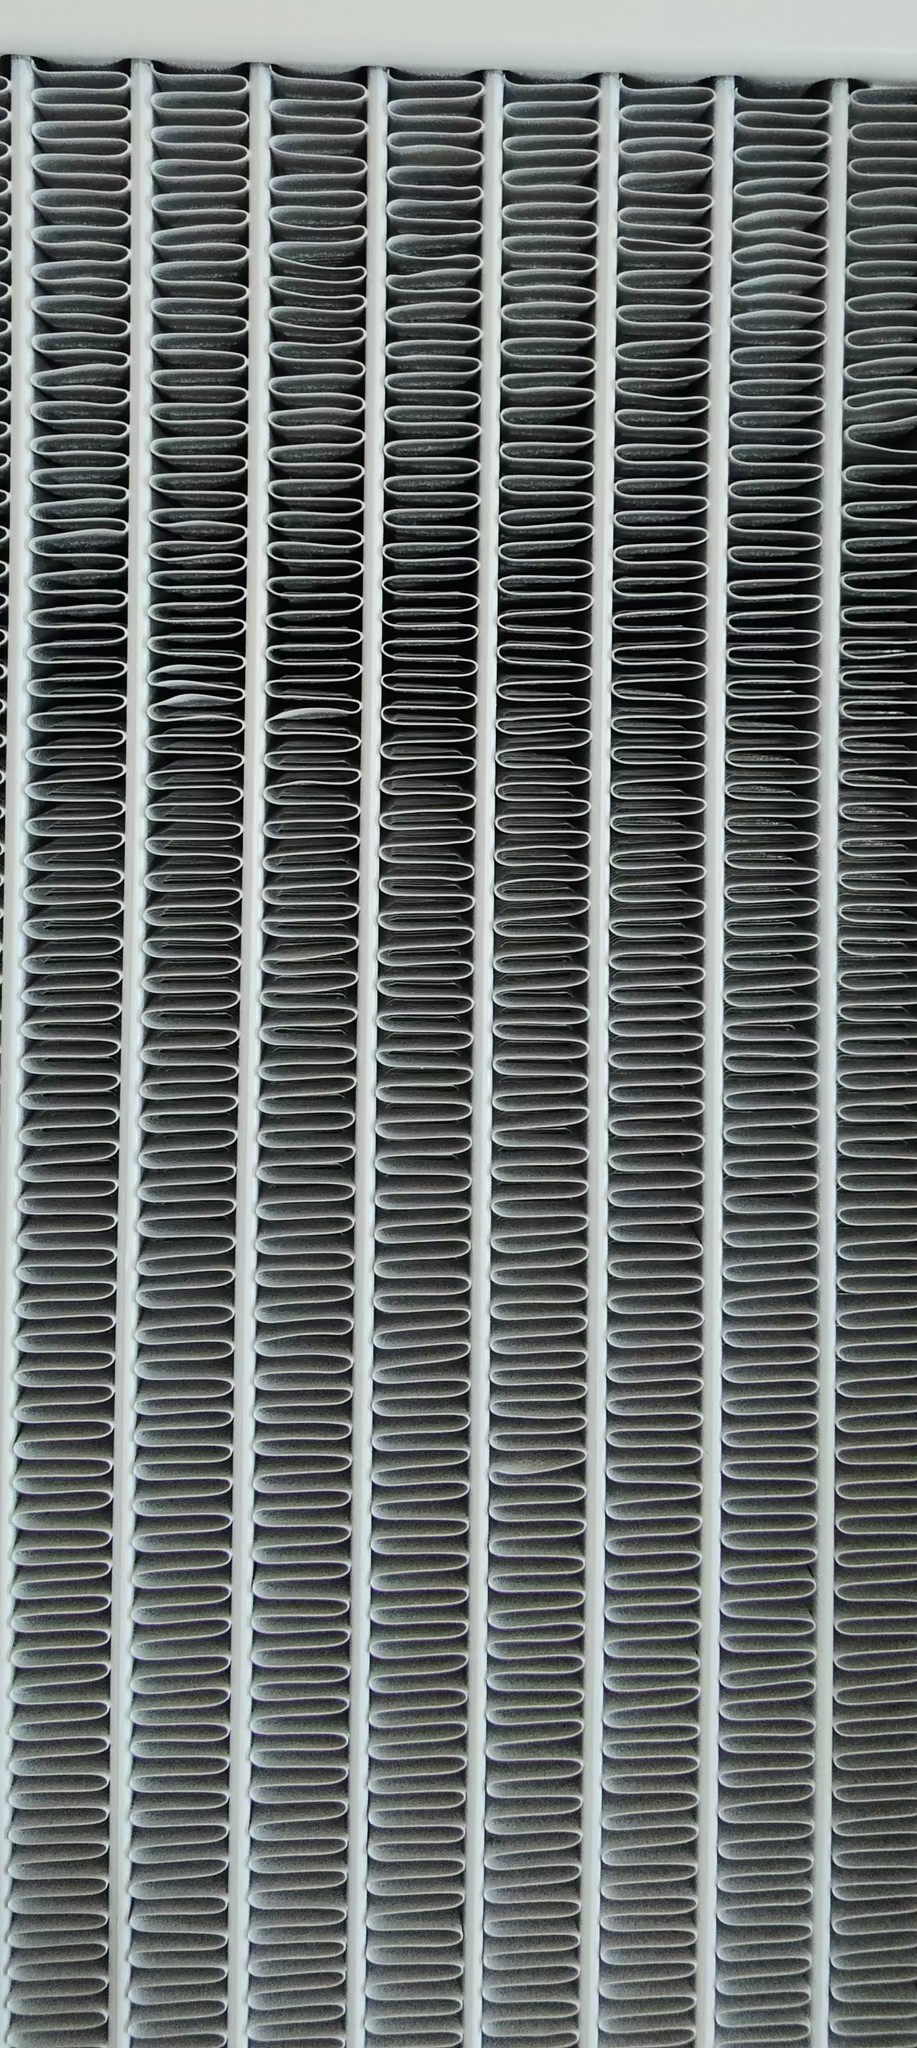
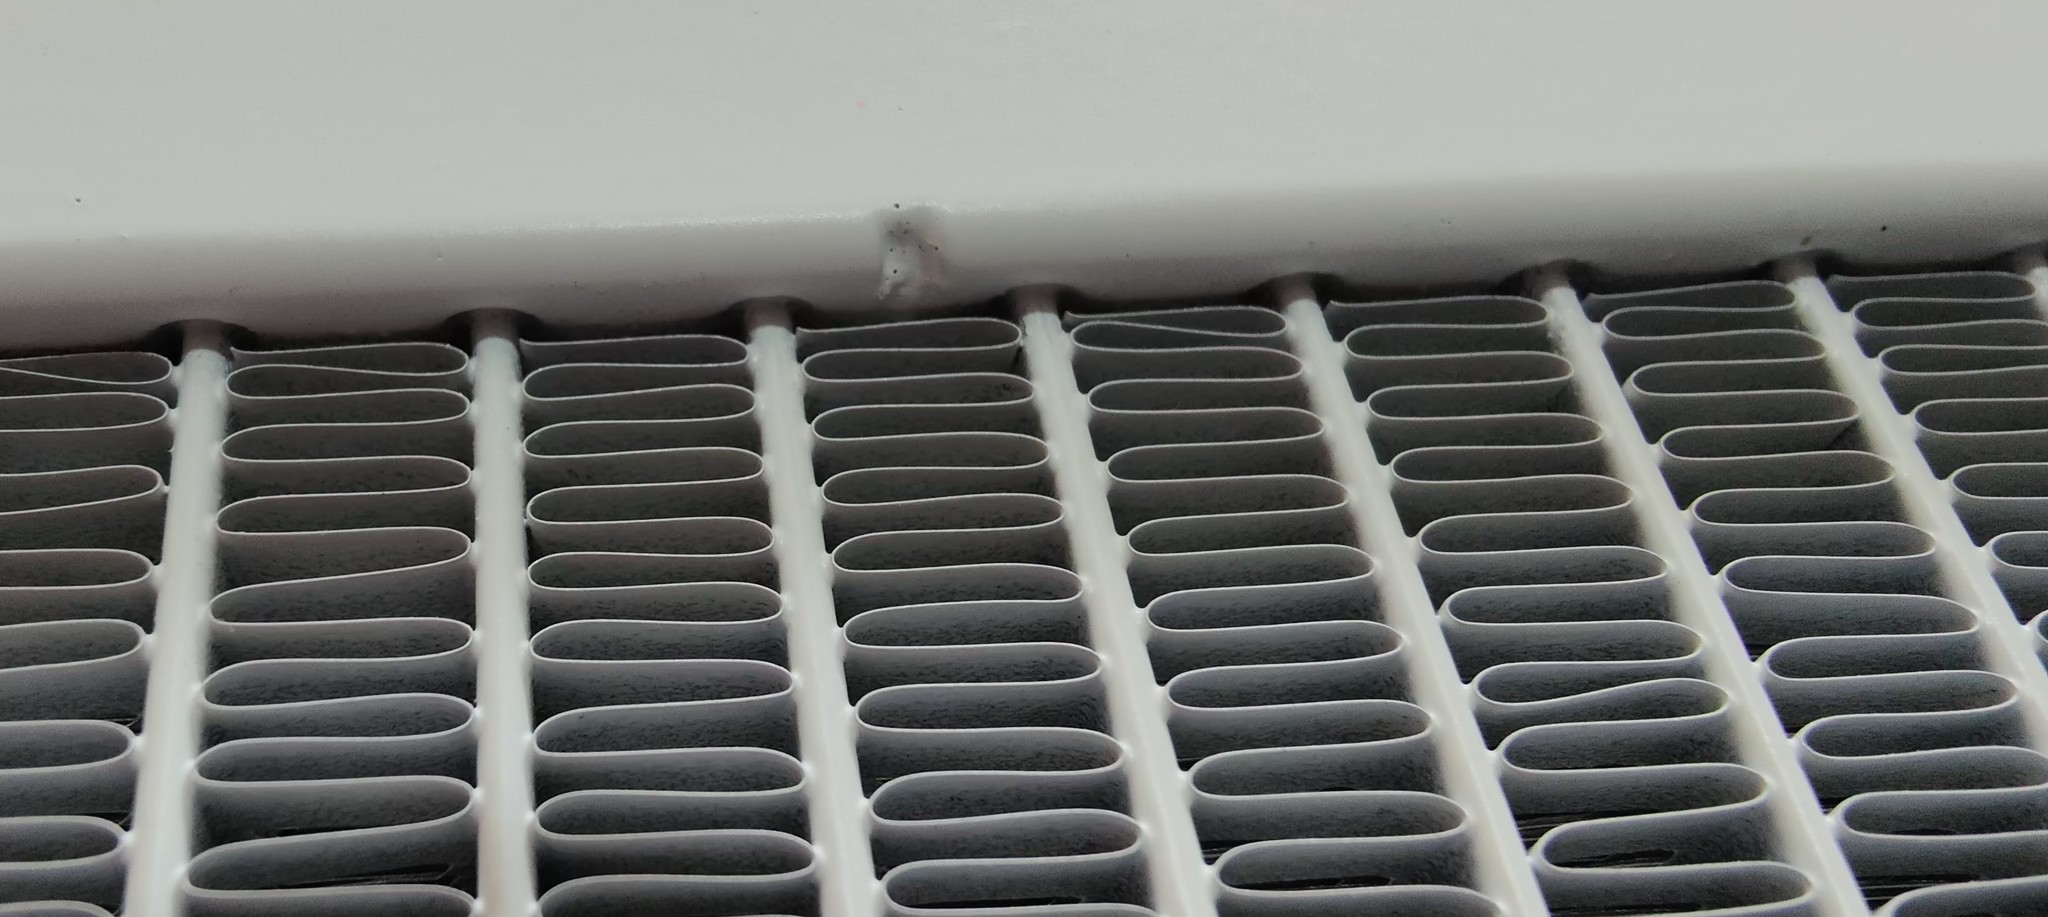
You will never see a perfect grill. This is no exception
Large deviations to the pattern is obvious.
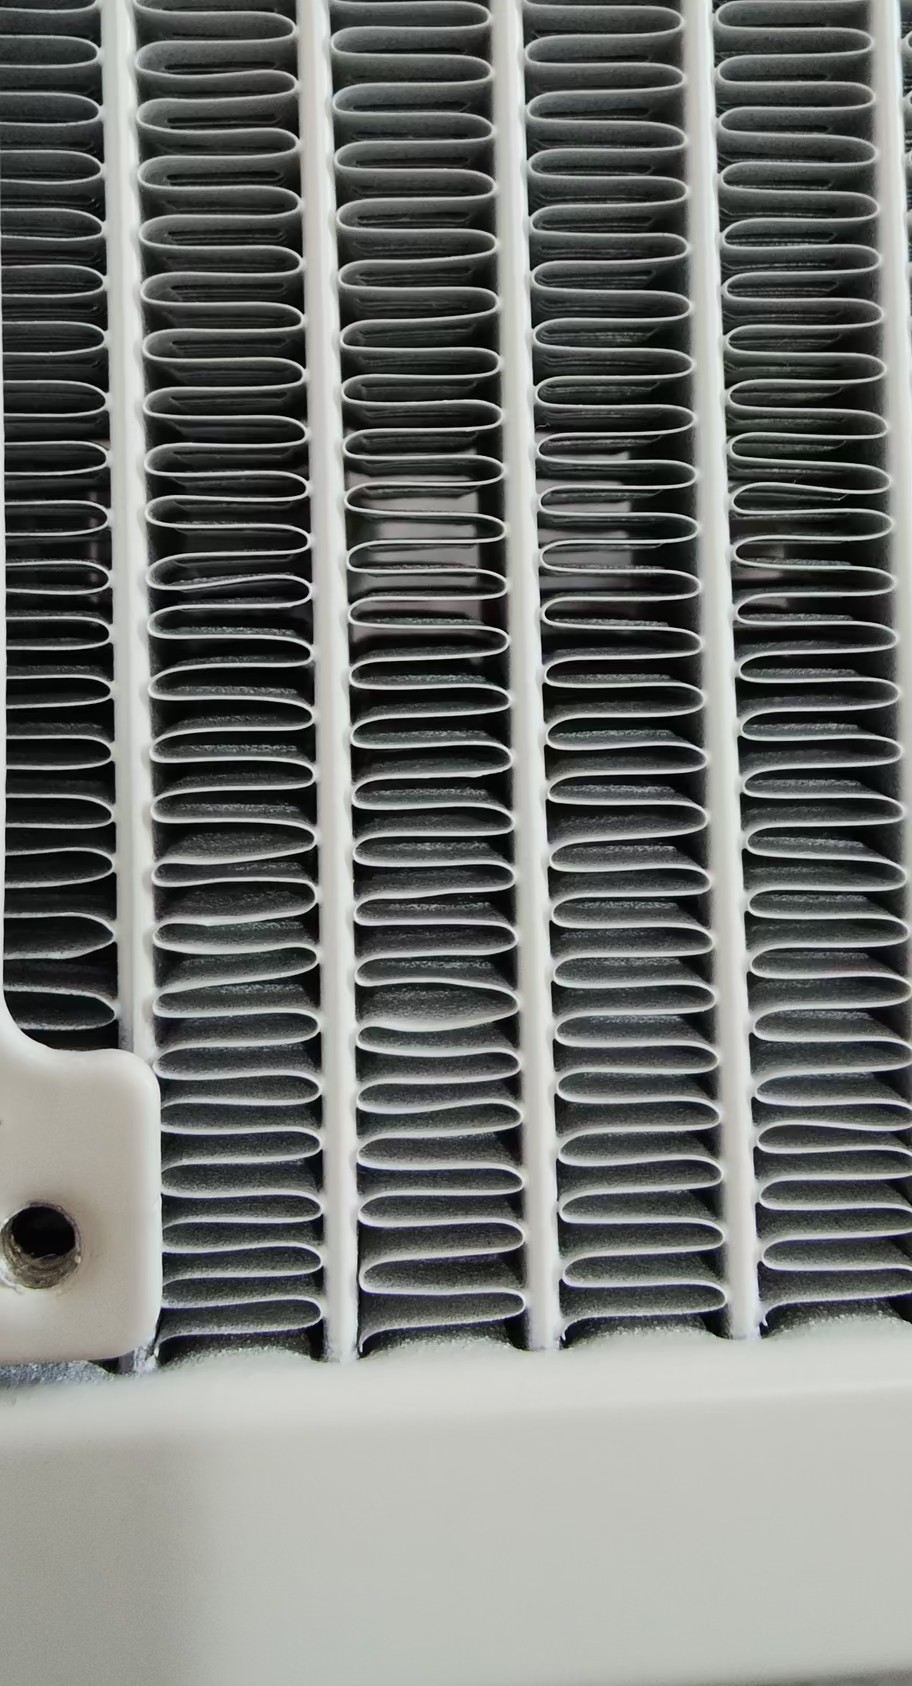
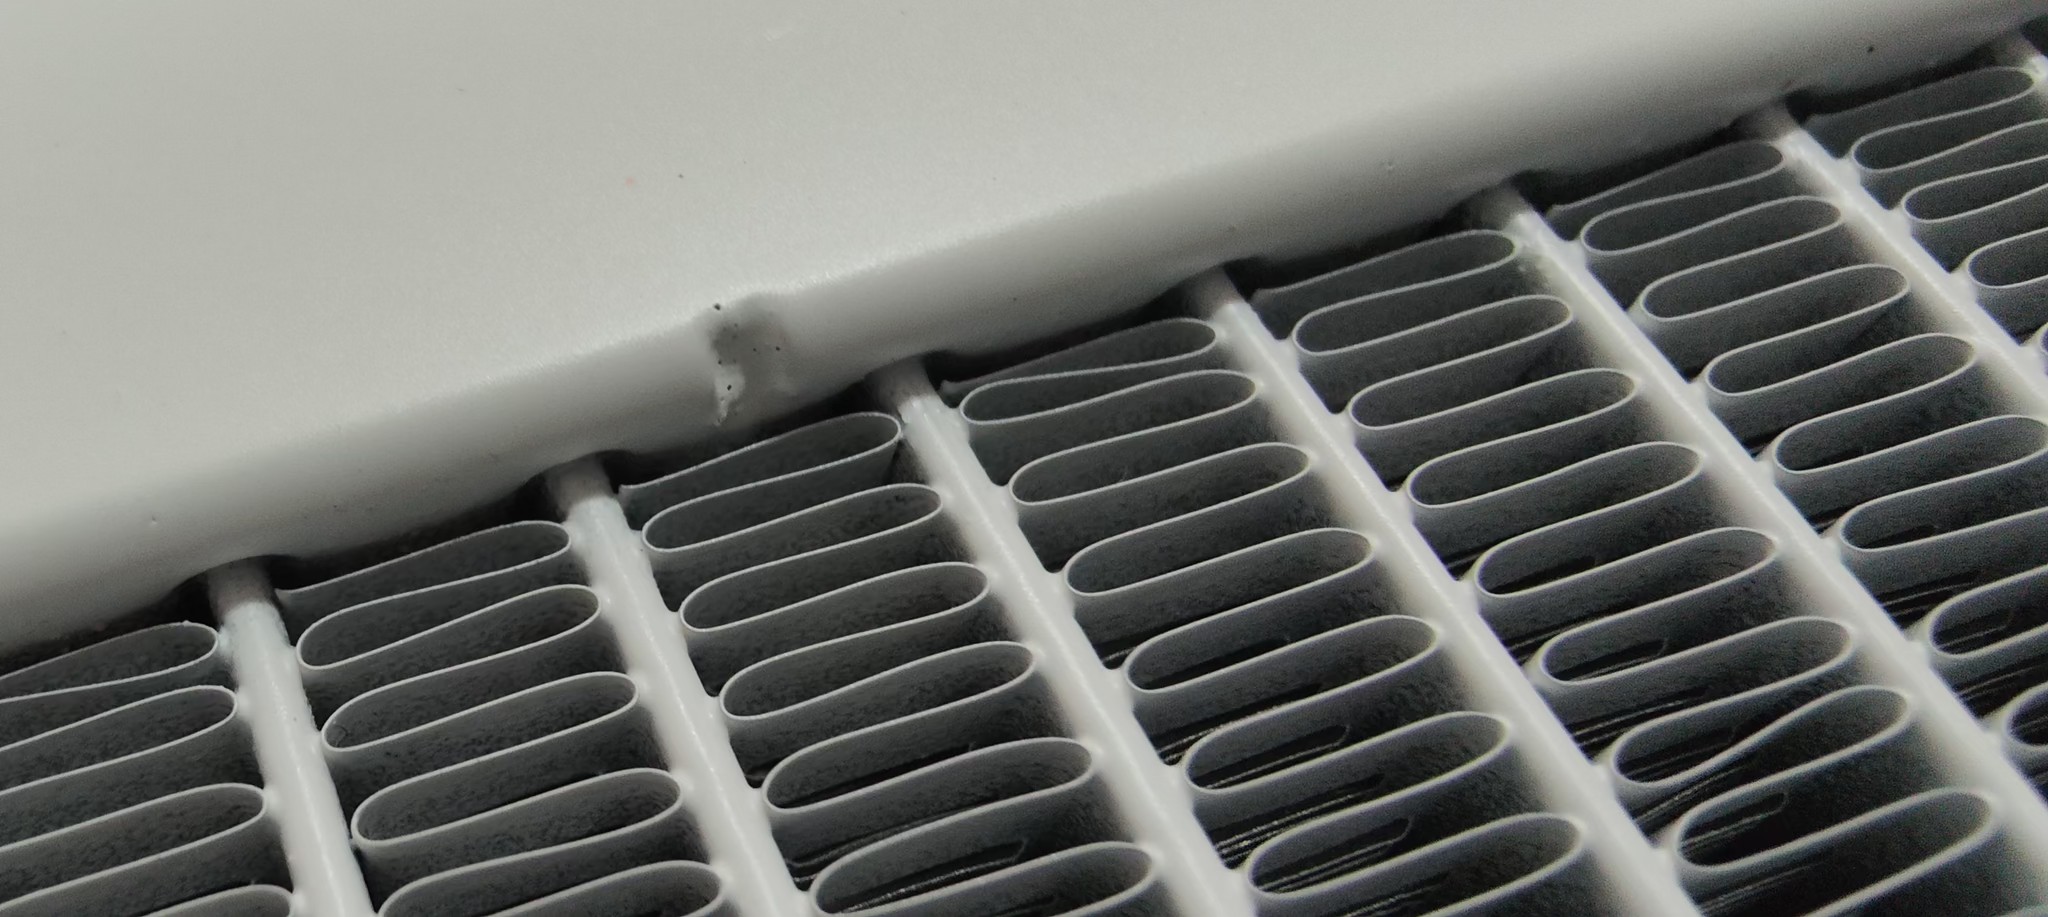
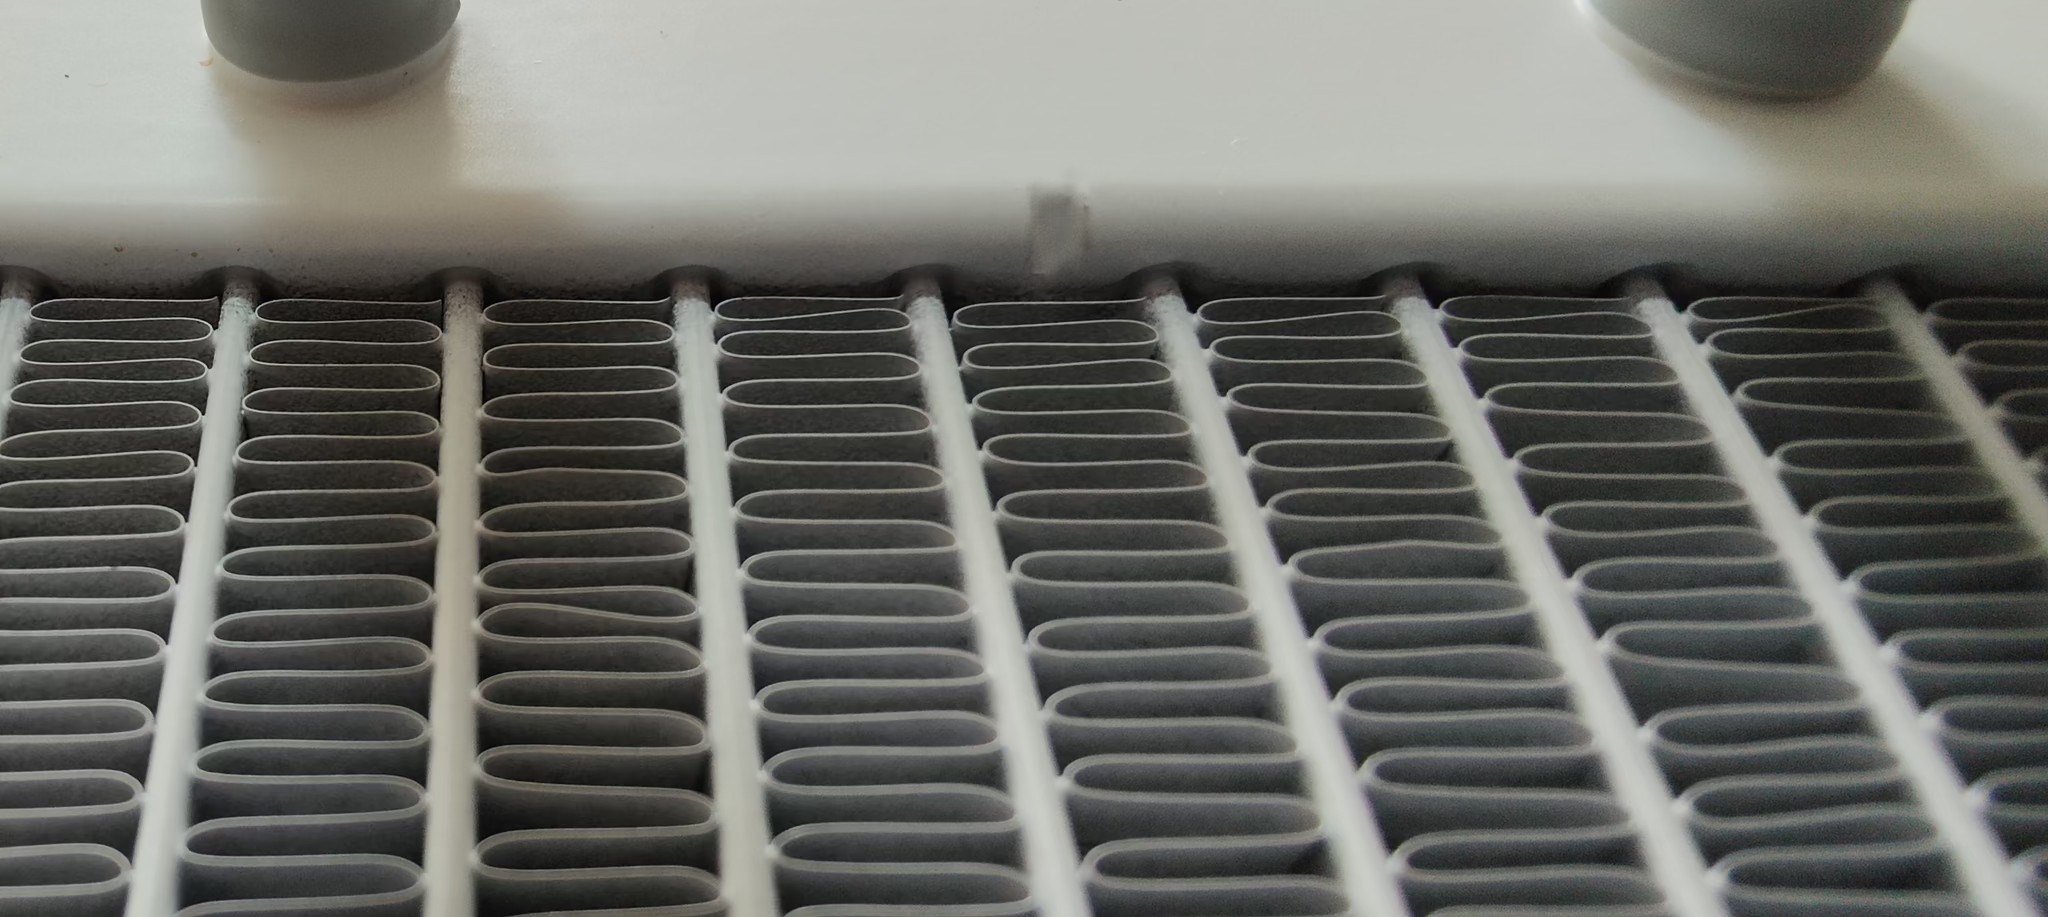
The radiator has been painted white, but less paint makes its way into the waffles. Airflow is still fine!
Different heights, again all normal.
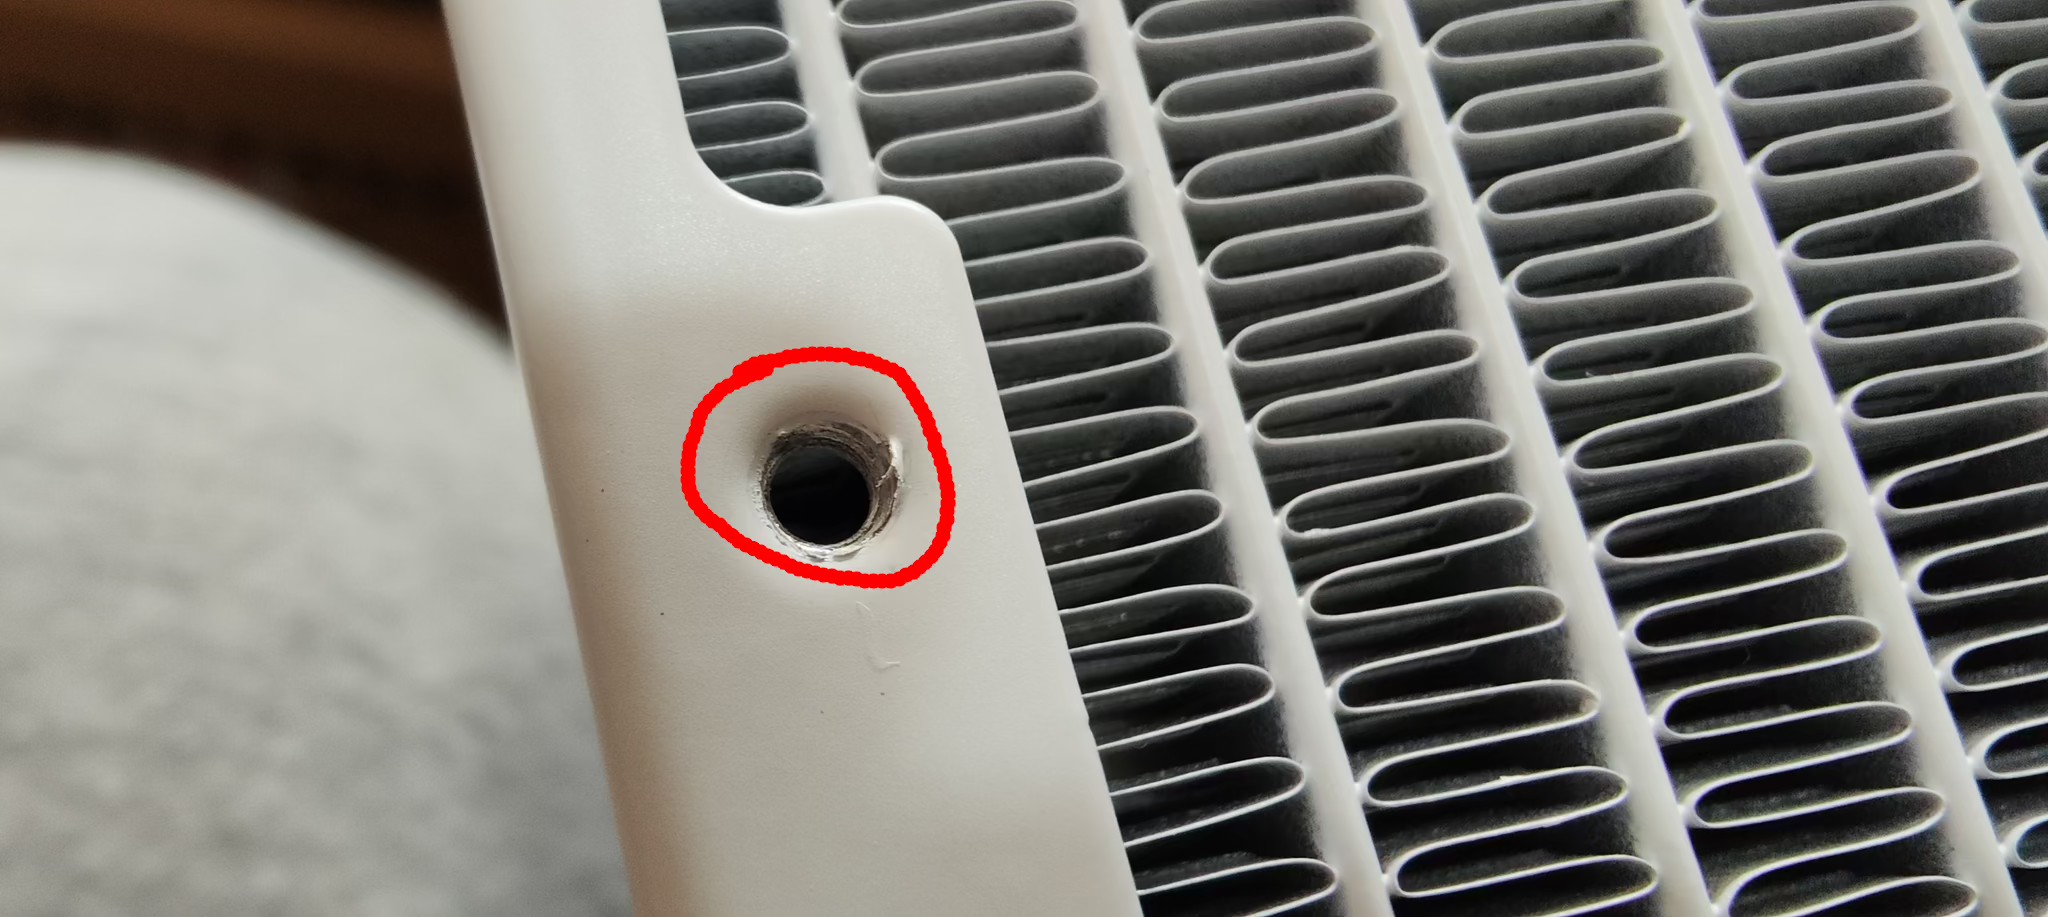
The original black is visible even in the screw holes prior to first time use.
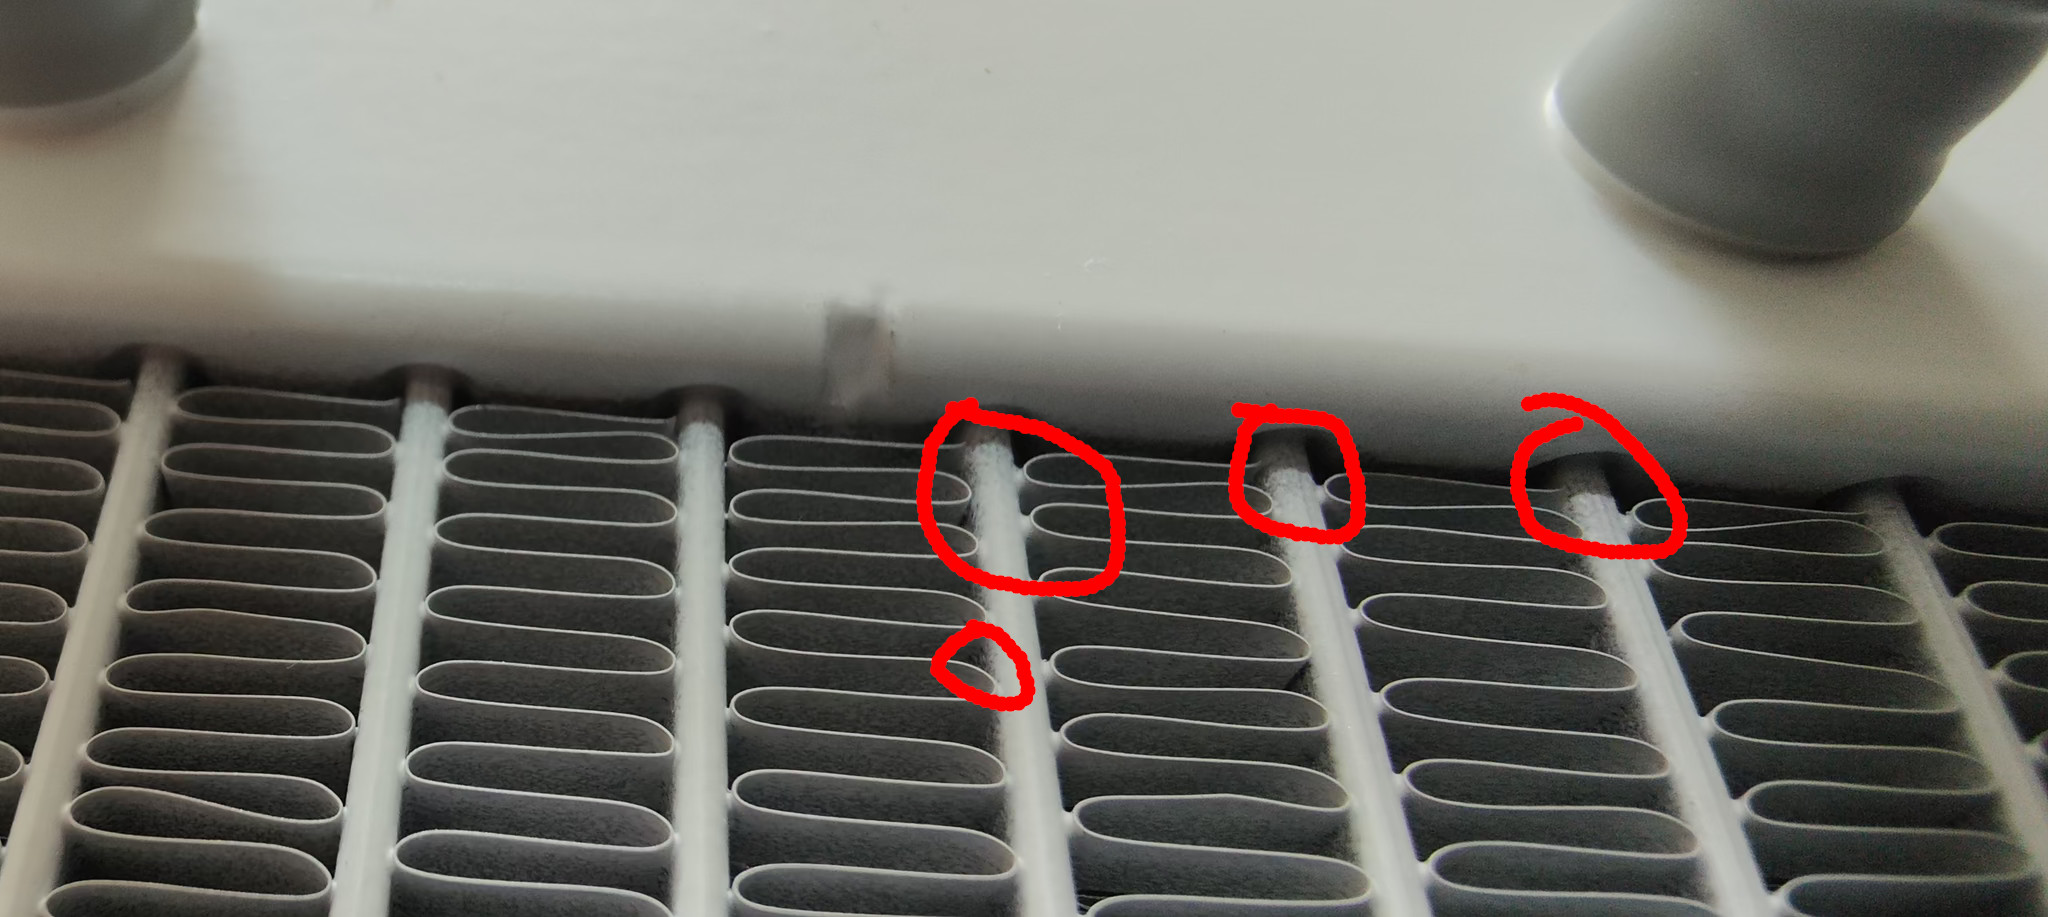
Red circles: notable aspects of the defects. None of this is abnormal or would affect operation. This is consistent quality for all brands.

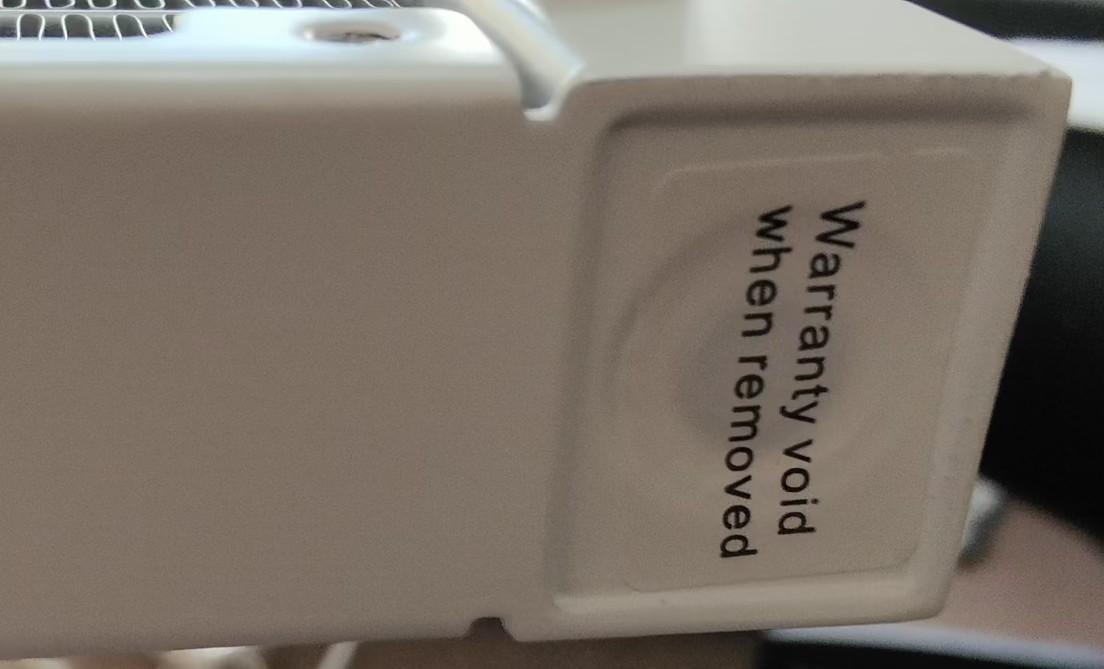
Looks like it can be refilled, but doing so will void the warranty. This is fine, since you should expect at least 3 years before that would ever be required.
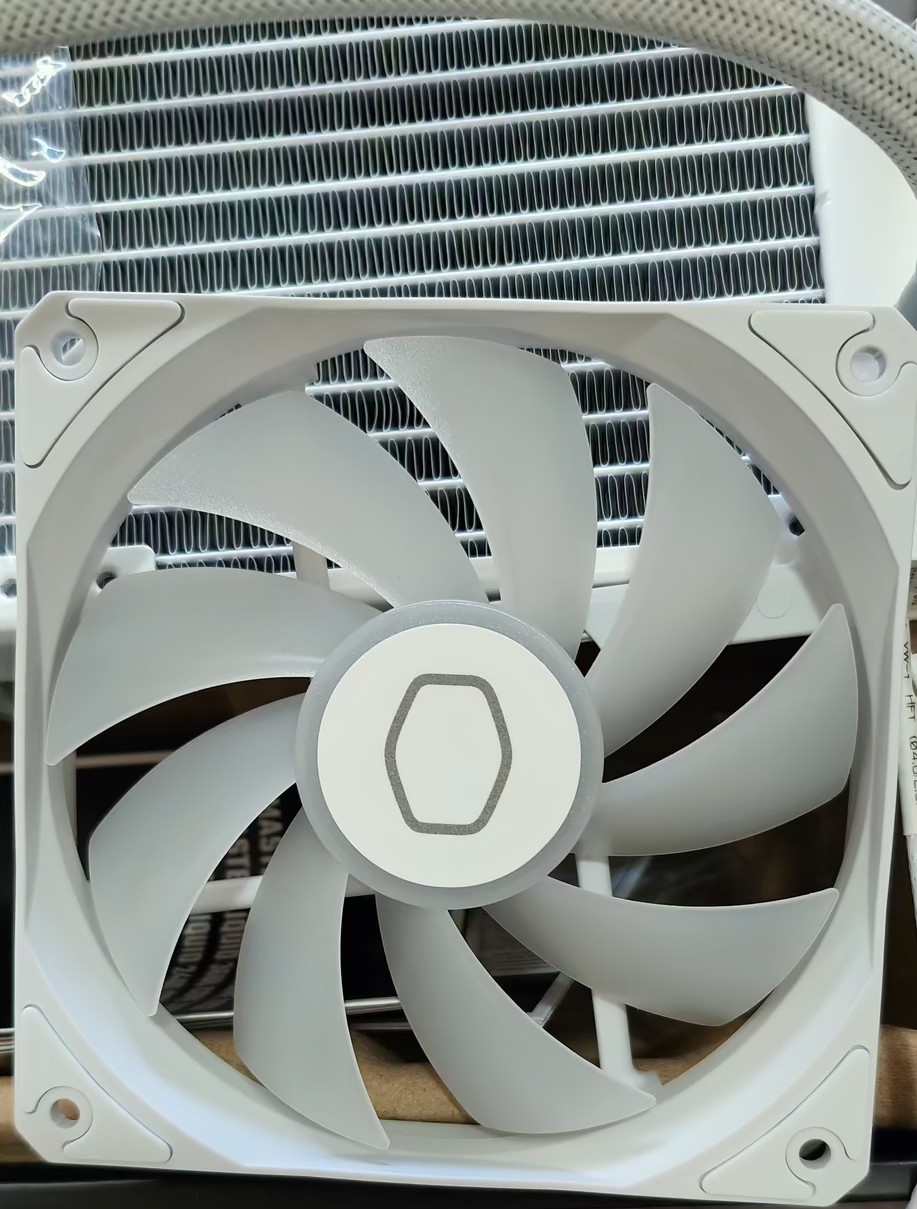
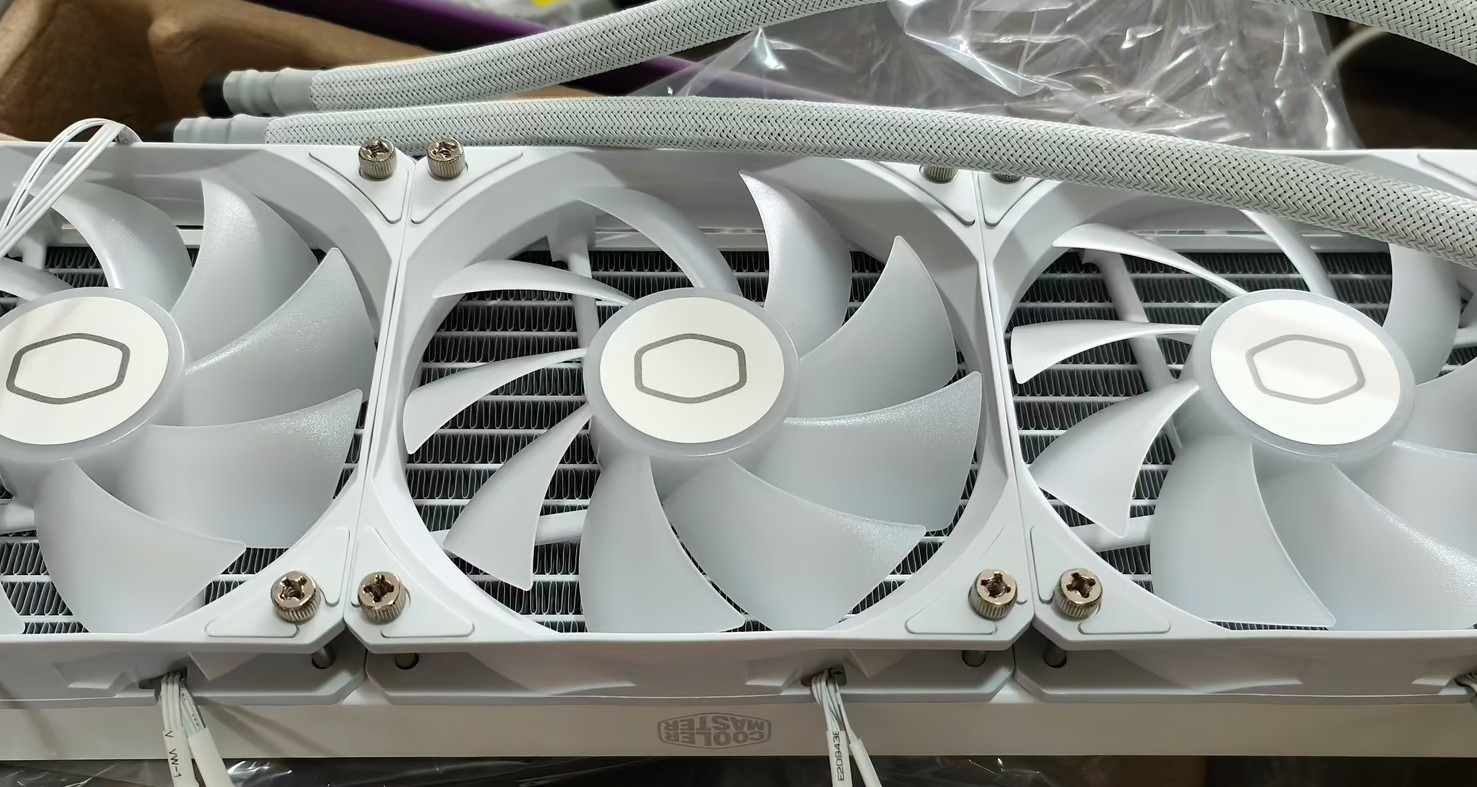
The CoolerMaster branding is a nice touch and although it really wont be visible from the outside in most cases, it will be for some. For those who have acute brand alliance syndrome and want to show off the brand in every which-way possible, this is perfection.
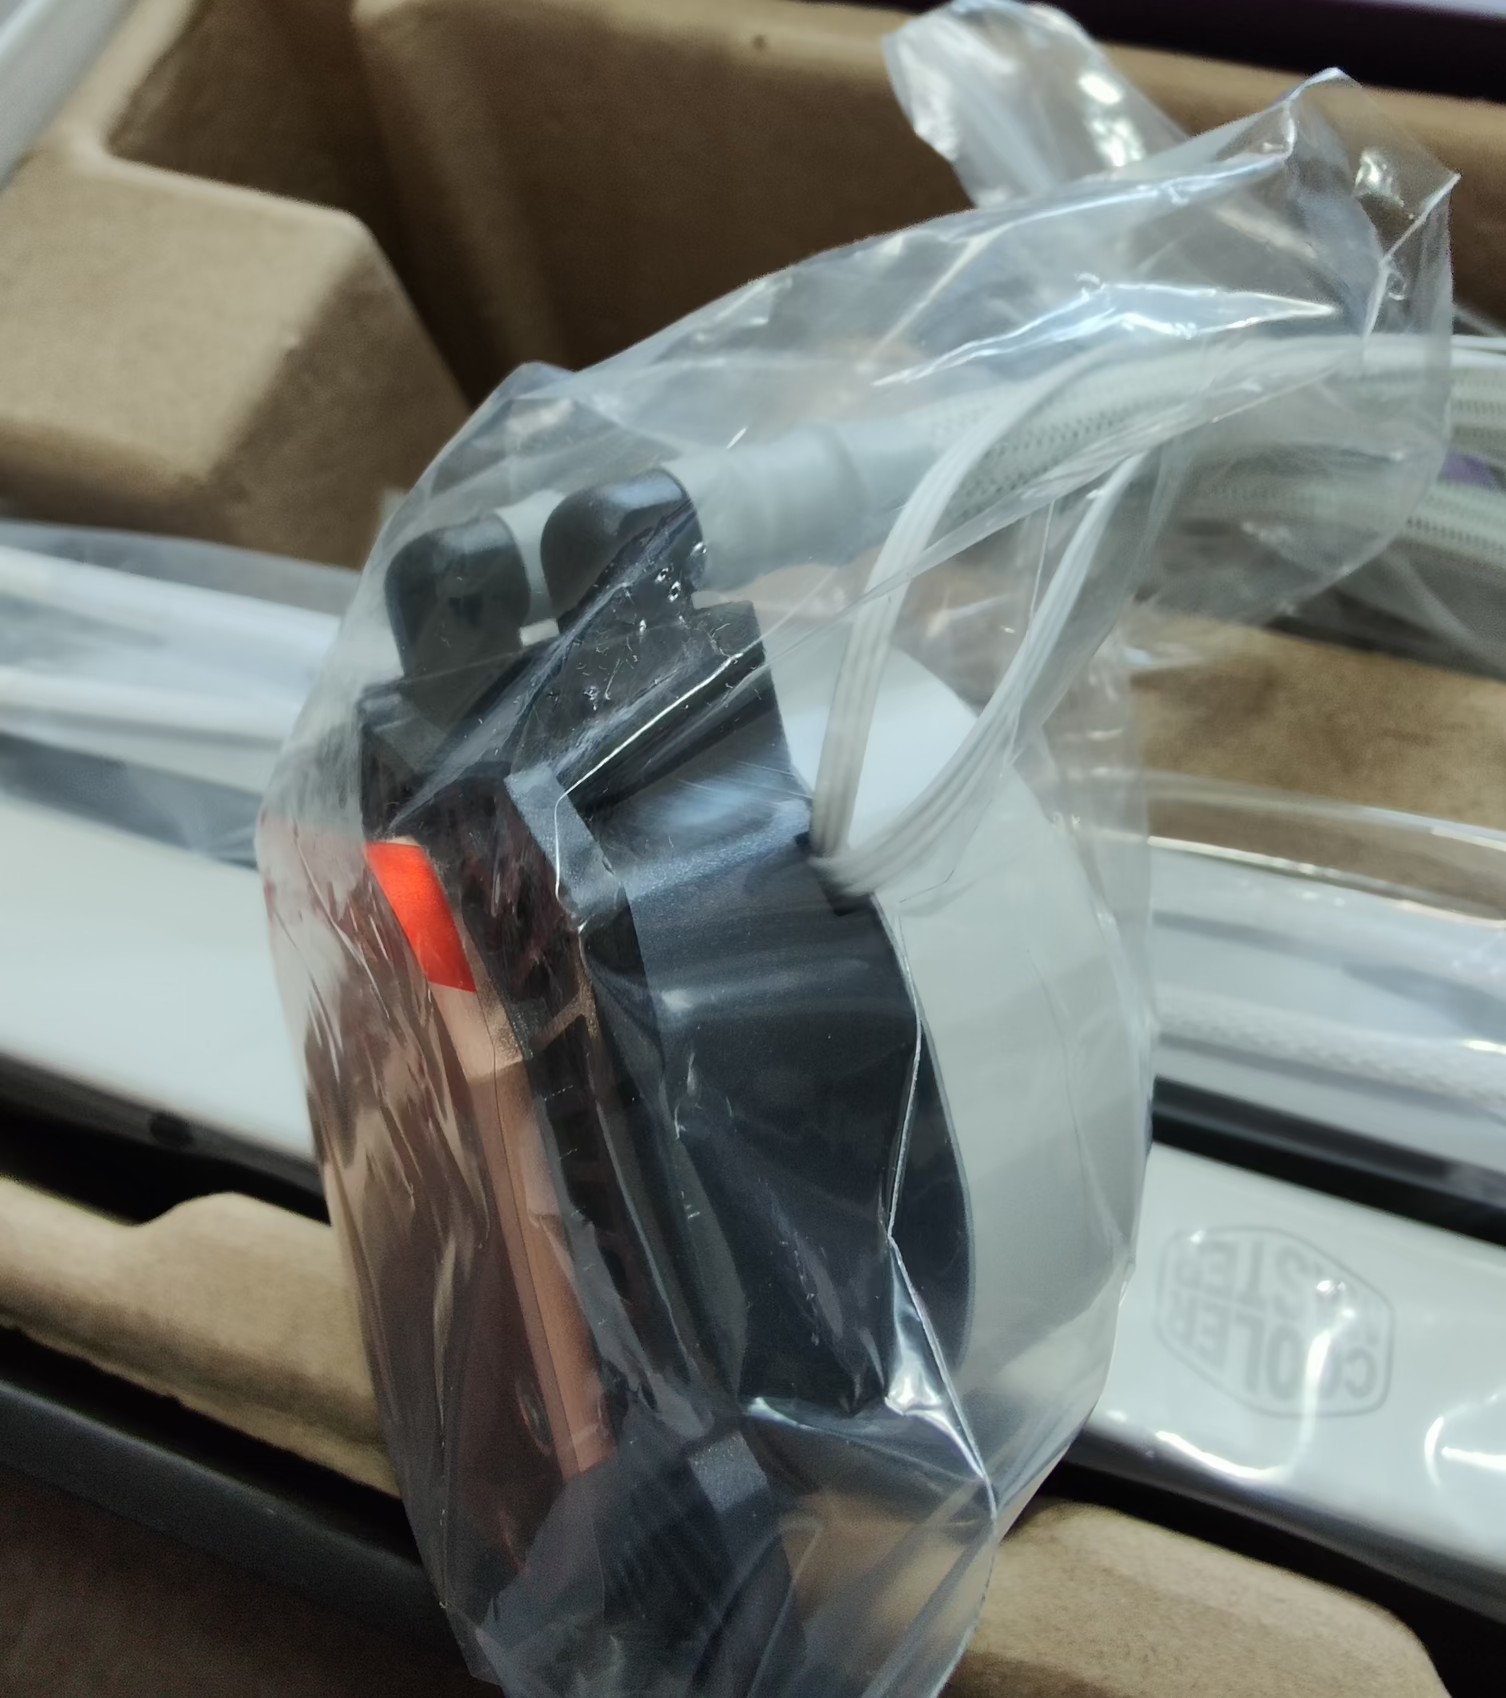
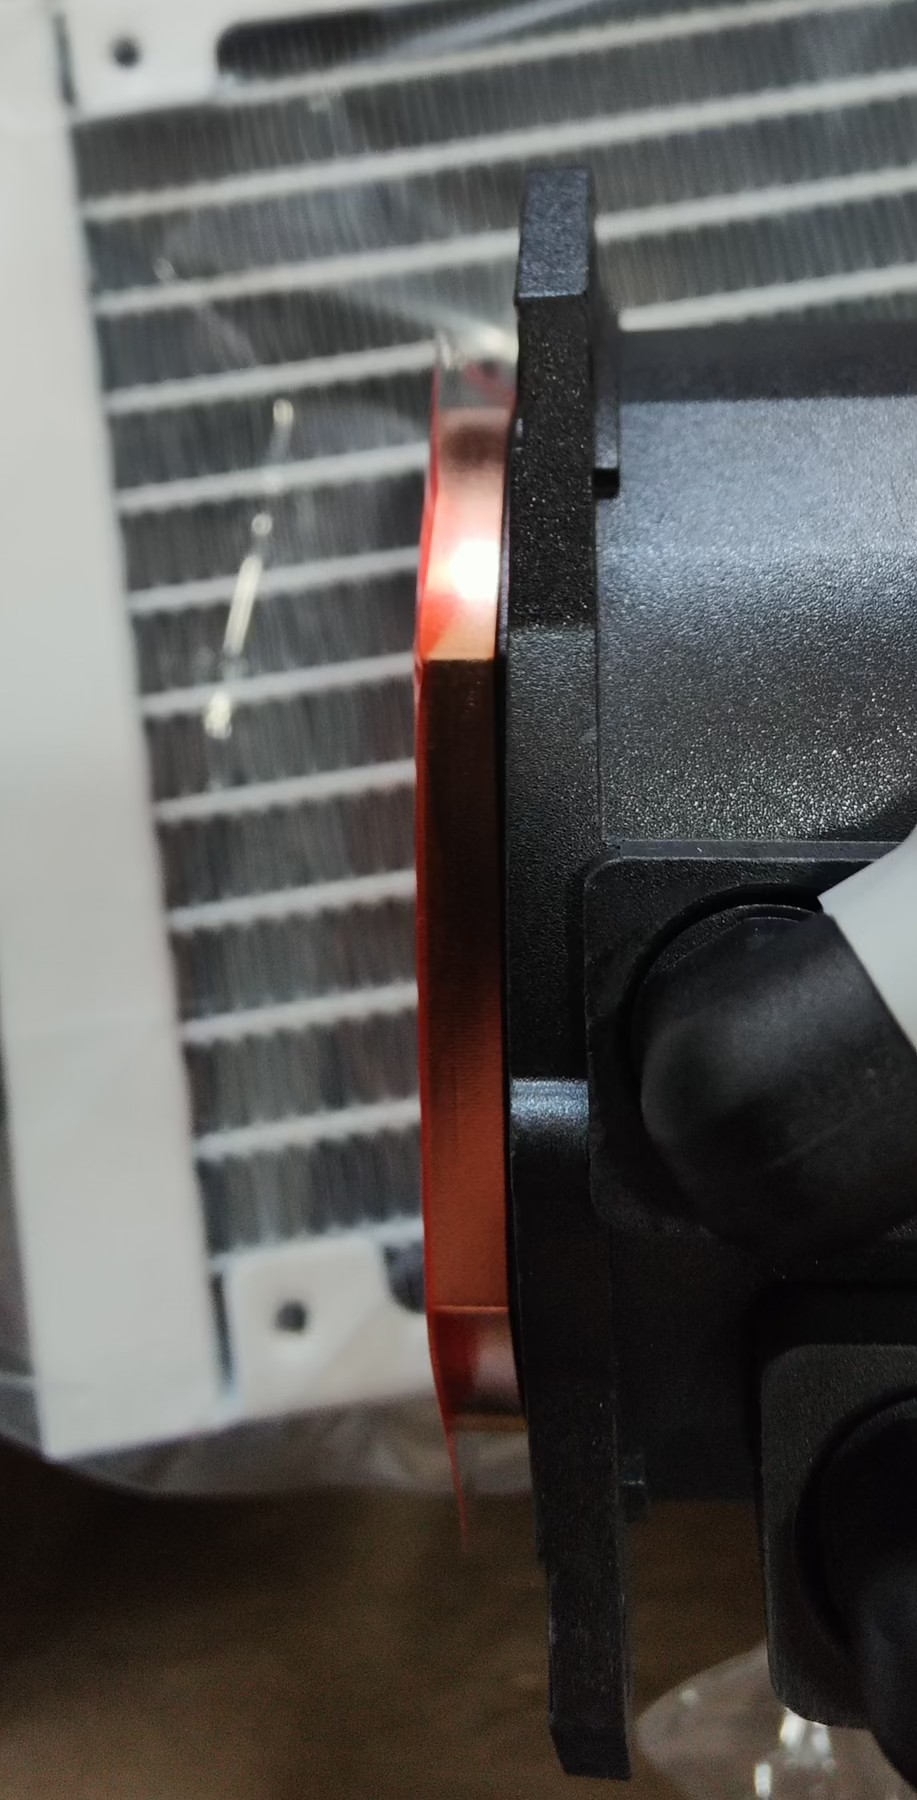
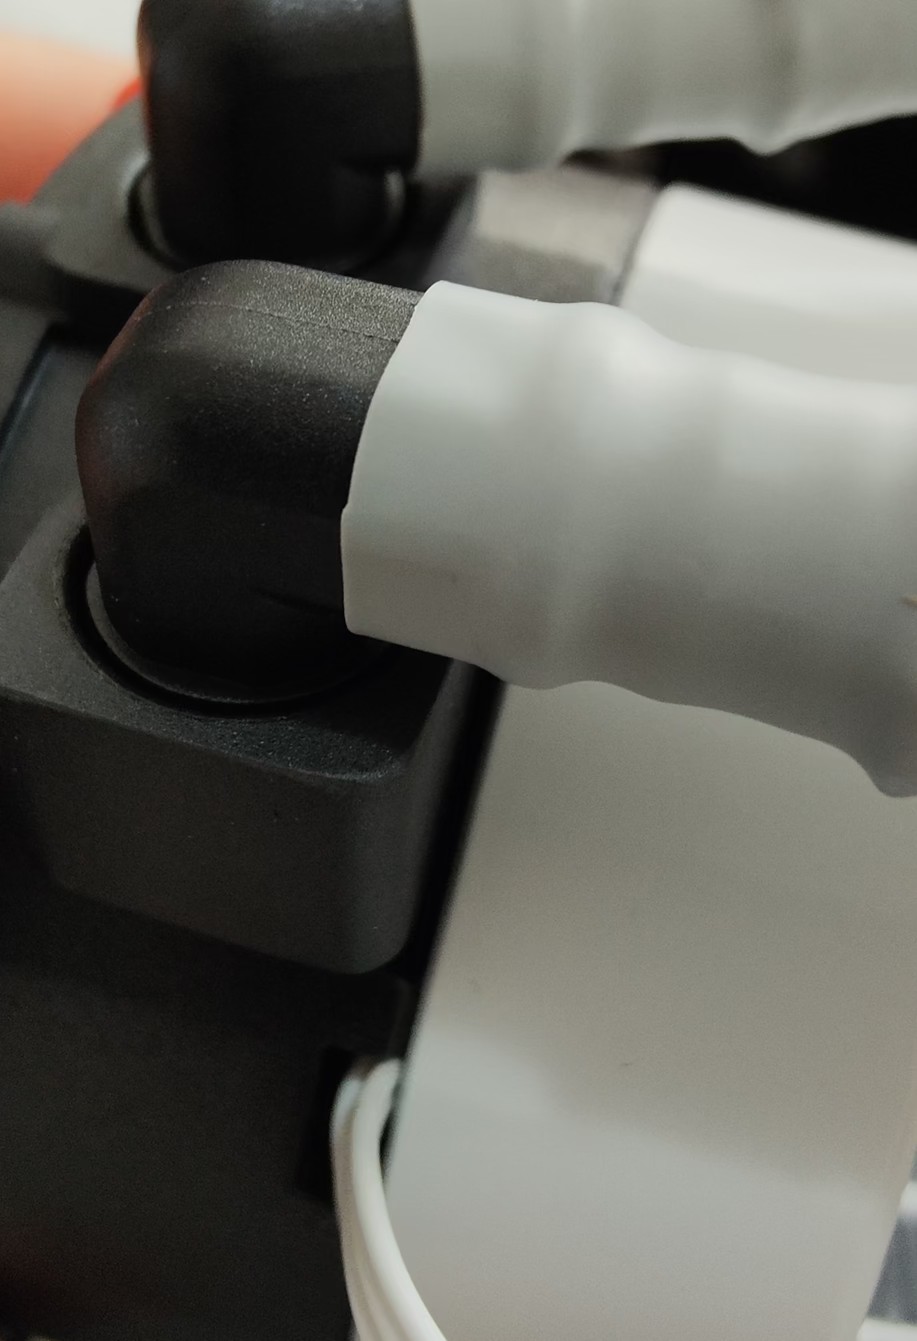
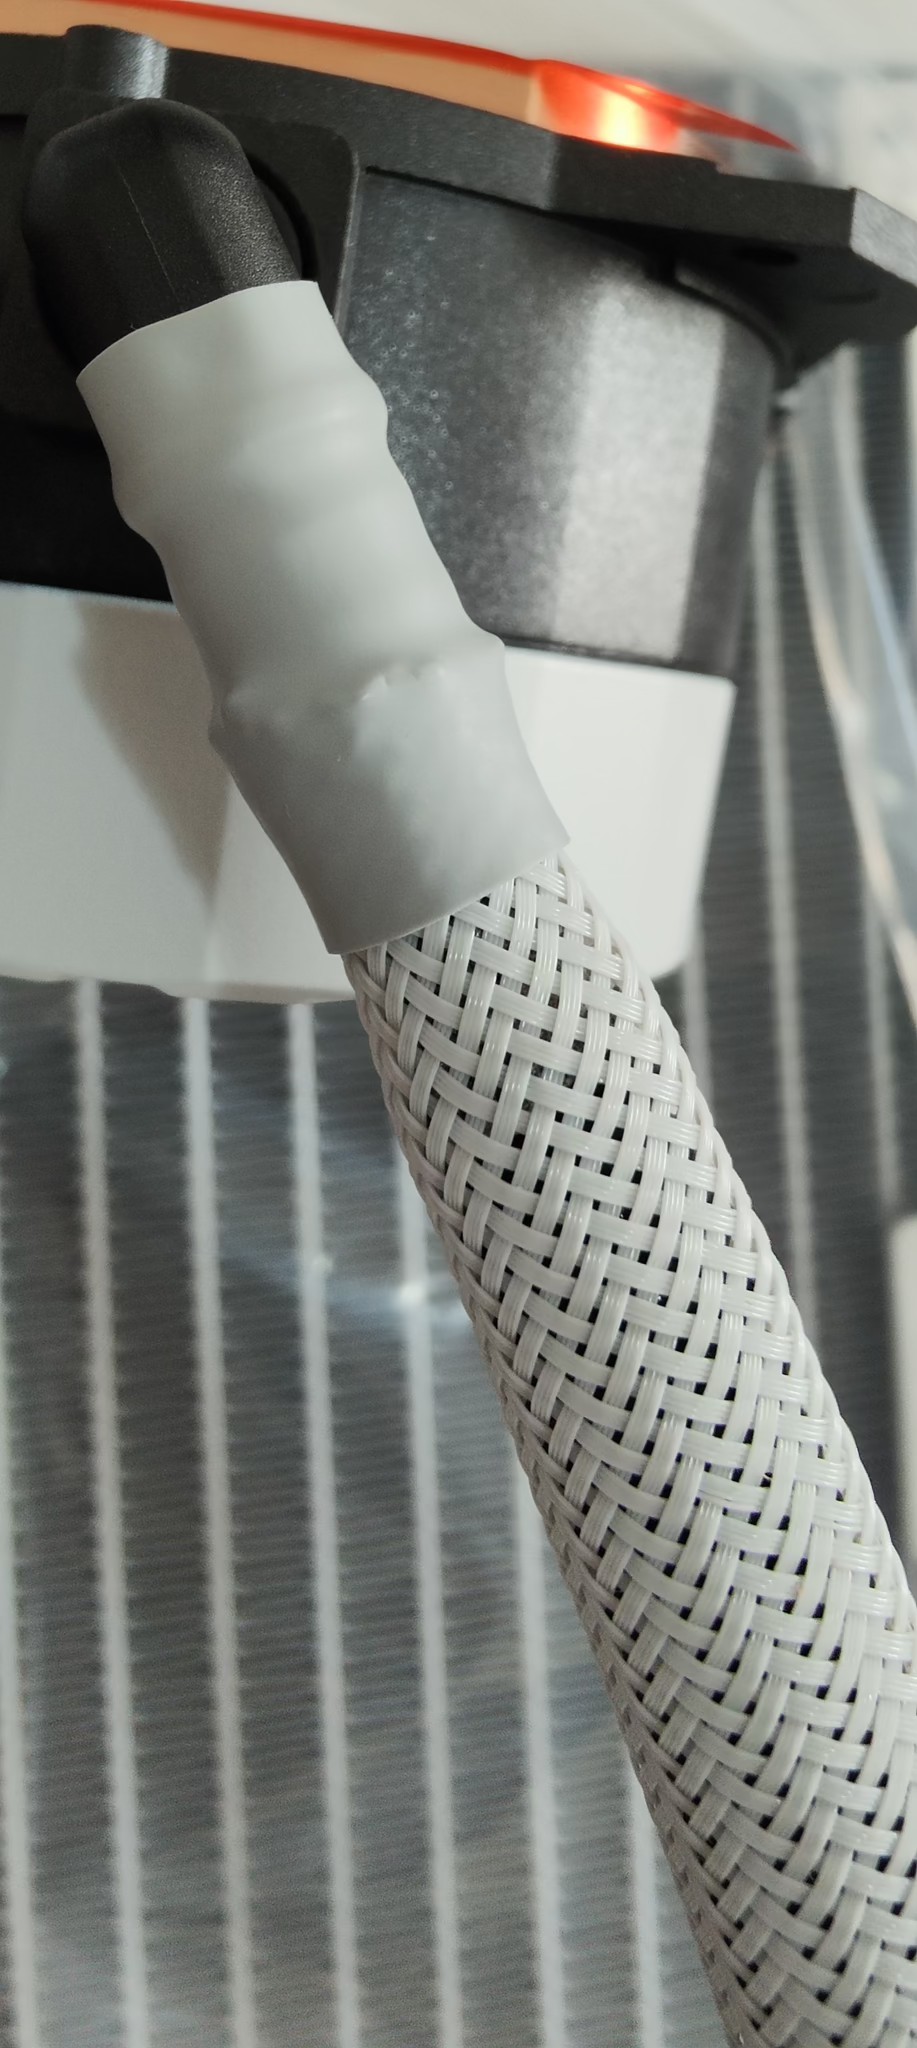
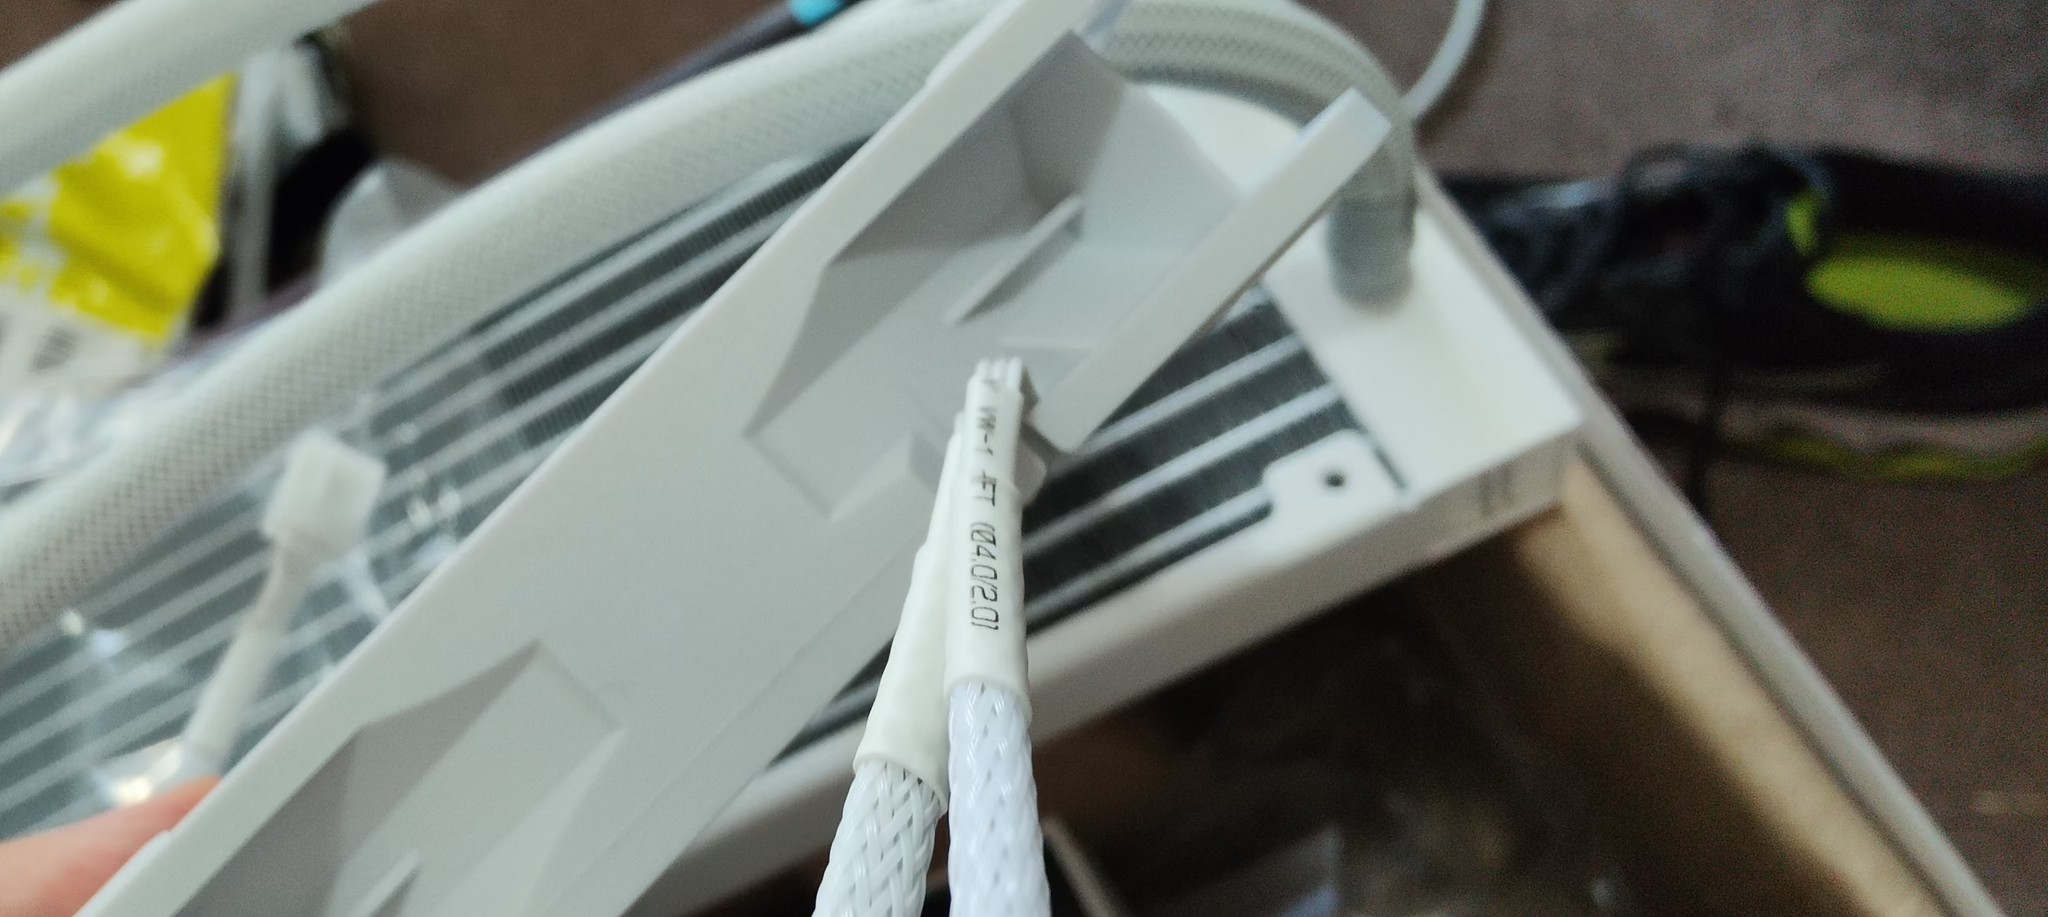
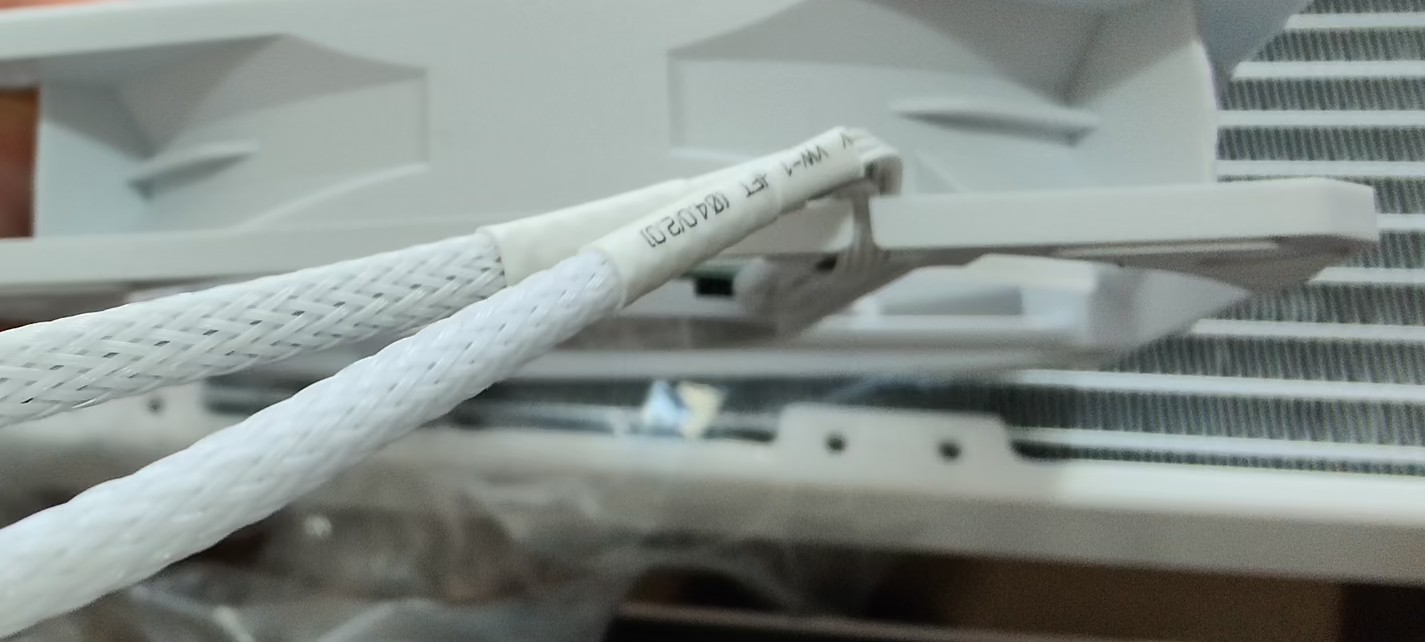
The hosing sheath is of exceptional quality and feels exceedingly durable. The hose seems to be slightly smaller than the sheath and has some form of travel, so it allows for bending quite nicely. The connection to the pump has a great heat-shrunk seal and although it feels weird, there is also a section that tapers the inner tube and sheath into the pump connector. Nothing should ever leak here.
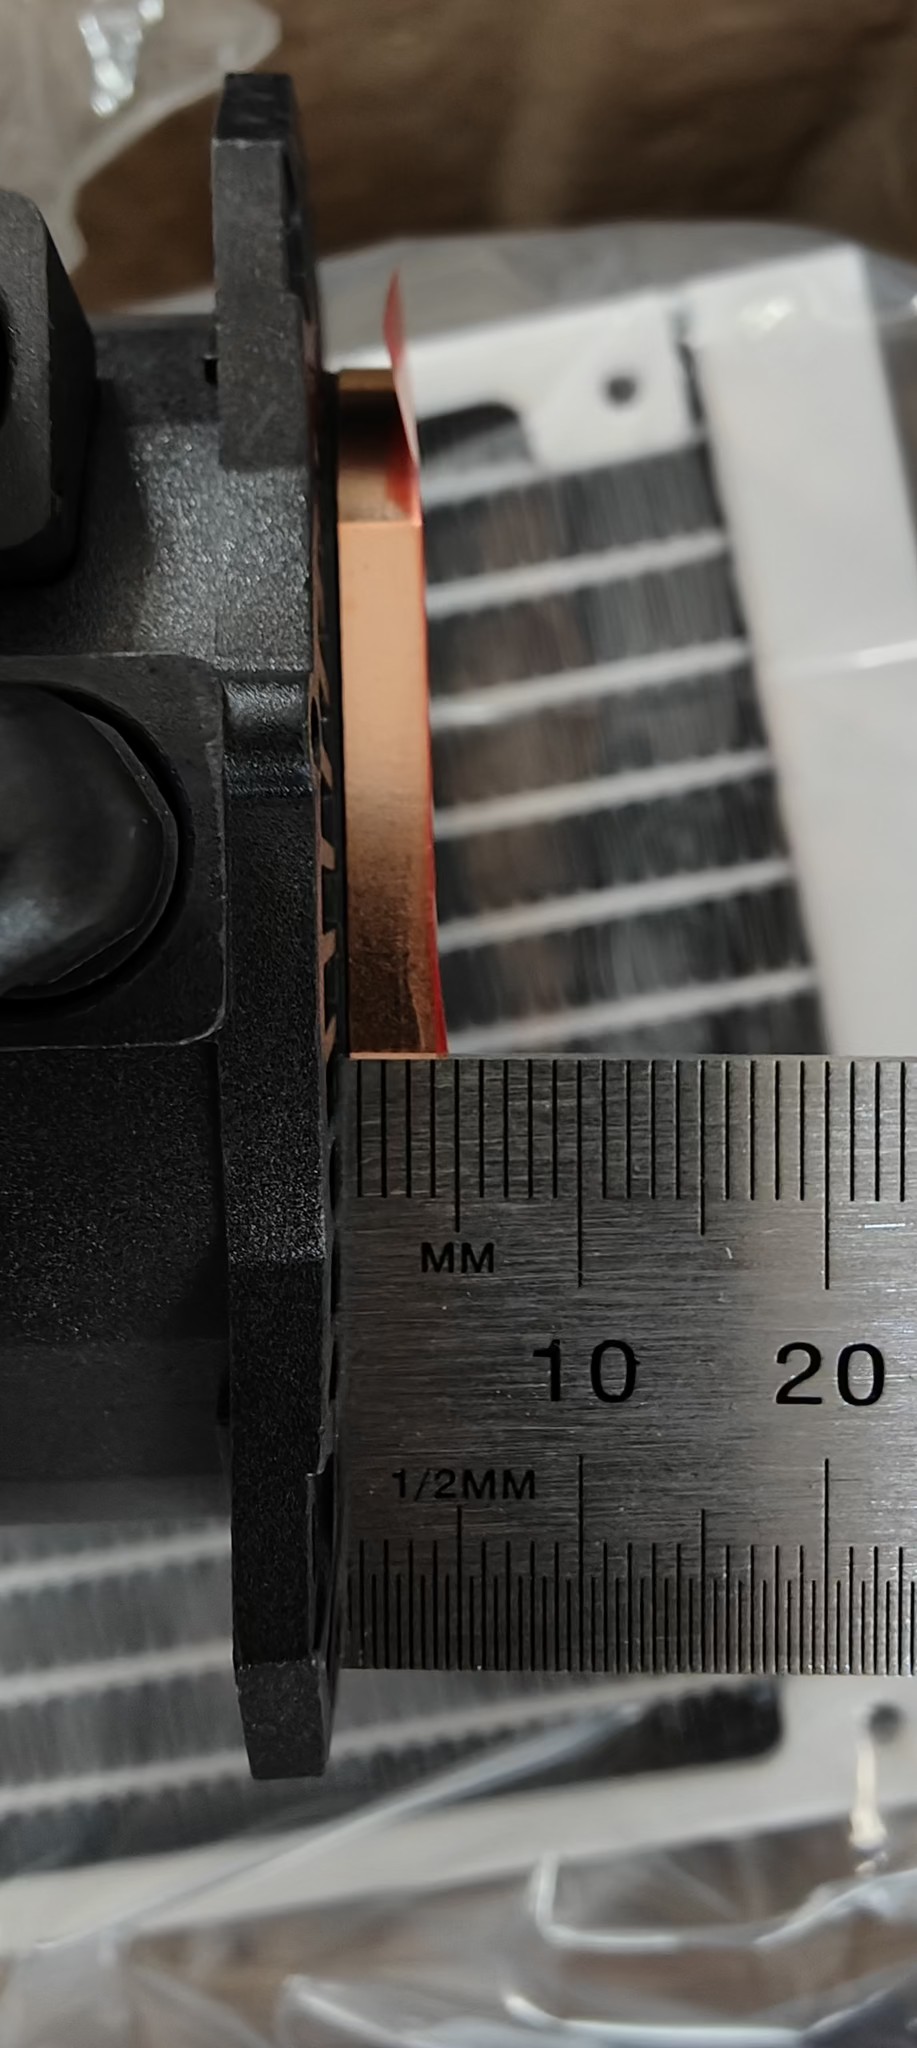
~4mm of exposed copper plate.
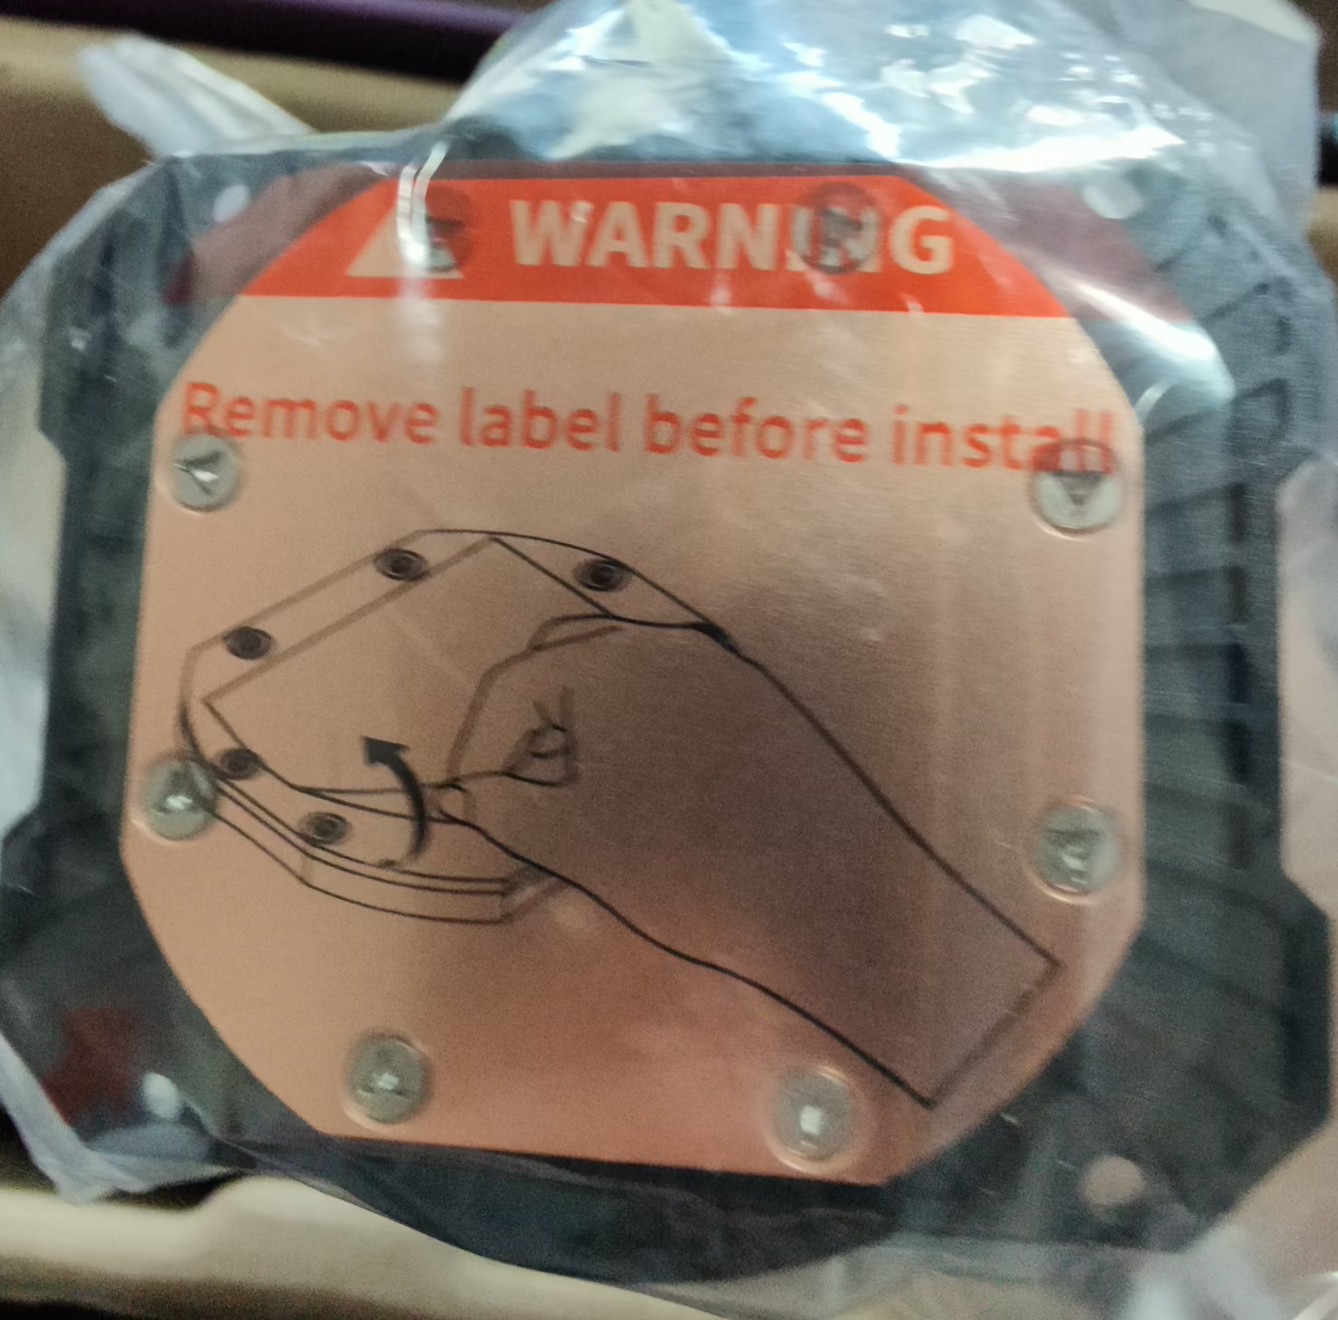
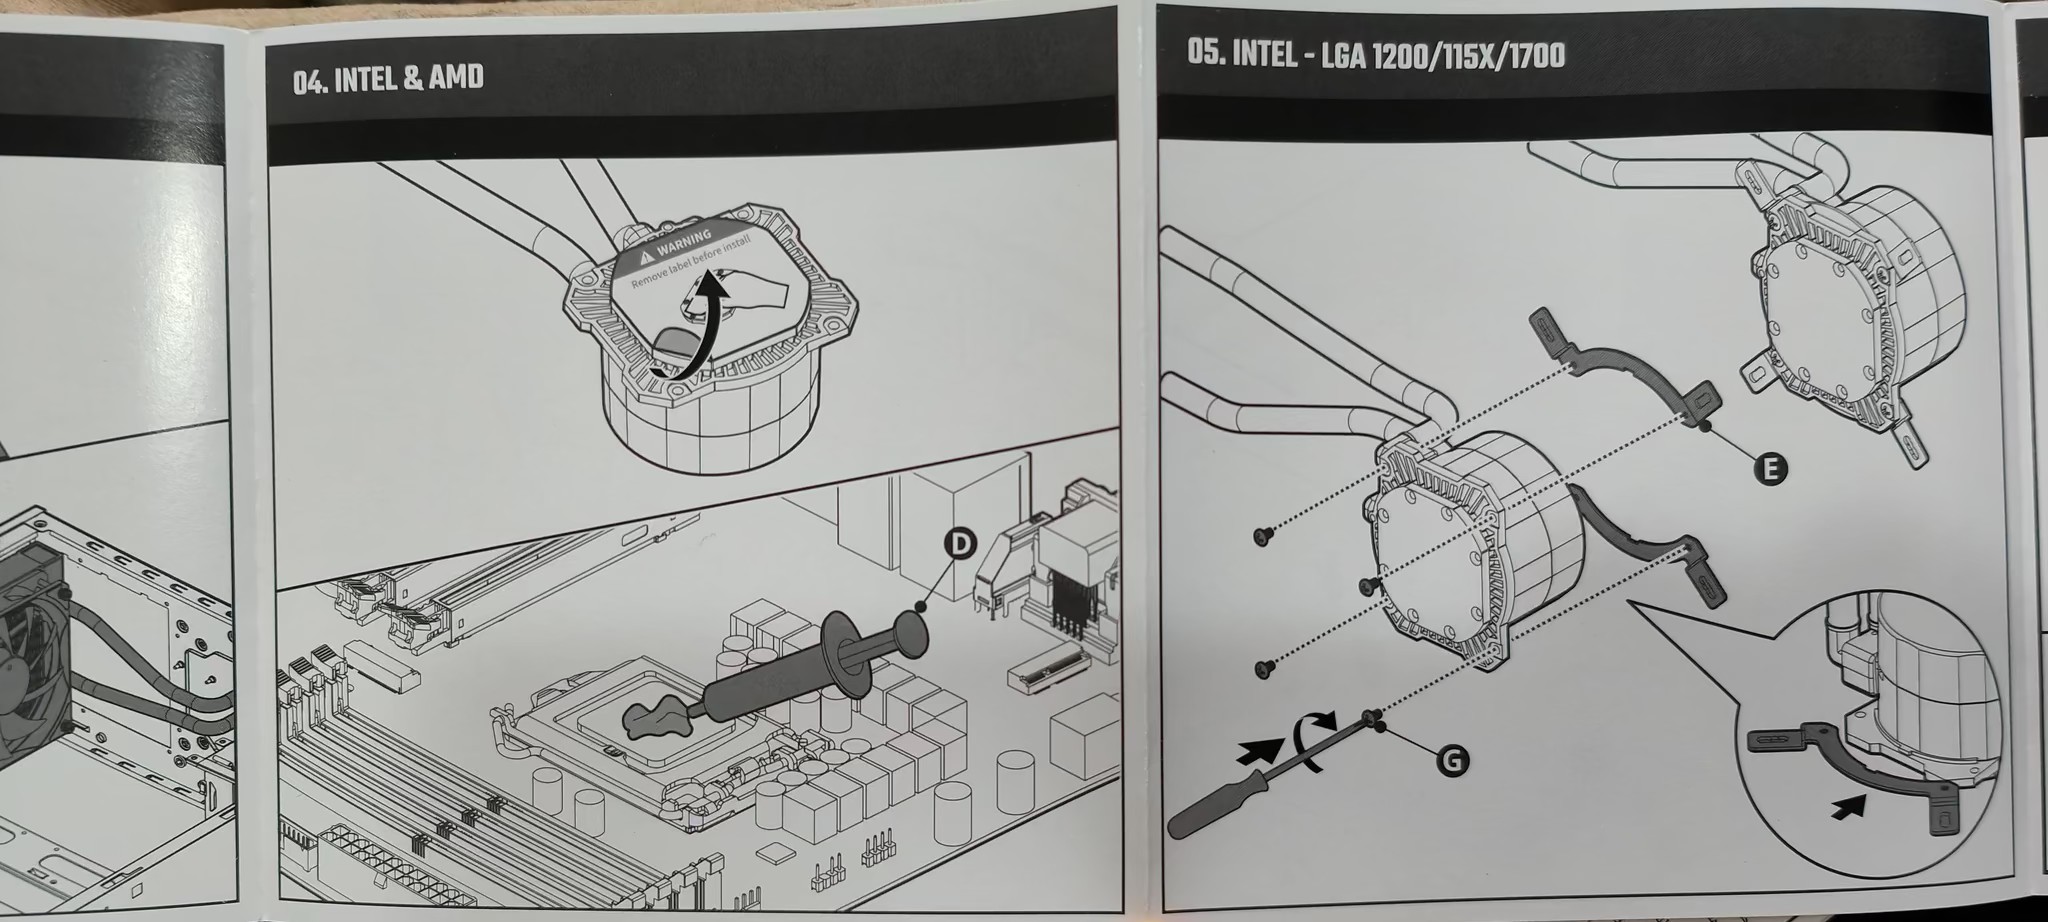
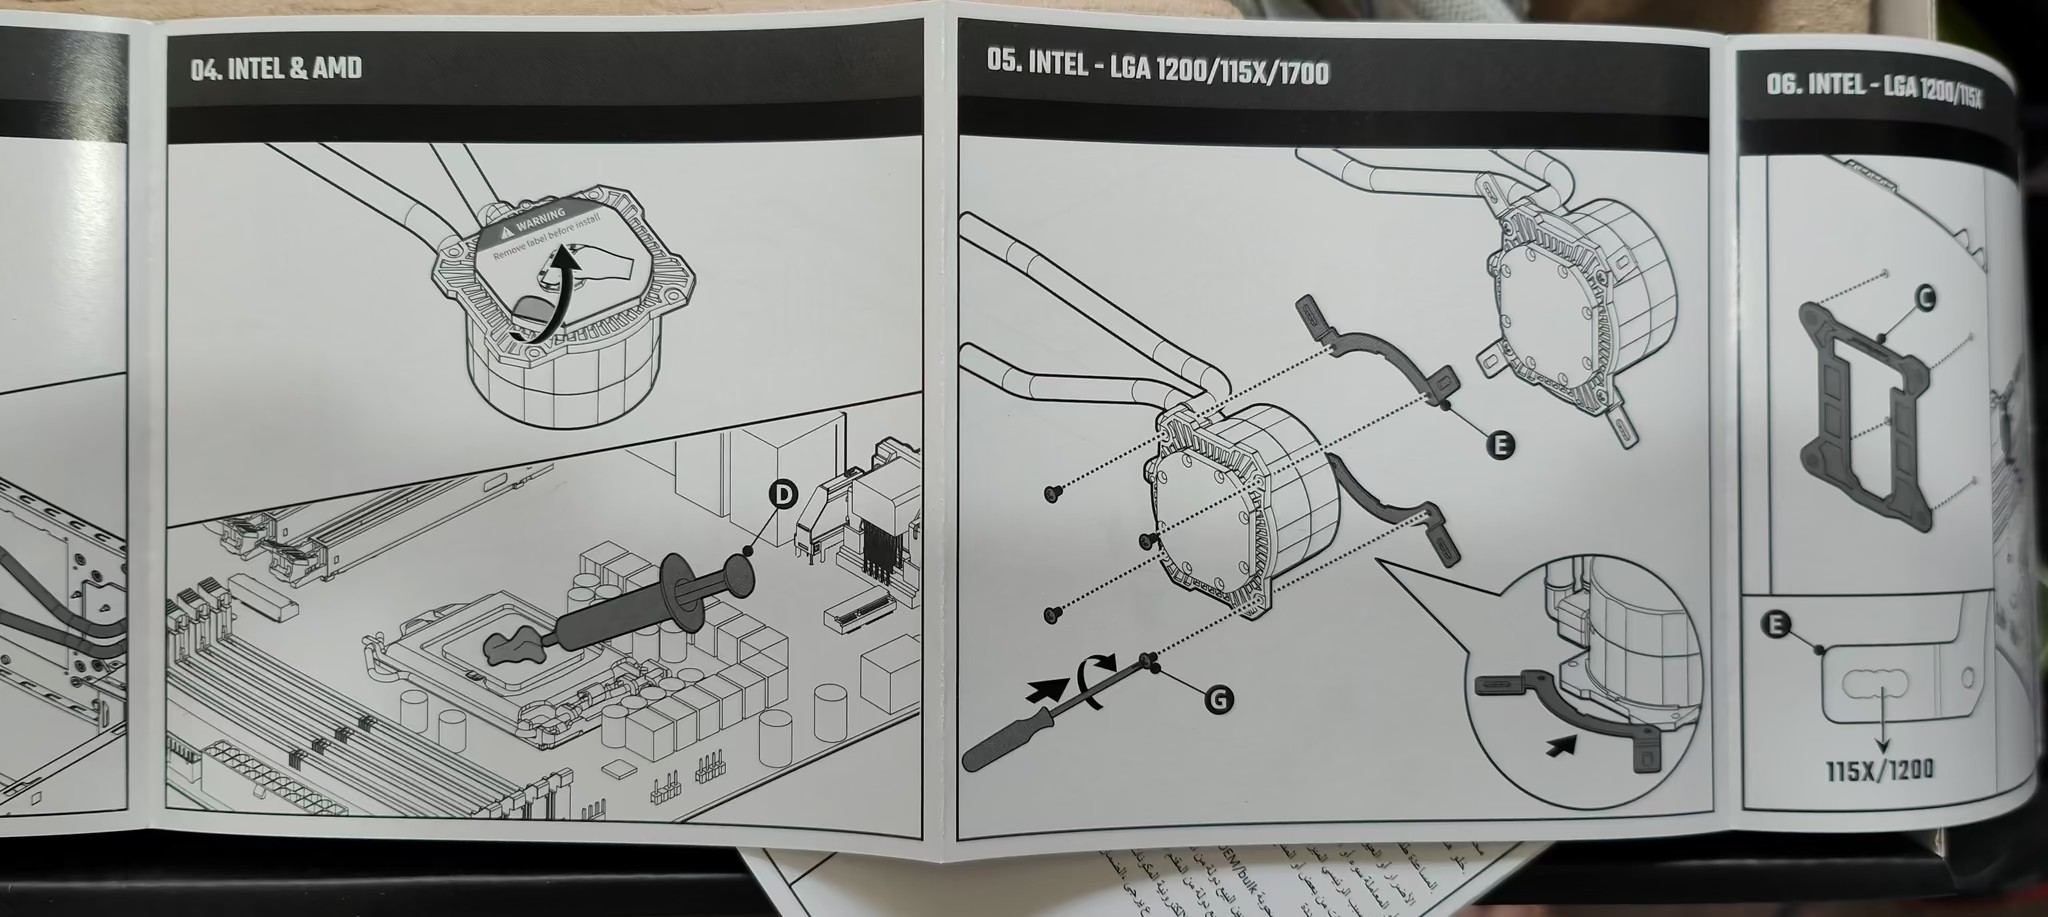
Every single cooler has this warning, but people still fail to remove it before putting it on their CPU. Side note: Do not use this cooler in the bathtub.
The copper plate appears to have been machined in a circular pattern, although the photos may not show this clearly. It is not perfectly flat, which was noticeable to the naked eye, but this could also be a perception due to how the light hits and reflects from the surface. In either case, the surface is absolutely conditioned and polished for effective cooling.
With the copper block having an external measurement of ~4mm, there is a decent weight of copper to provide sufficient weight, pressure and adequate cooling.
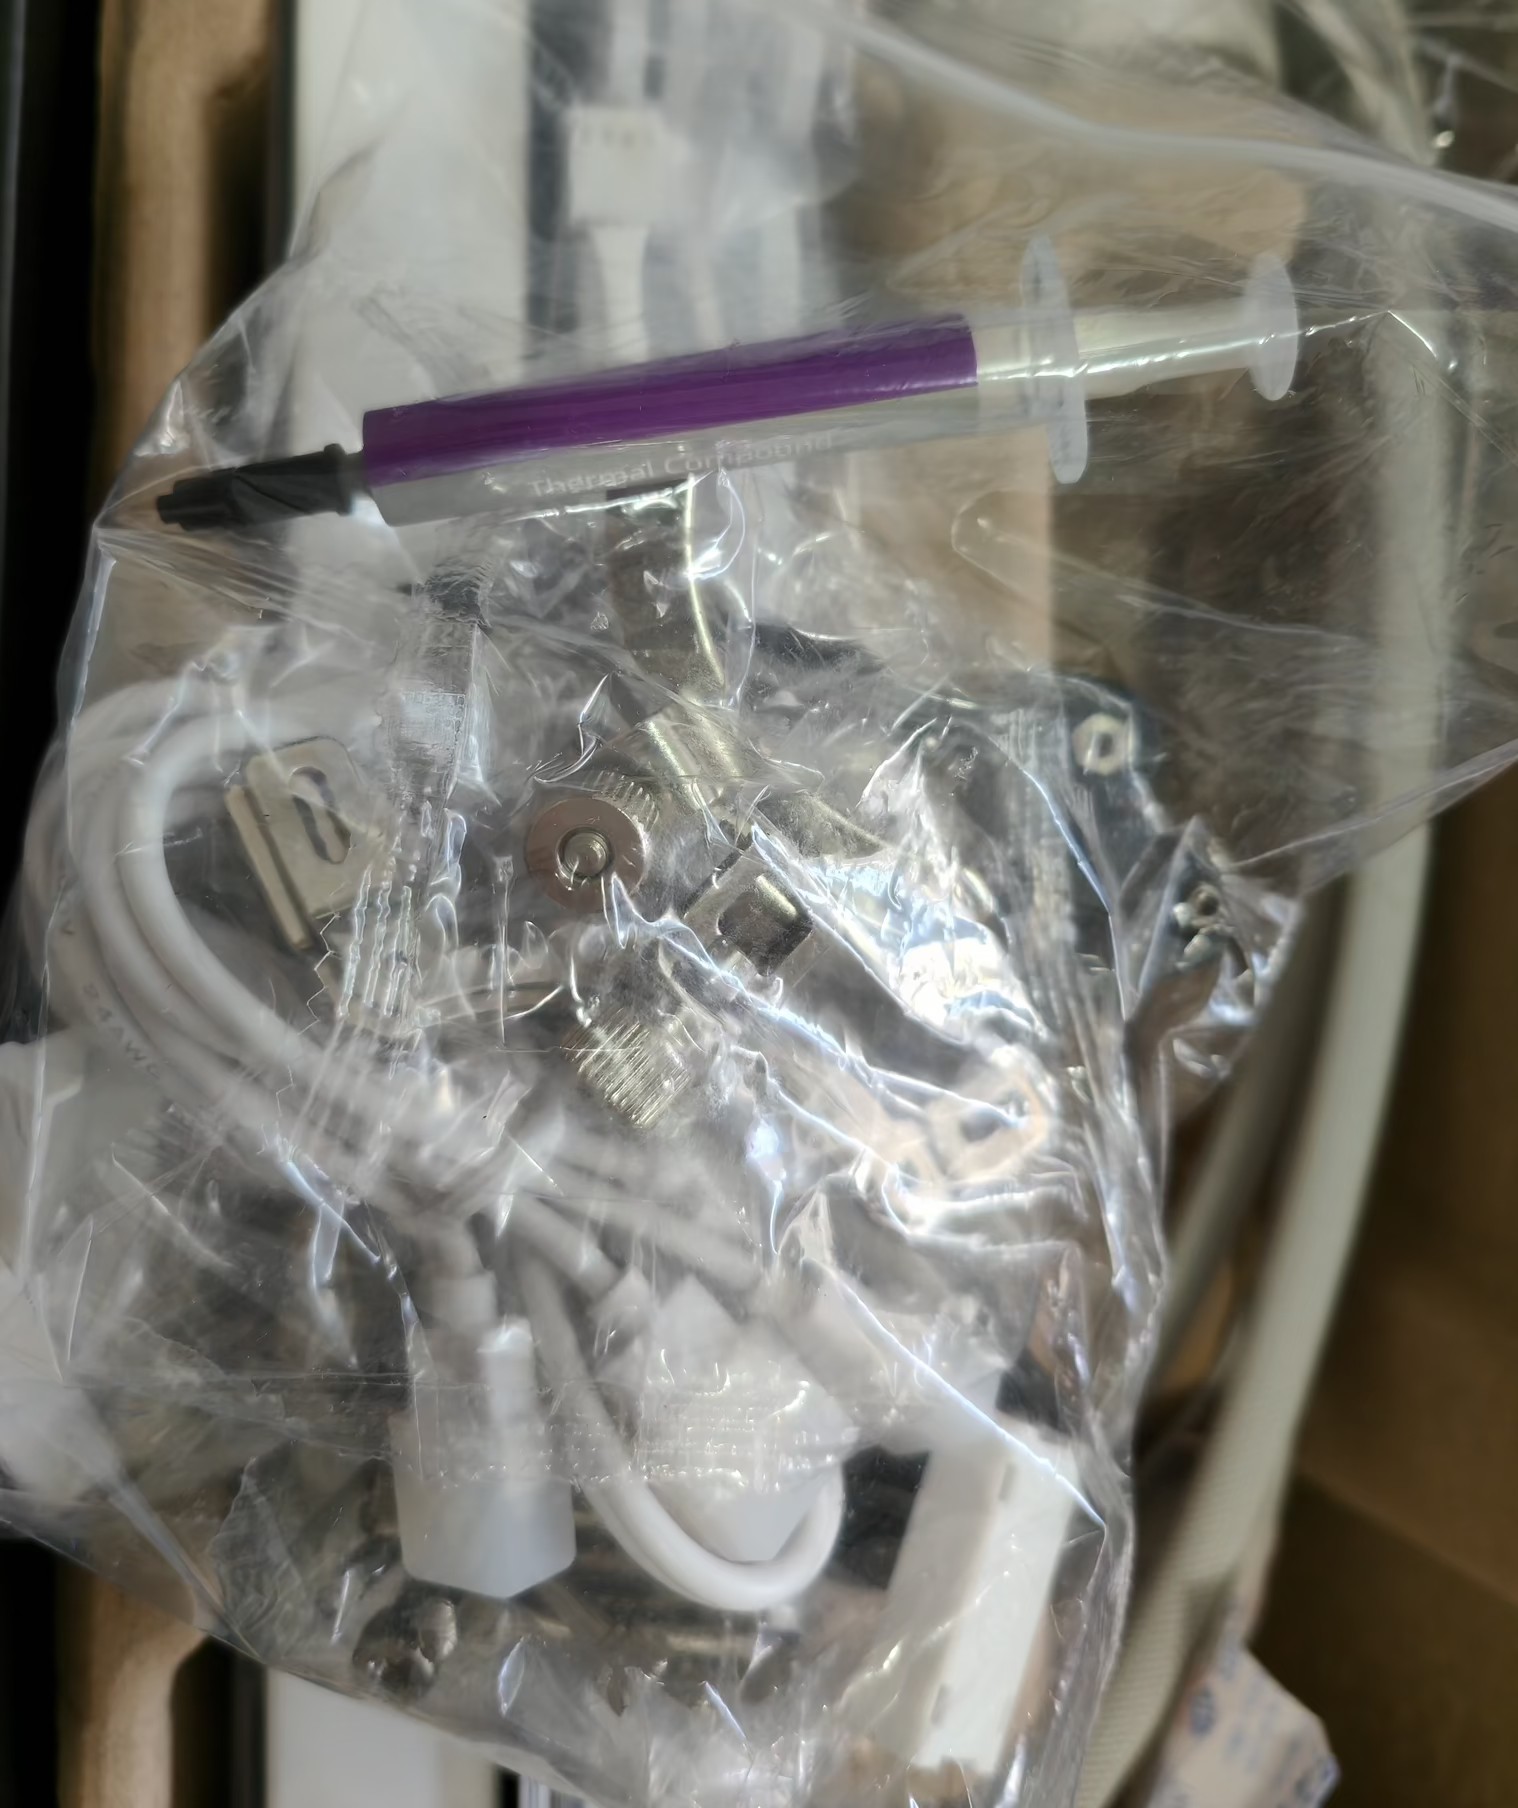
The mounting hardware all came in little individual single use baggies, which is exceedingly frustrating and is a waste of plastic since they cannot be reused.
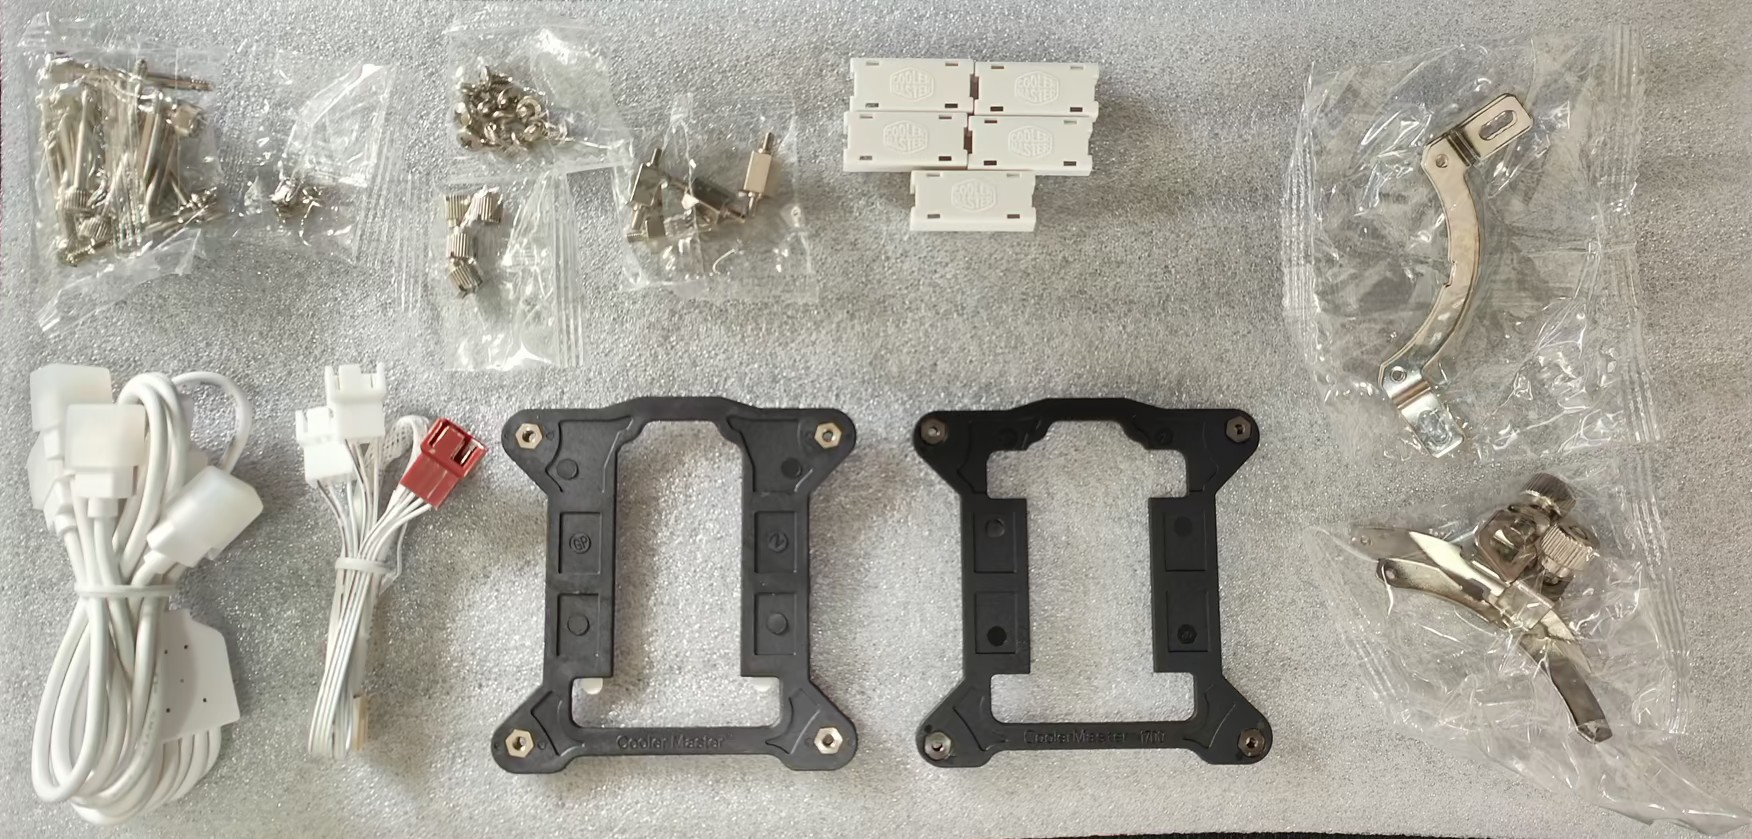
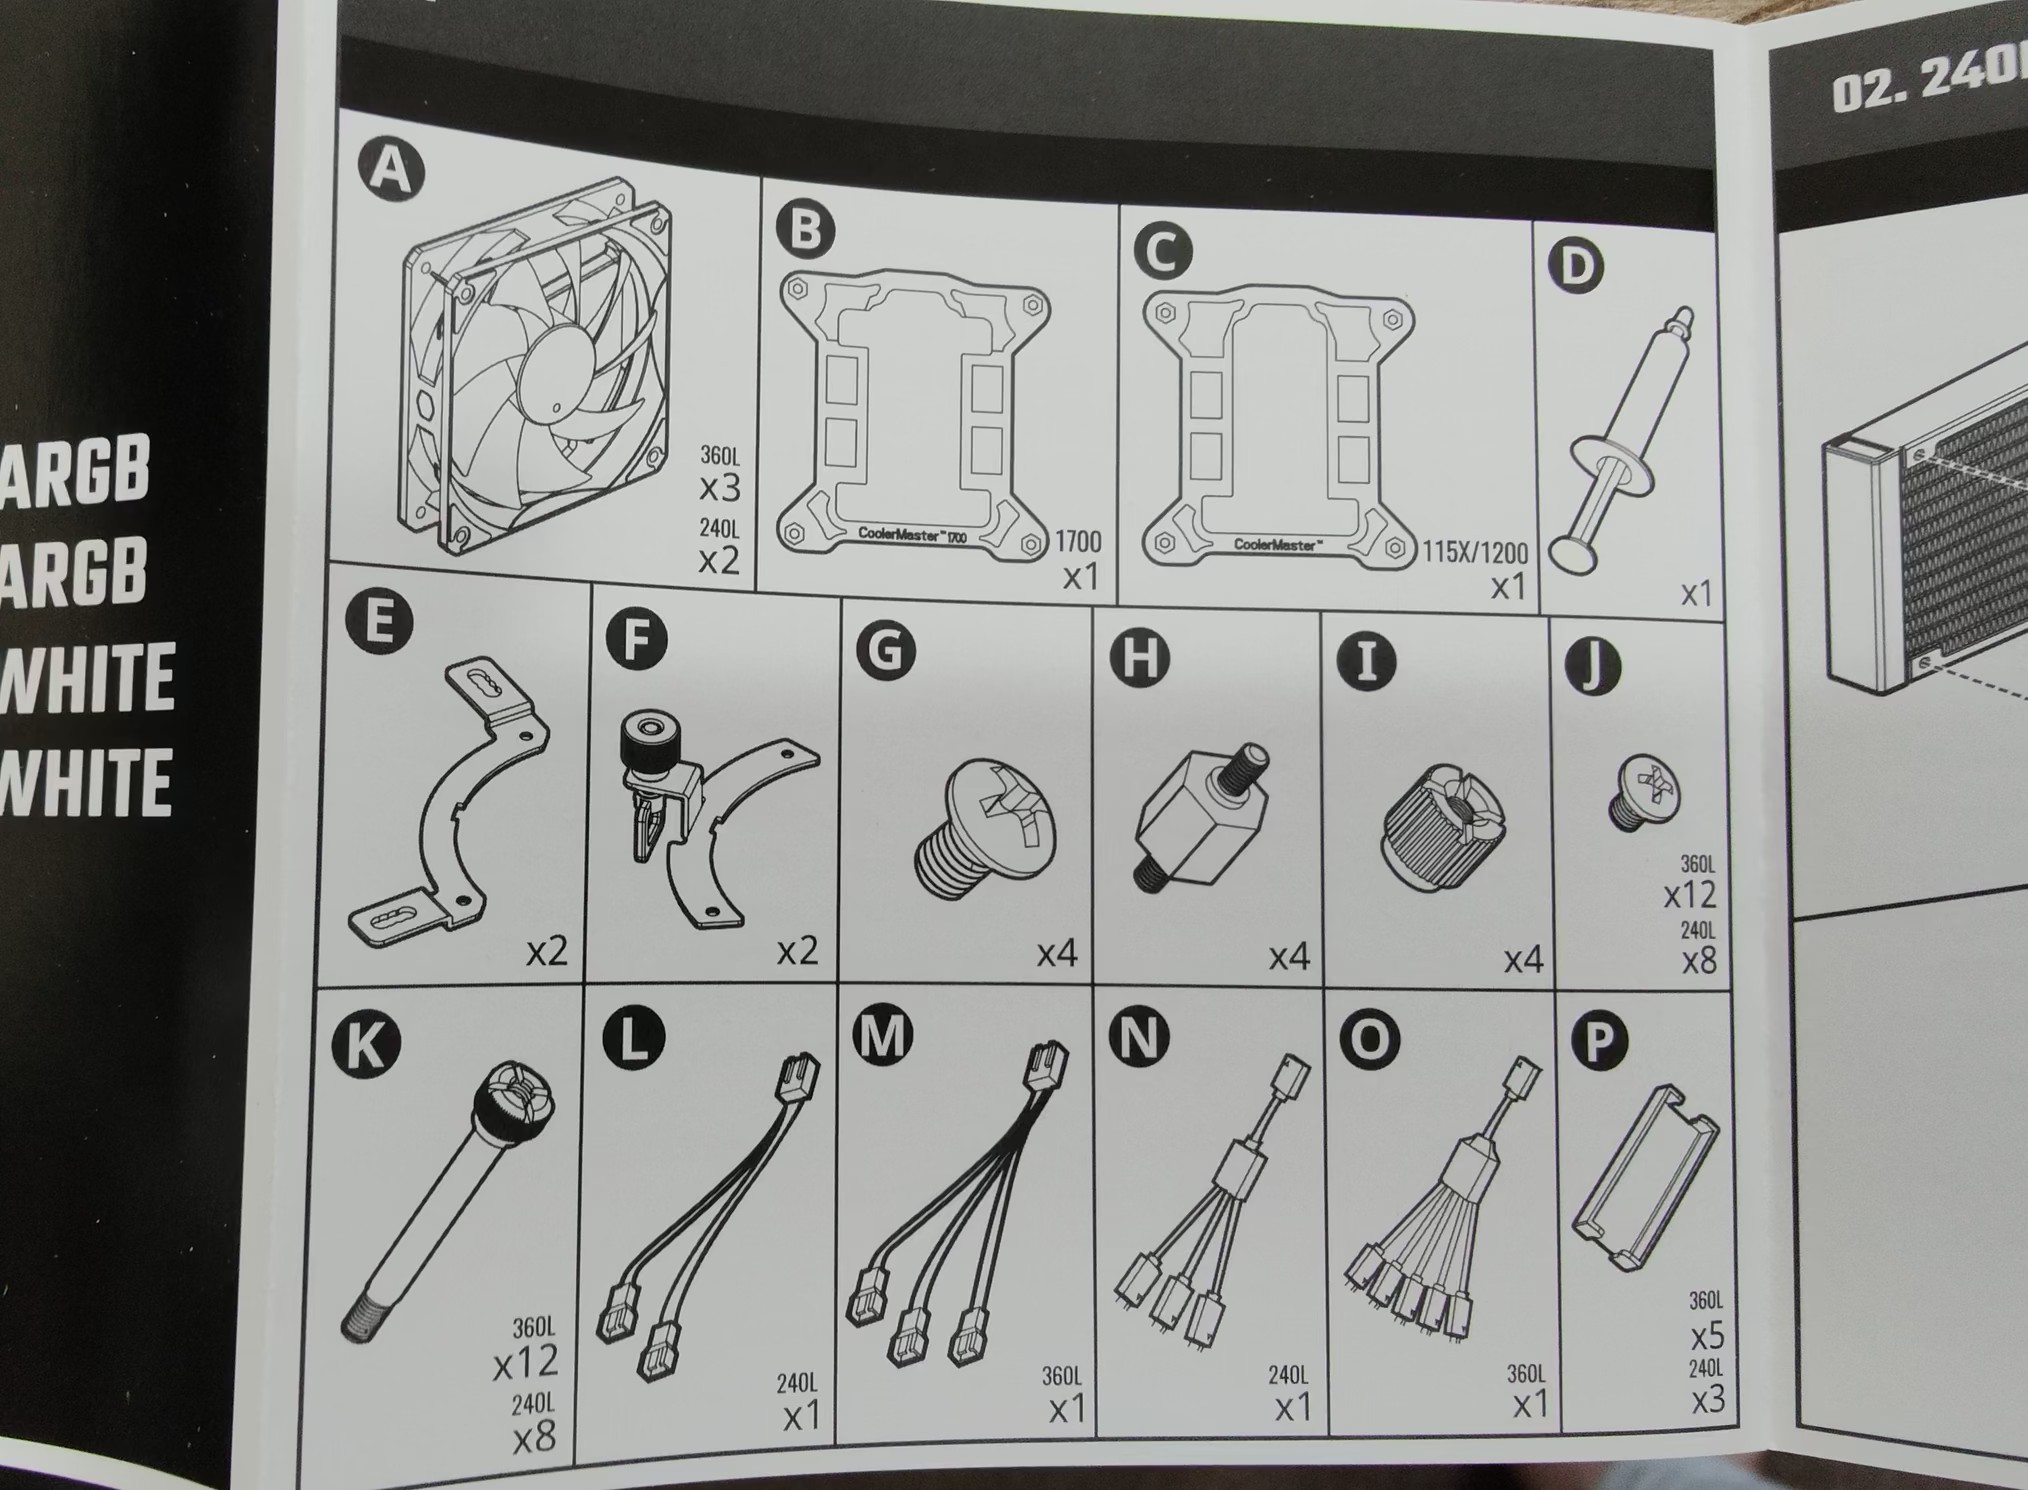
All of the inclusions starting from the fan screws, mount screws, the ‘thingies’ (ARGB connector covers), intel top mounting, 4-way ARGB splitter cable, 4 pin FAN splitter, Intel backplates and the AMD mounting hardware. The intel plastic mounts do feel a bit thin to the touch, but this was not put to the test.
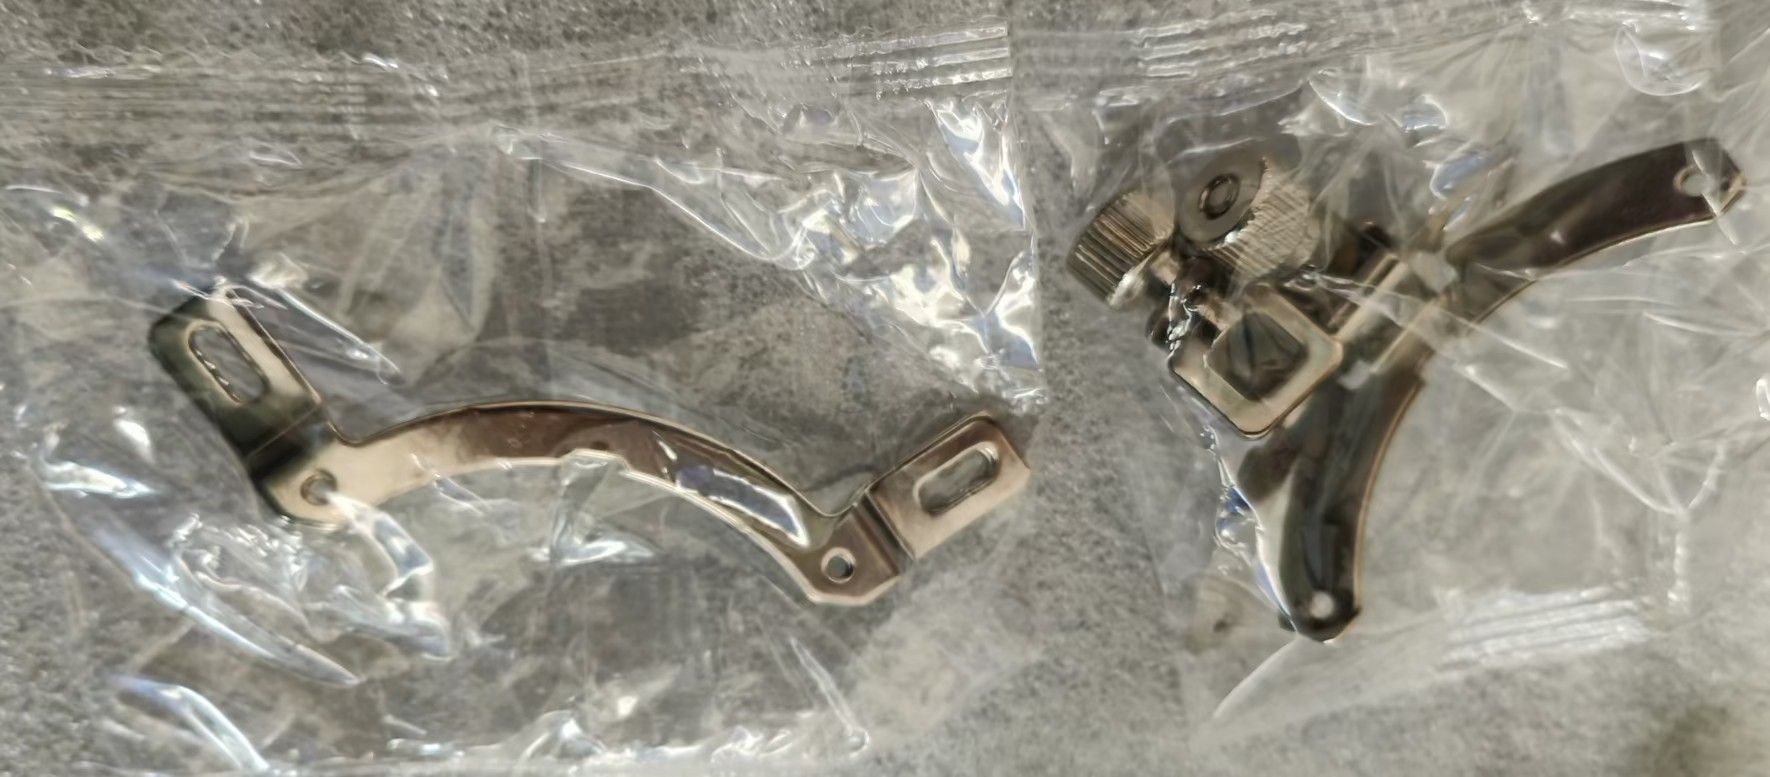
Right: AMD mounting hardware. Thumb screws only.
It was a disappointment to see that the AMD mounting tension screws were thumb screws. For obvious reasons, this is not a great choice for CoolerMaster.
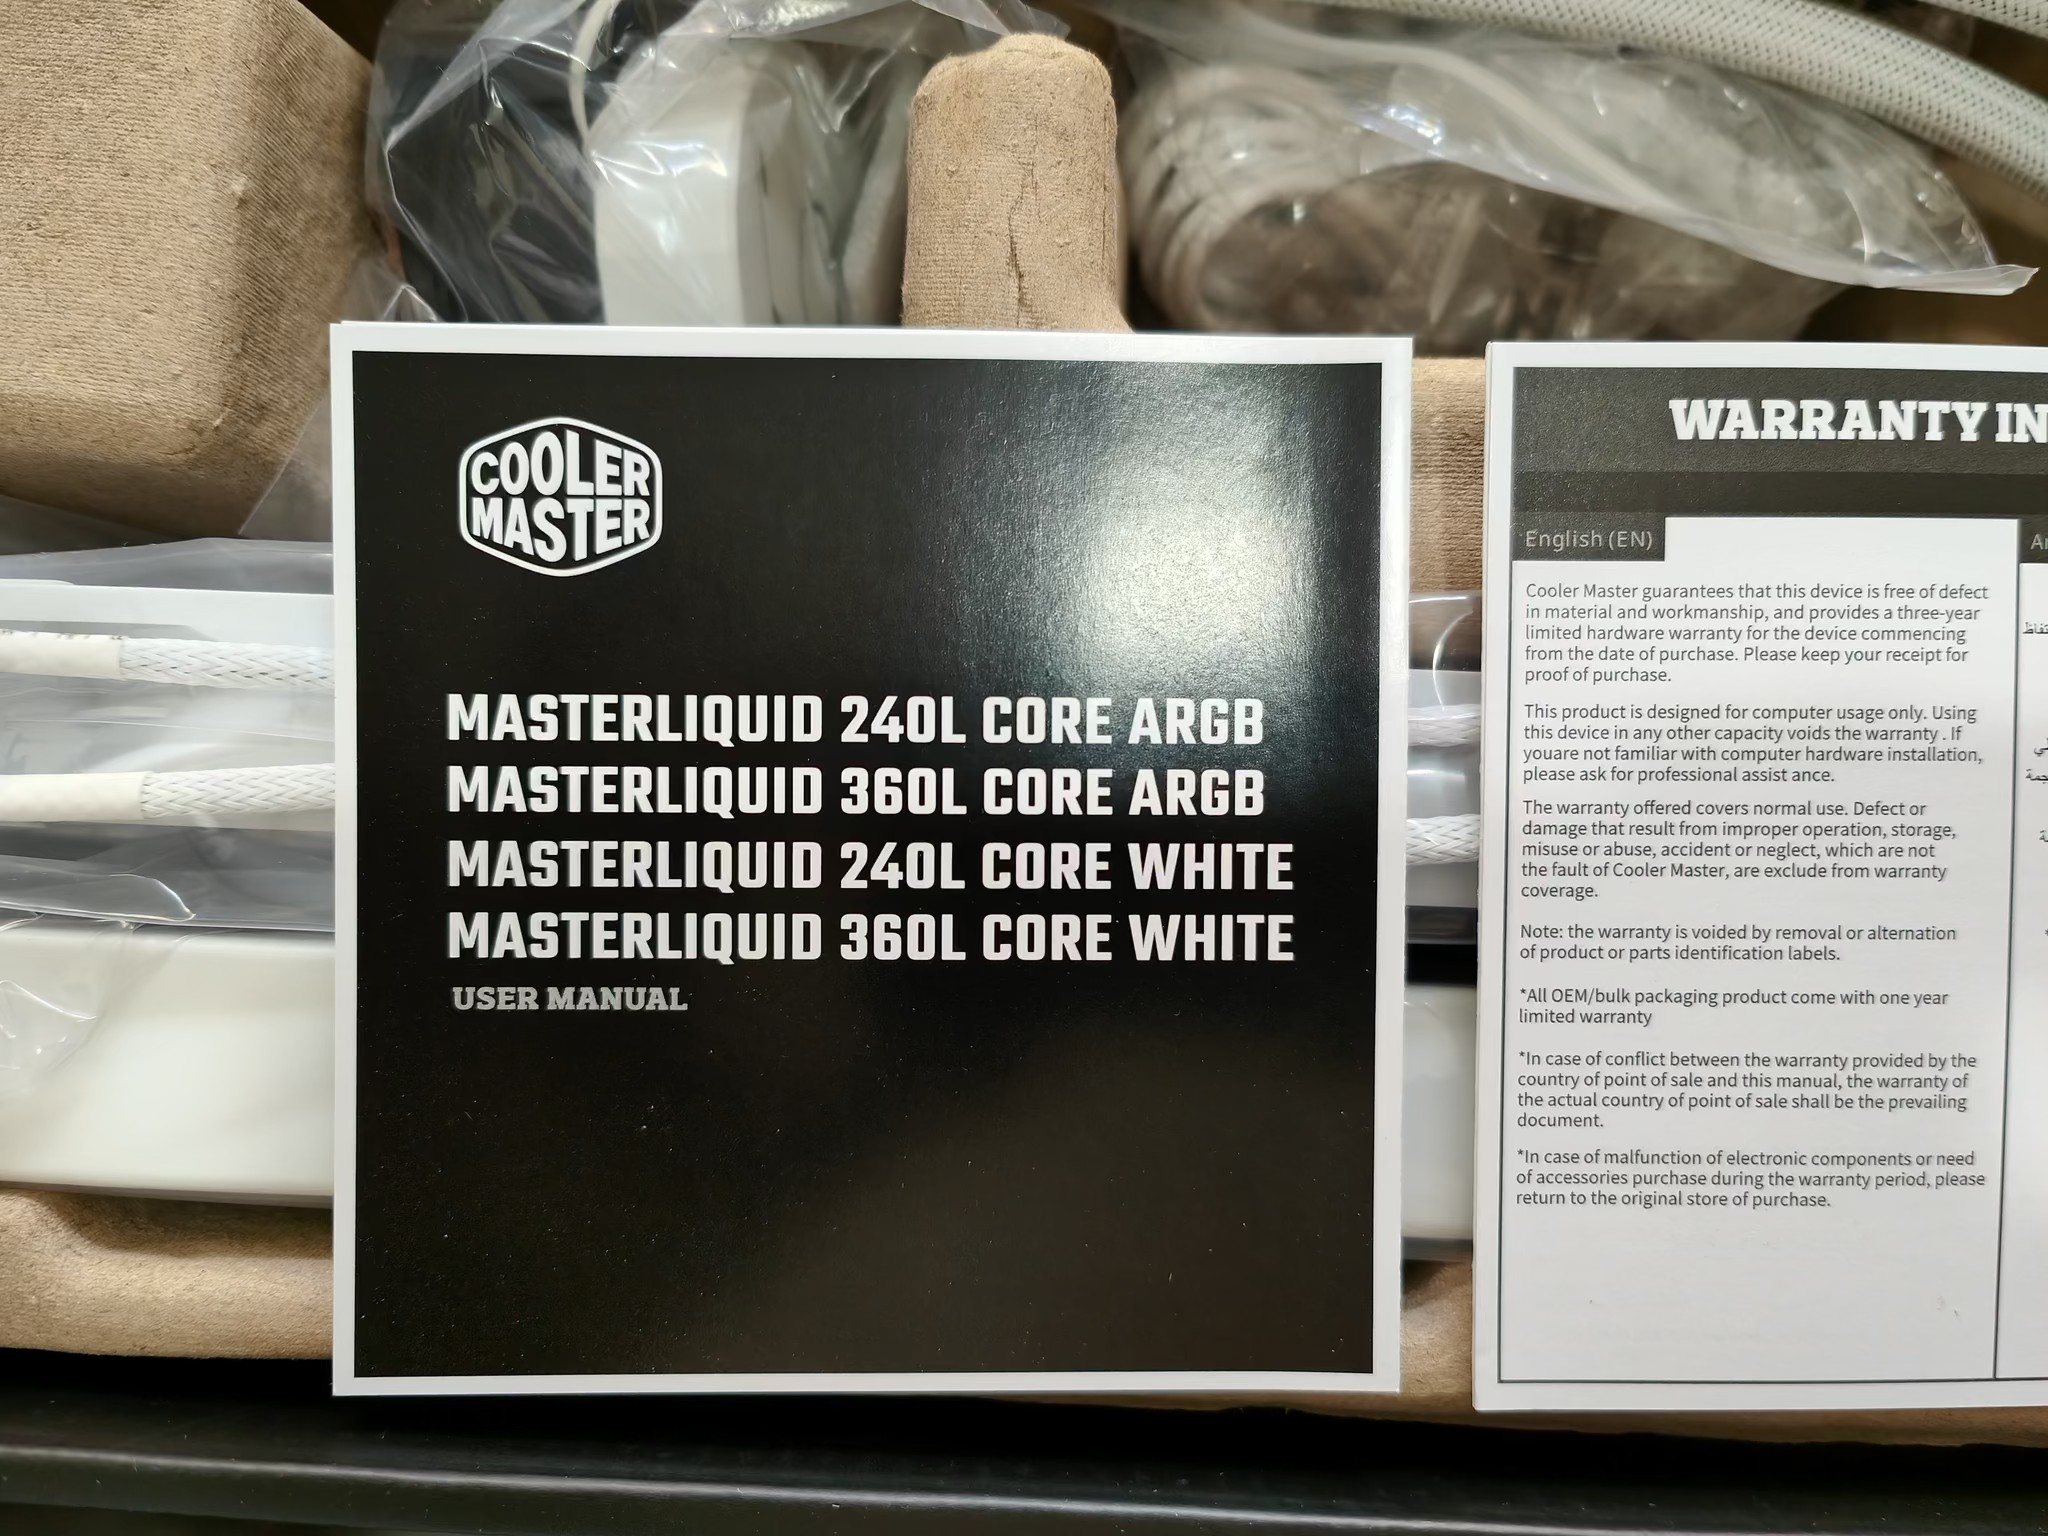
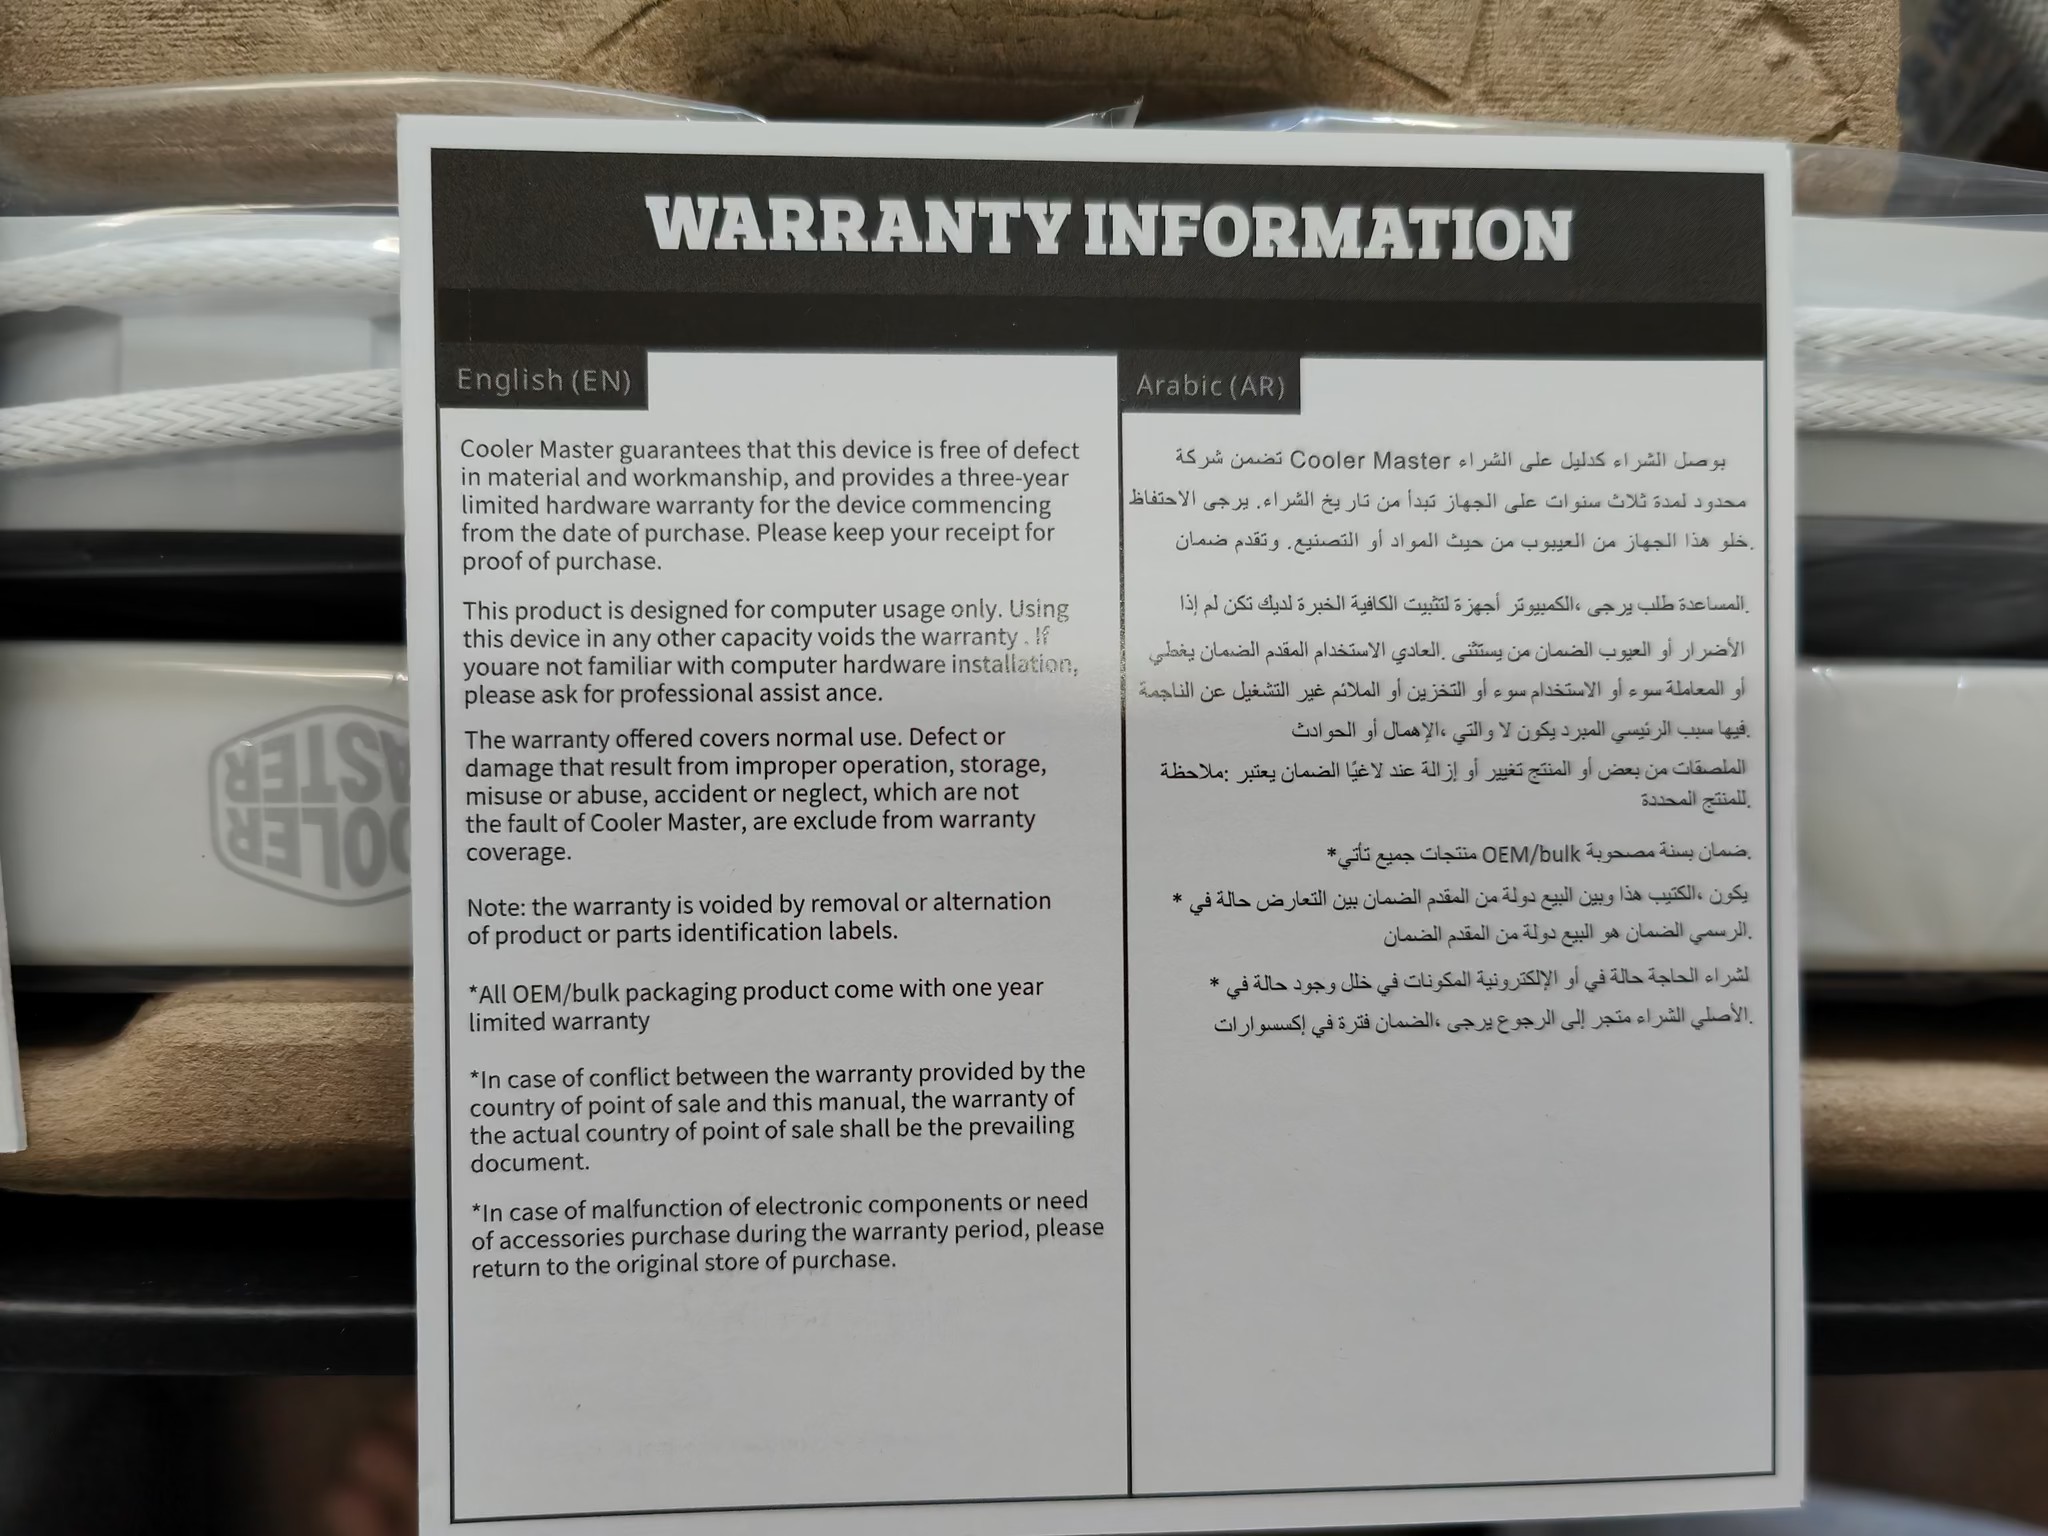
Also included is the usual paperwork and instructions which are well presented.
CoolerMaster also included a syringe of CryoFuze thermal paste. It felt light, so why not measure it?
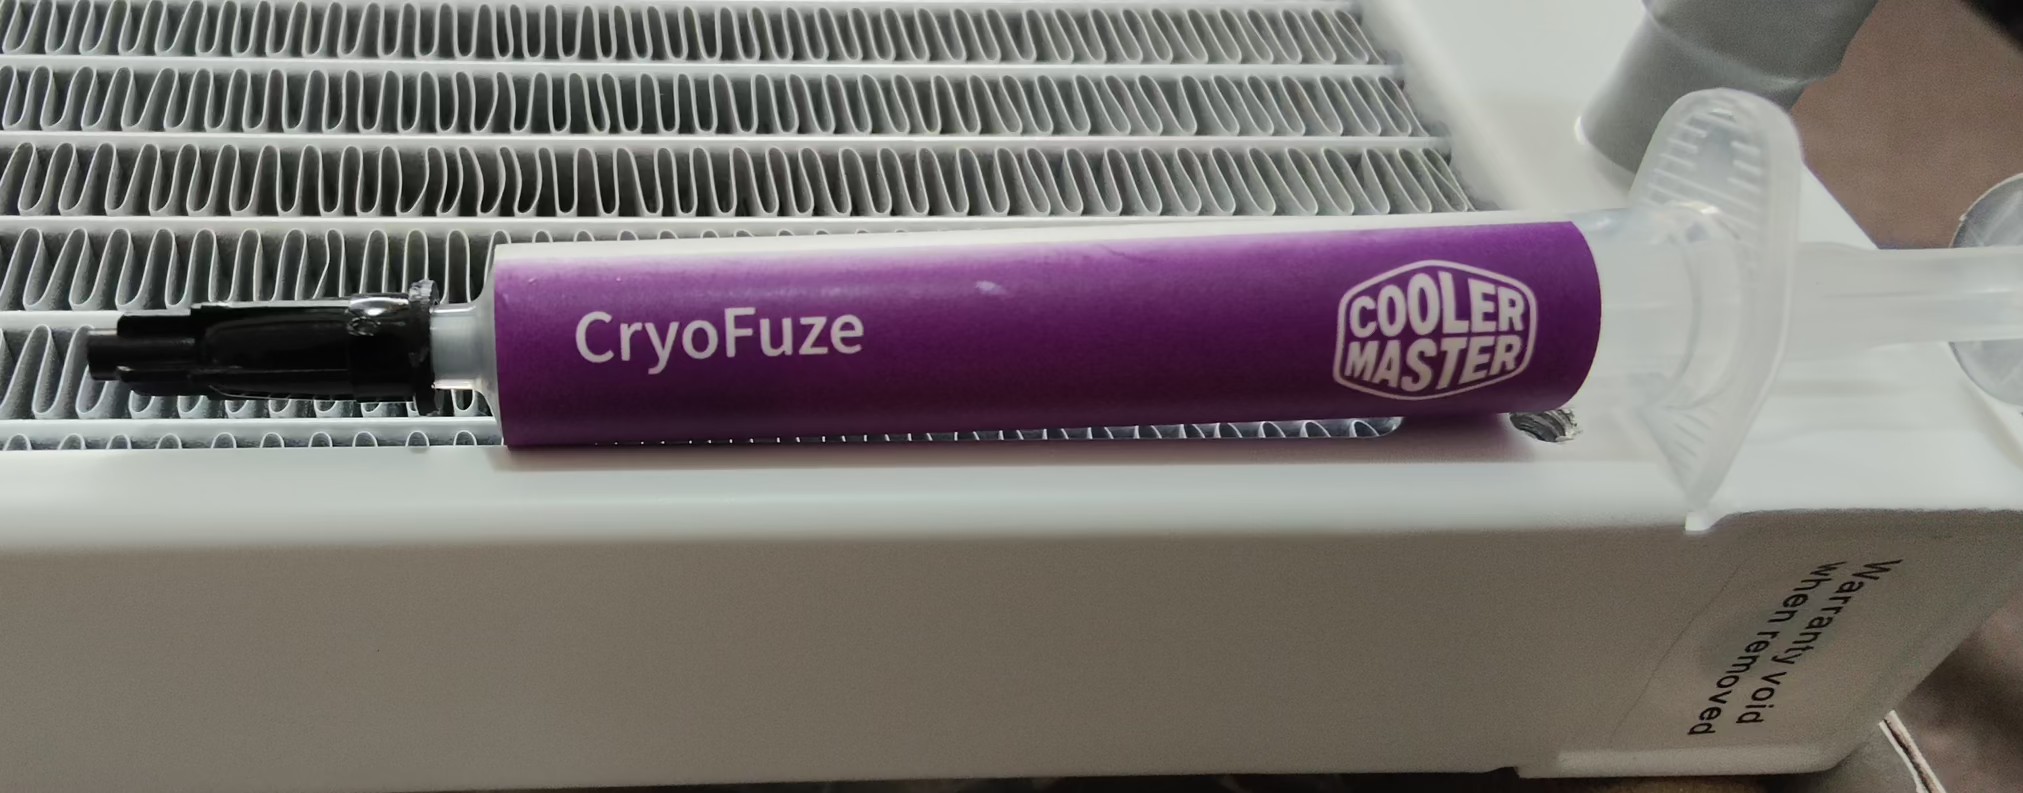
CryoFuze is a premium thermal paste with really positive ratings and reviews.
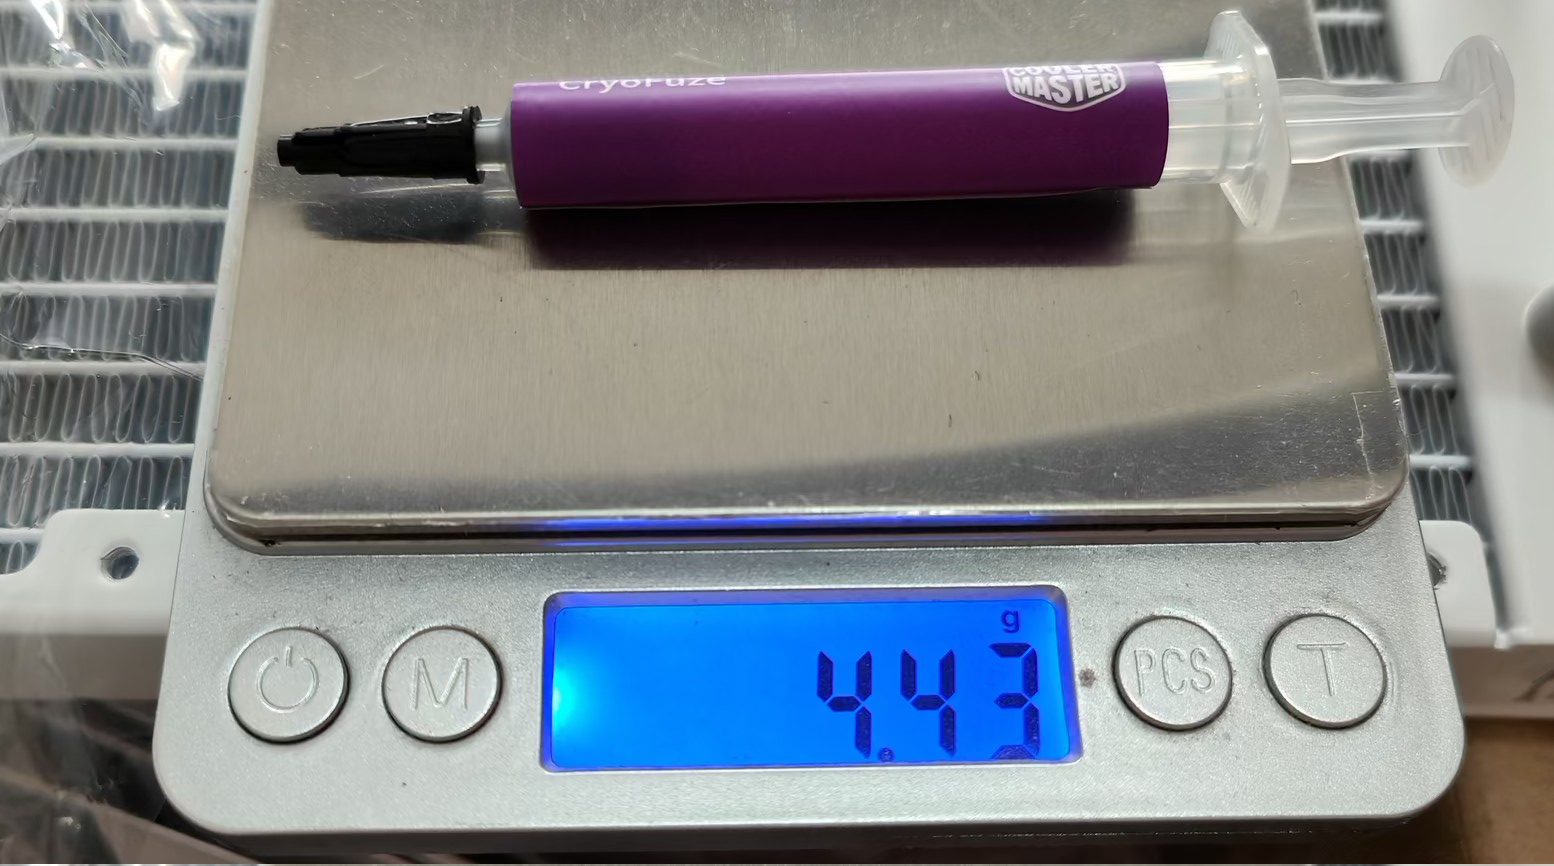
Less than 5g for the entire syringe?
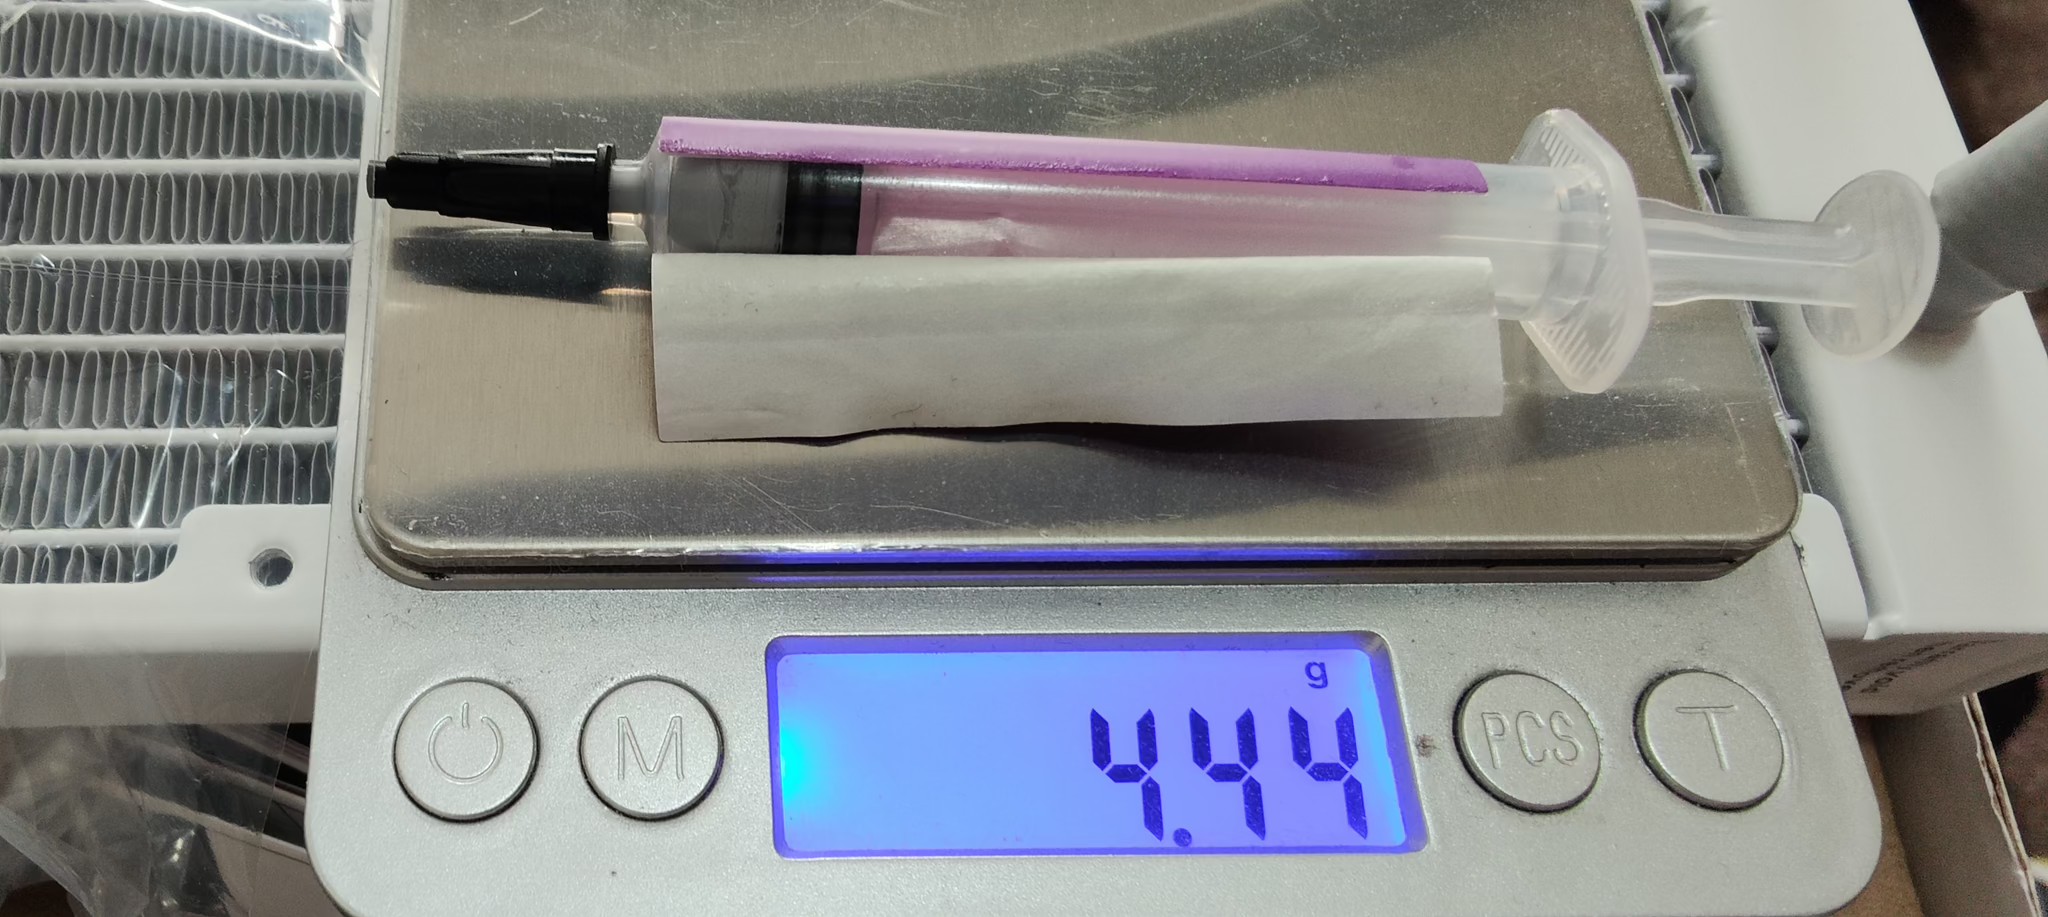
Ahh, never look at how the sausages are made. Good enough for 1-2 applications.
Based on the weight, it really is only good for 1-2 applications.
Installation
Staging
Since a previous AIO cooler existed, the same method was chosen. Push through the radiator and expel air out the top. The fans were mounted on the bottom with airflow directed inwards.
The installation of the fans is straight forward and no different to any other brand. Long screws, one in each corner and make sure your fans are all orientated the same – or don’t if you want to spice things up!
Staged and ready to install.
Removal of previous cooler
A Thermaltake TH360 ARGB Sync Edition AIO Liquid CPU Cooler was previously installed. So the original AMD OEM backplate was already in place for this installation. If not, that is required for the CoolerMaster AIO cooler.
The Thermaltake was removed and the thermal paste was cleaned up and CPU given a thorough clean with isopropyl alcohol.
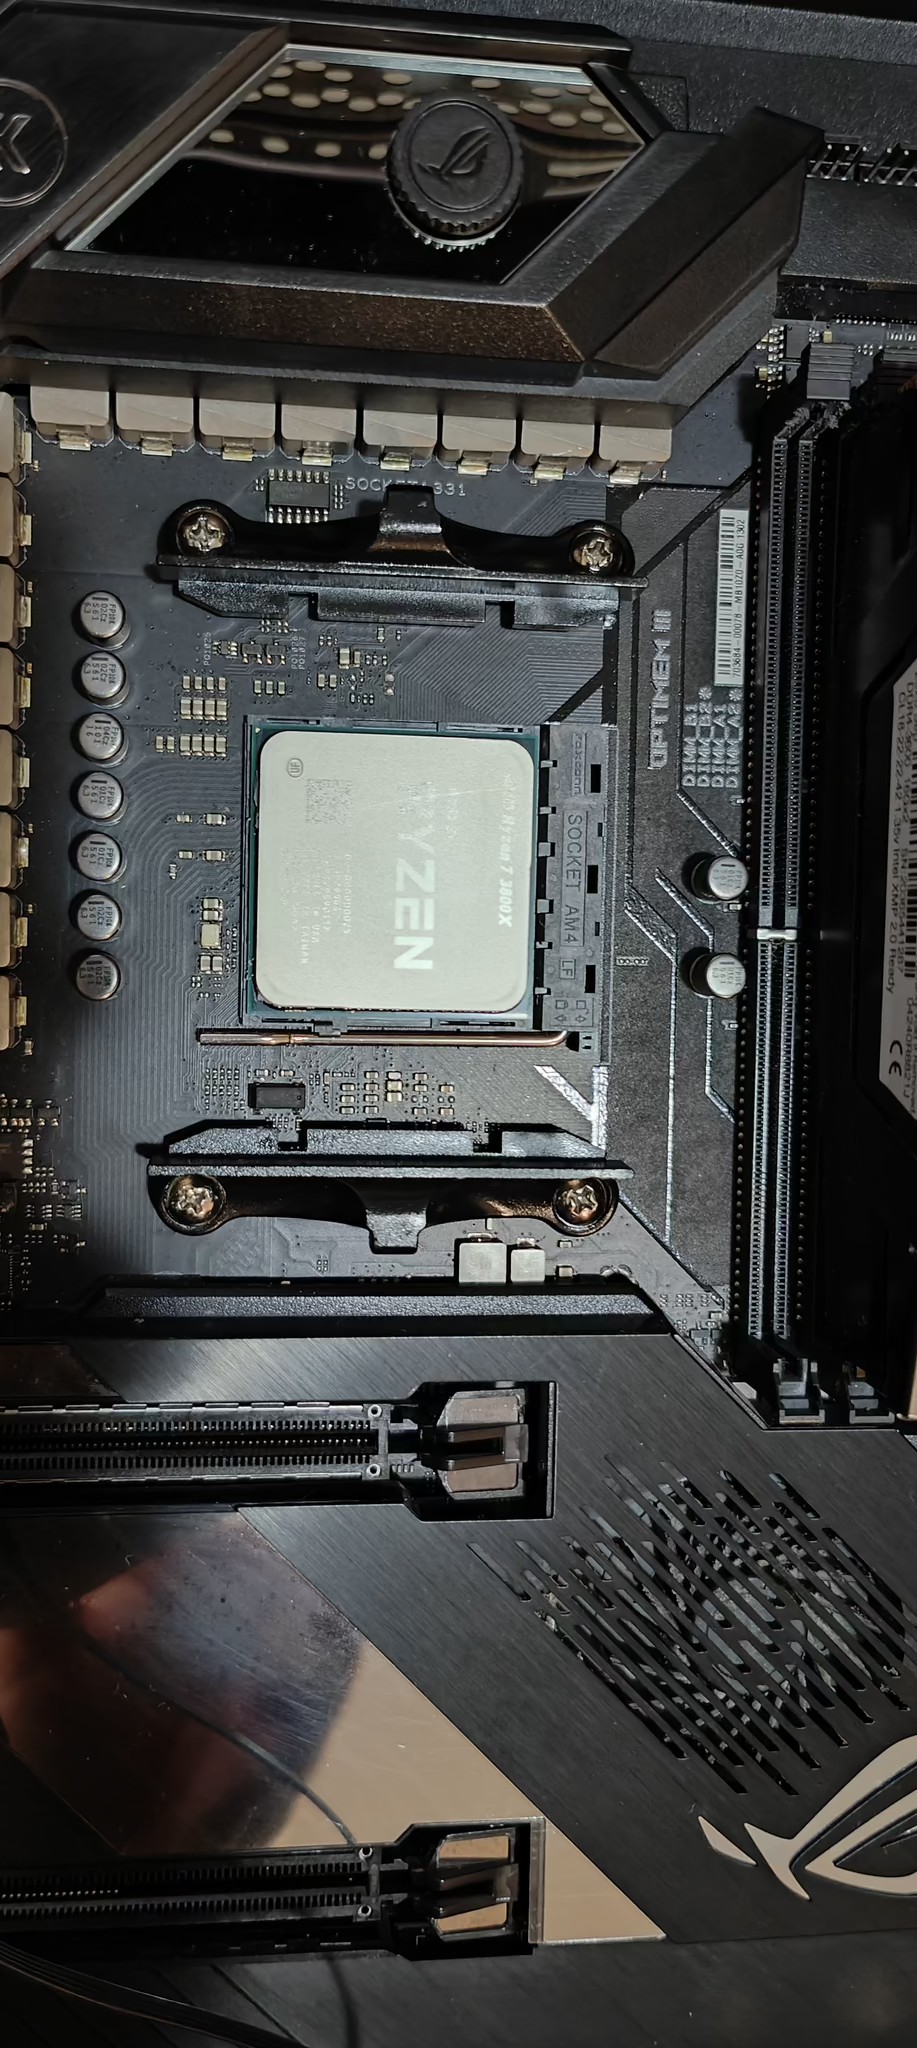
Clean and ready with the OEM AMD mounts
Thermal Paste
We were looking forward to see if the reported great performance of the CryoFuze thermal paste was hype or legitimate.
This paste required a bit more pressure to push through the syringe and had the consistency of clay. Not at all like the consistency and viscosity demonstrated in CoolerMasters application video. During the attempt to spread it, it clumped, it failed to stick to the CPU heat spreader and only by excessive force did any amount spread. The consistency was terrible and the result was unsuitable.
As an alternative, Grizzly Bear Kryonaut paste was applied.
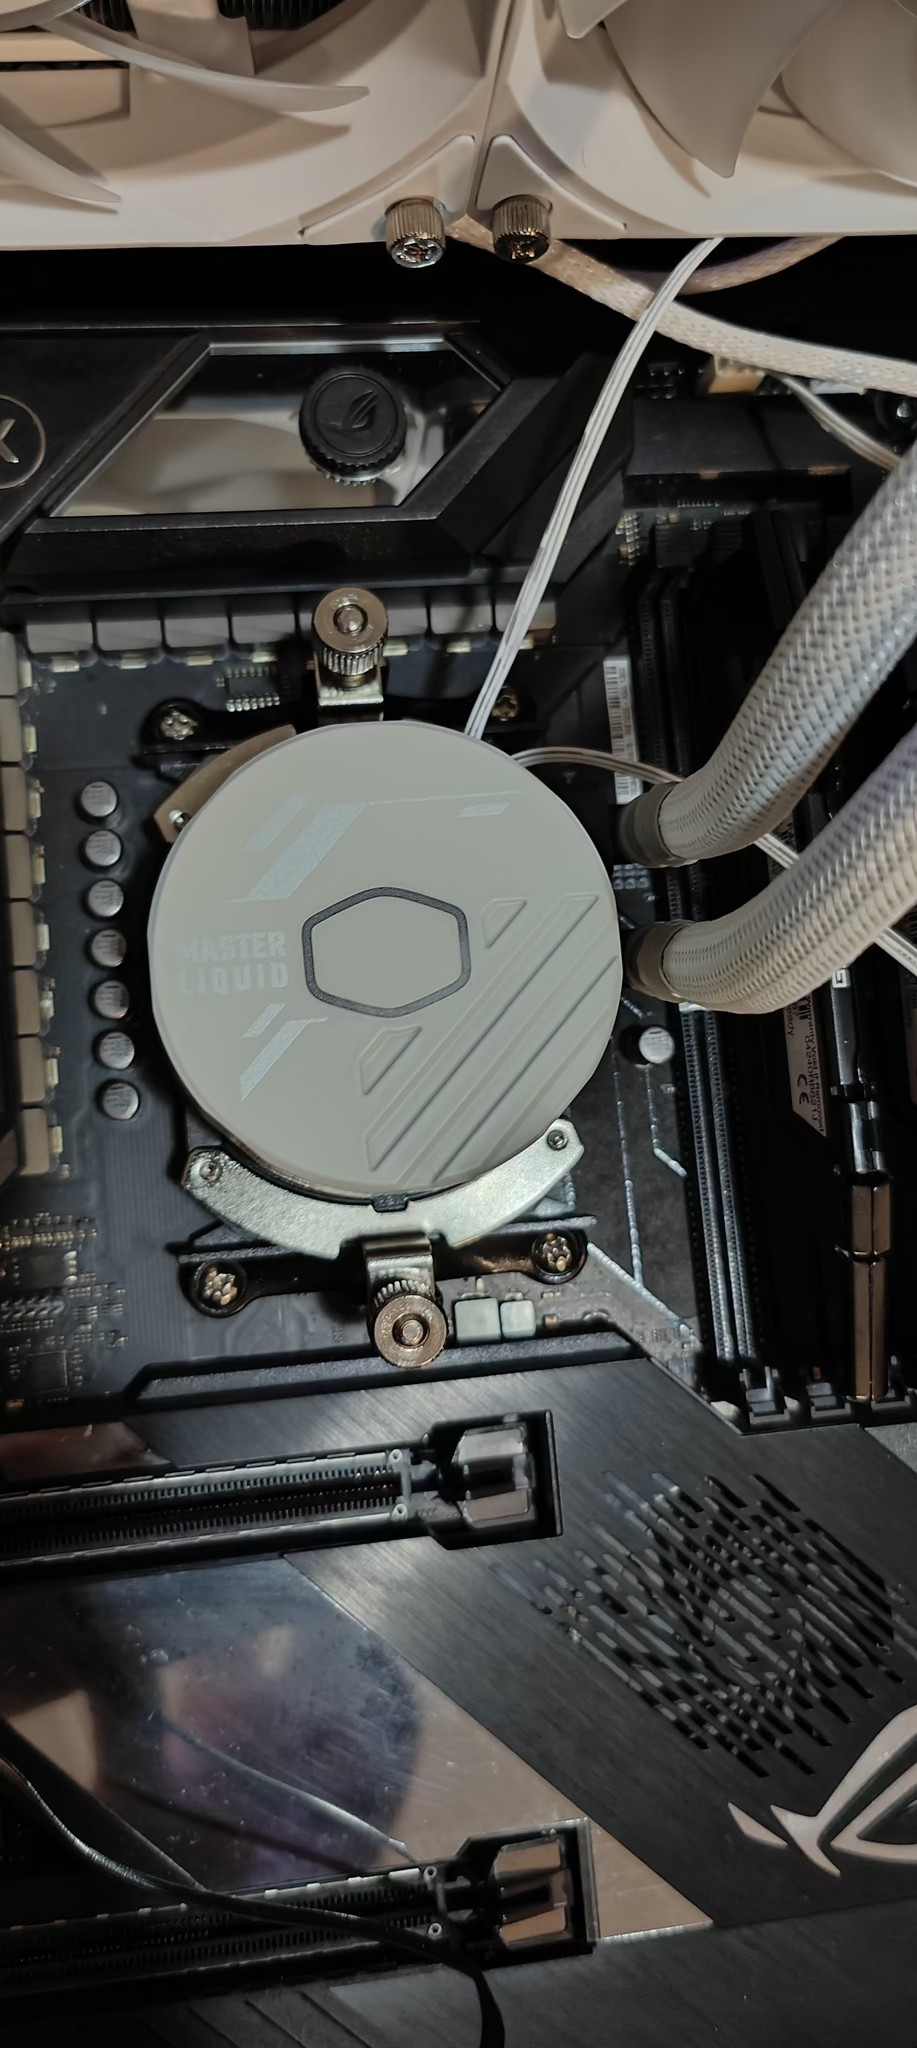
Mounting pump block
Mounting the block was a straight forward affair and only requires that the thumb screws were loose to allow for both sides to catch the mount hooks; even tensioning is then applied to each side until finger tight.
The downside here is that without the ability to use a screwdriver, the onus is on the installer not to have sufficient strength, no arthritis, full clearance and dexterity to get their hands in there. Why make it harder for everyone?
The trick here is to leave it for a minute and let both sides settle. Once this happens further tension is possible, which is at least 1-2 turns. Further patience and repeat of this exercise does allow for further tension and reassurance that the cooling block is actually ‘on’ properly.
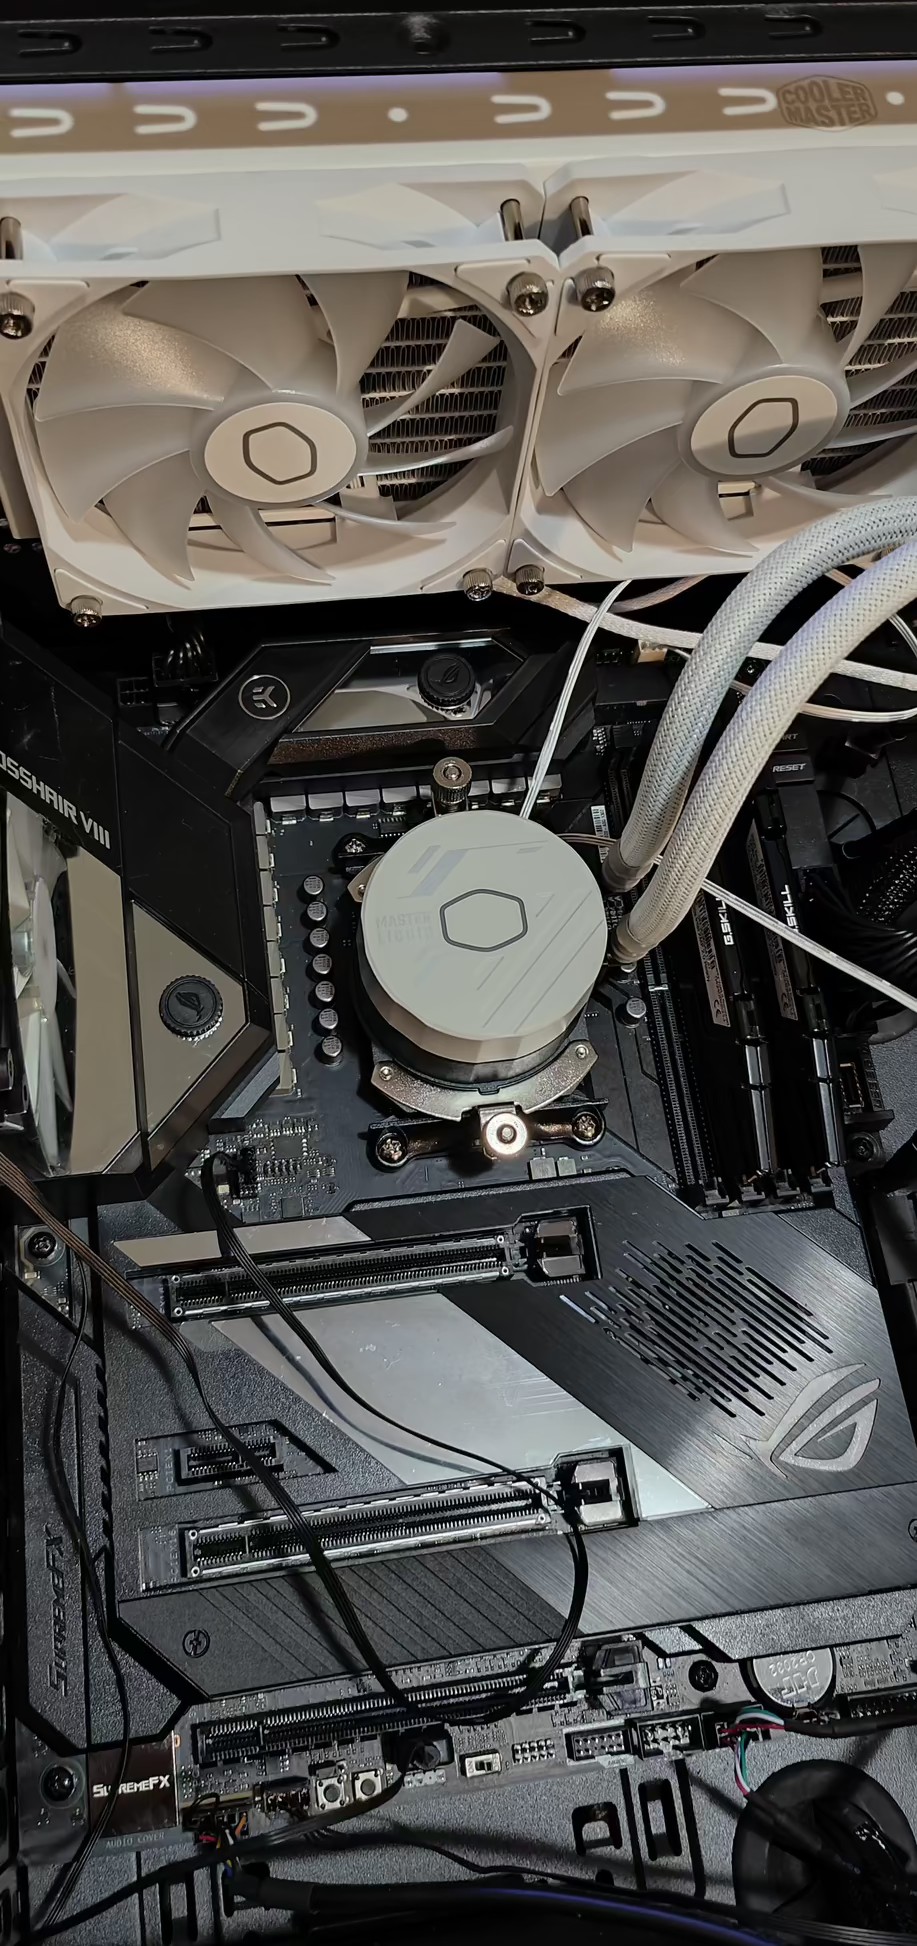
Mounting radiator
Mounting the radiator is as simple as the case allows for. It is likely that not all screw holes can be utilised but so long as all for corners and at least half the middle sections are mounted, the radiator wont go anywhere.
In comparison to the Thermaltake, this MasterLiquid 360L has a further reach with slightly longer hoses, which were also aligned right rather than left to the expected orientation. This meant there was no stress on the hoses and less ‘fighting’ the entire rig whilst installing the screws. It was simple and took only a few minutes.
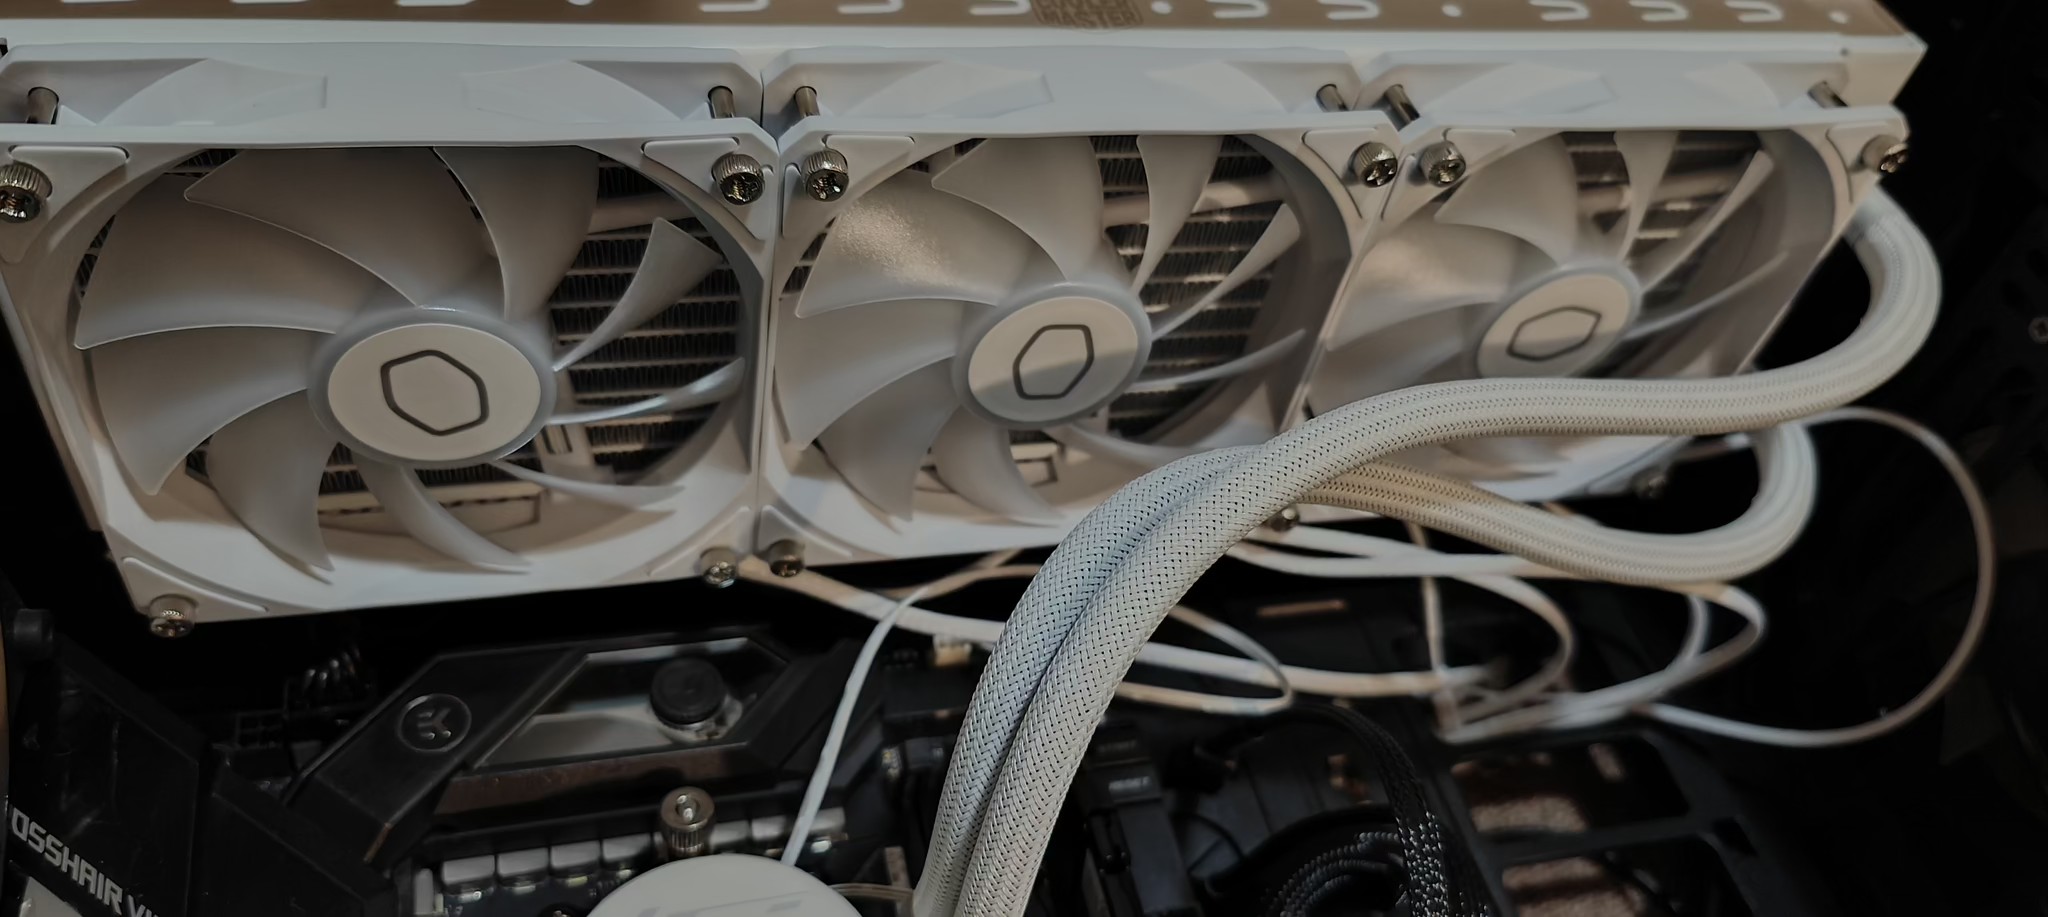

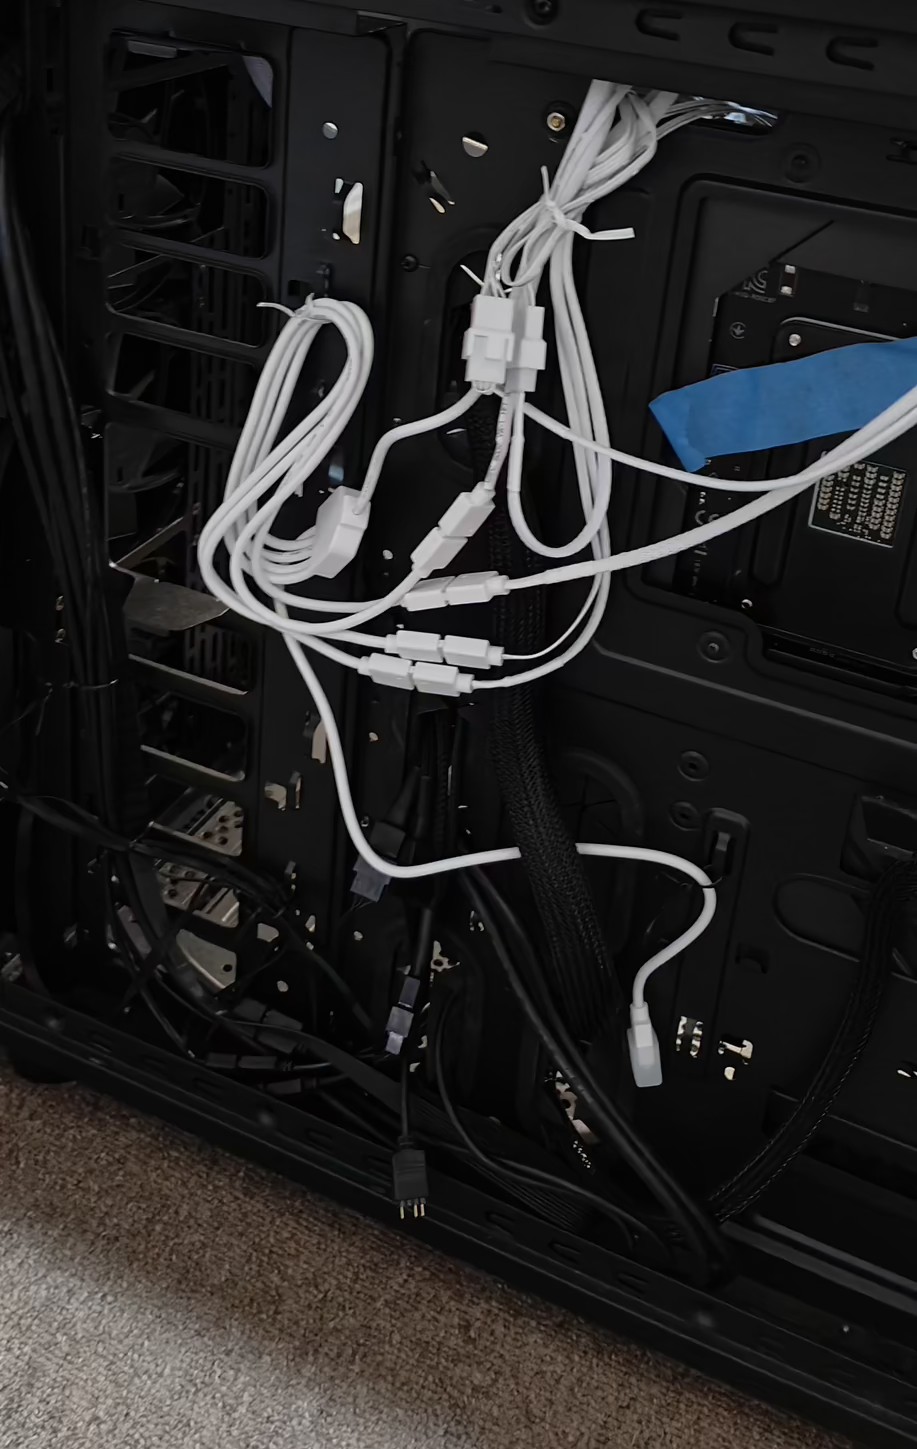
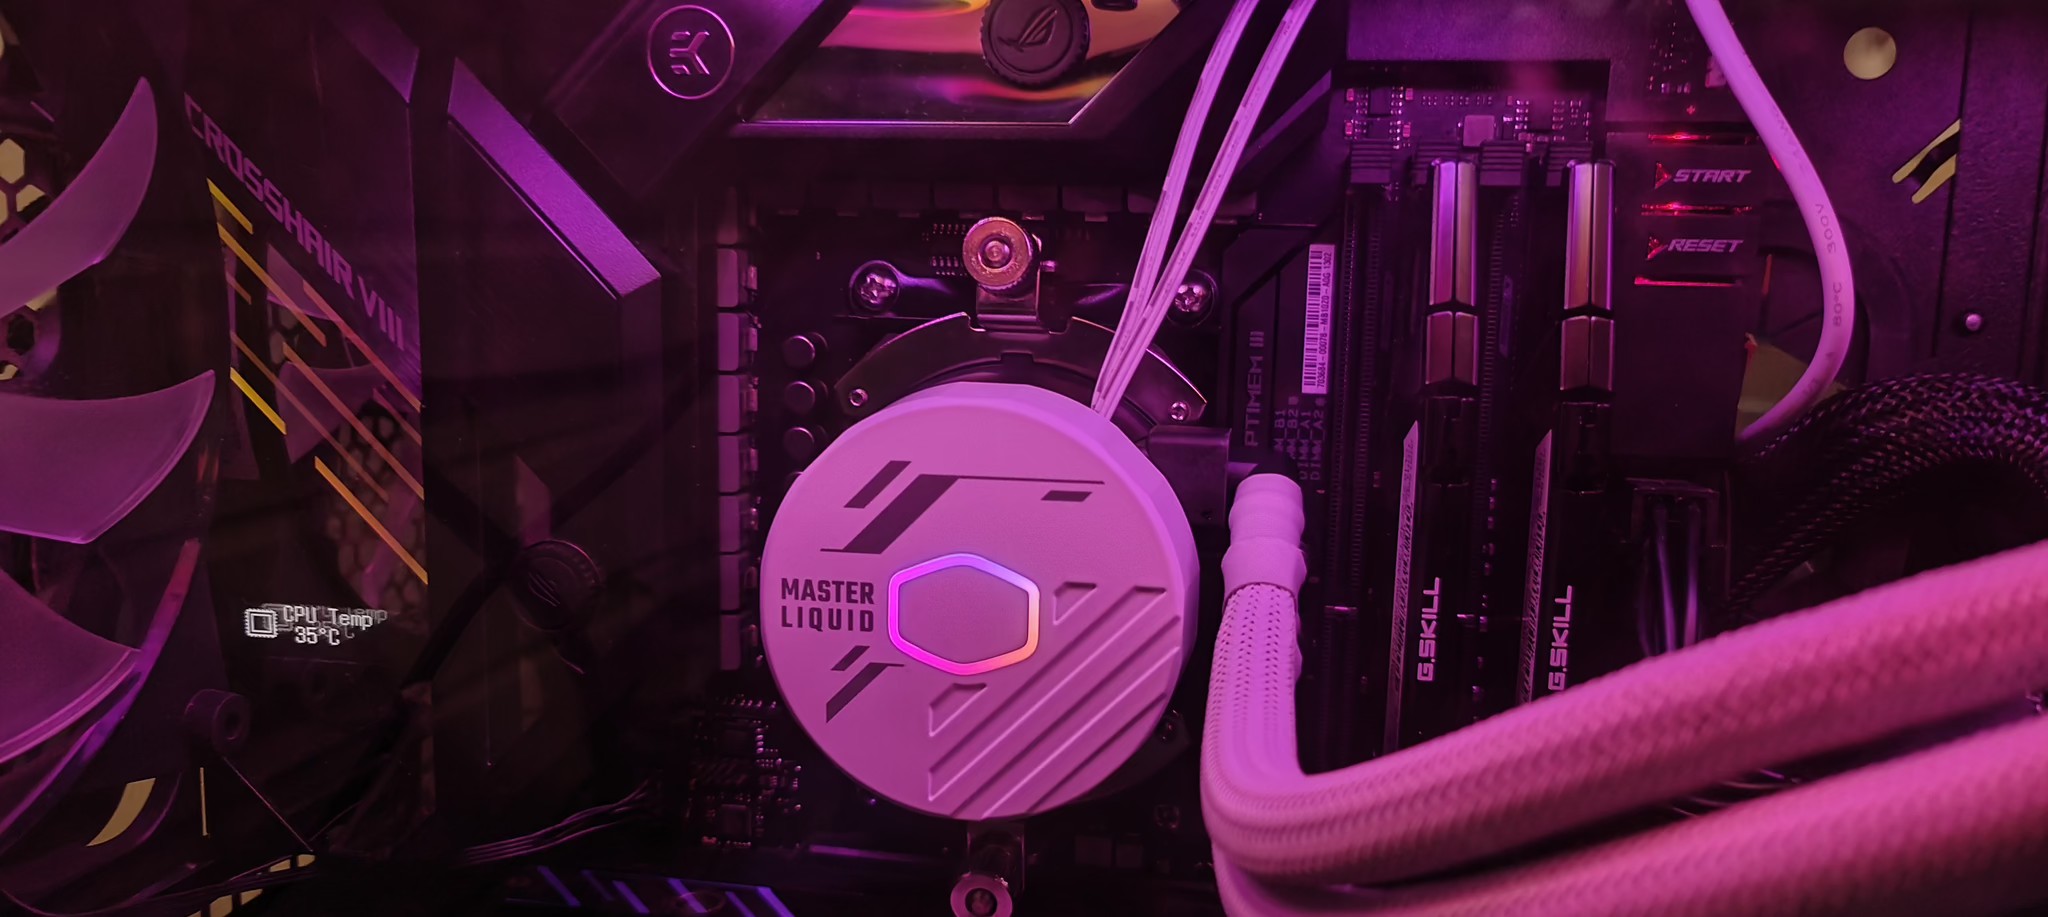
Ignore the blue tape. That is just a useful trick to keep the backplate from falling out when you install the top mounts. The downside to the white cabling is that it is highly visible through a glass panel.
Testing
The CPU is an AMD Ryzen 7 3800X, the comparative target CPU temperatures were 38C idle, with low level use around 40-45C, normal high use ~50-55C and extreme limit to be <60C.
It is important to note that the AIO Pump duty cycle is configured at 100% regardless of the temprature.
The fans were auto tuned within the ASUS motherboard, which detected the lowest RPM as 280 RPM, which exceeds expectations. The previous low RPM setting was 310 RPM, so already we can see that the CoolerMaster fans will run just a bit lower and quieter than the Thermaltake fans.
Allowing for a few hours to settle, not that the Grizzly Bear thermal paste requires settle time; there was no change in the initial idle temperatures of 36 degrees, but eventually this settled to 38 degrees with basic use and remained, which was the same as the Thermaltake.
Stress tests with 100% CPU utilisations raised the temperature significantly, and the motherboard raised the CPU fans accordingly to 100%.
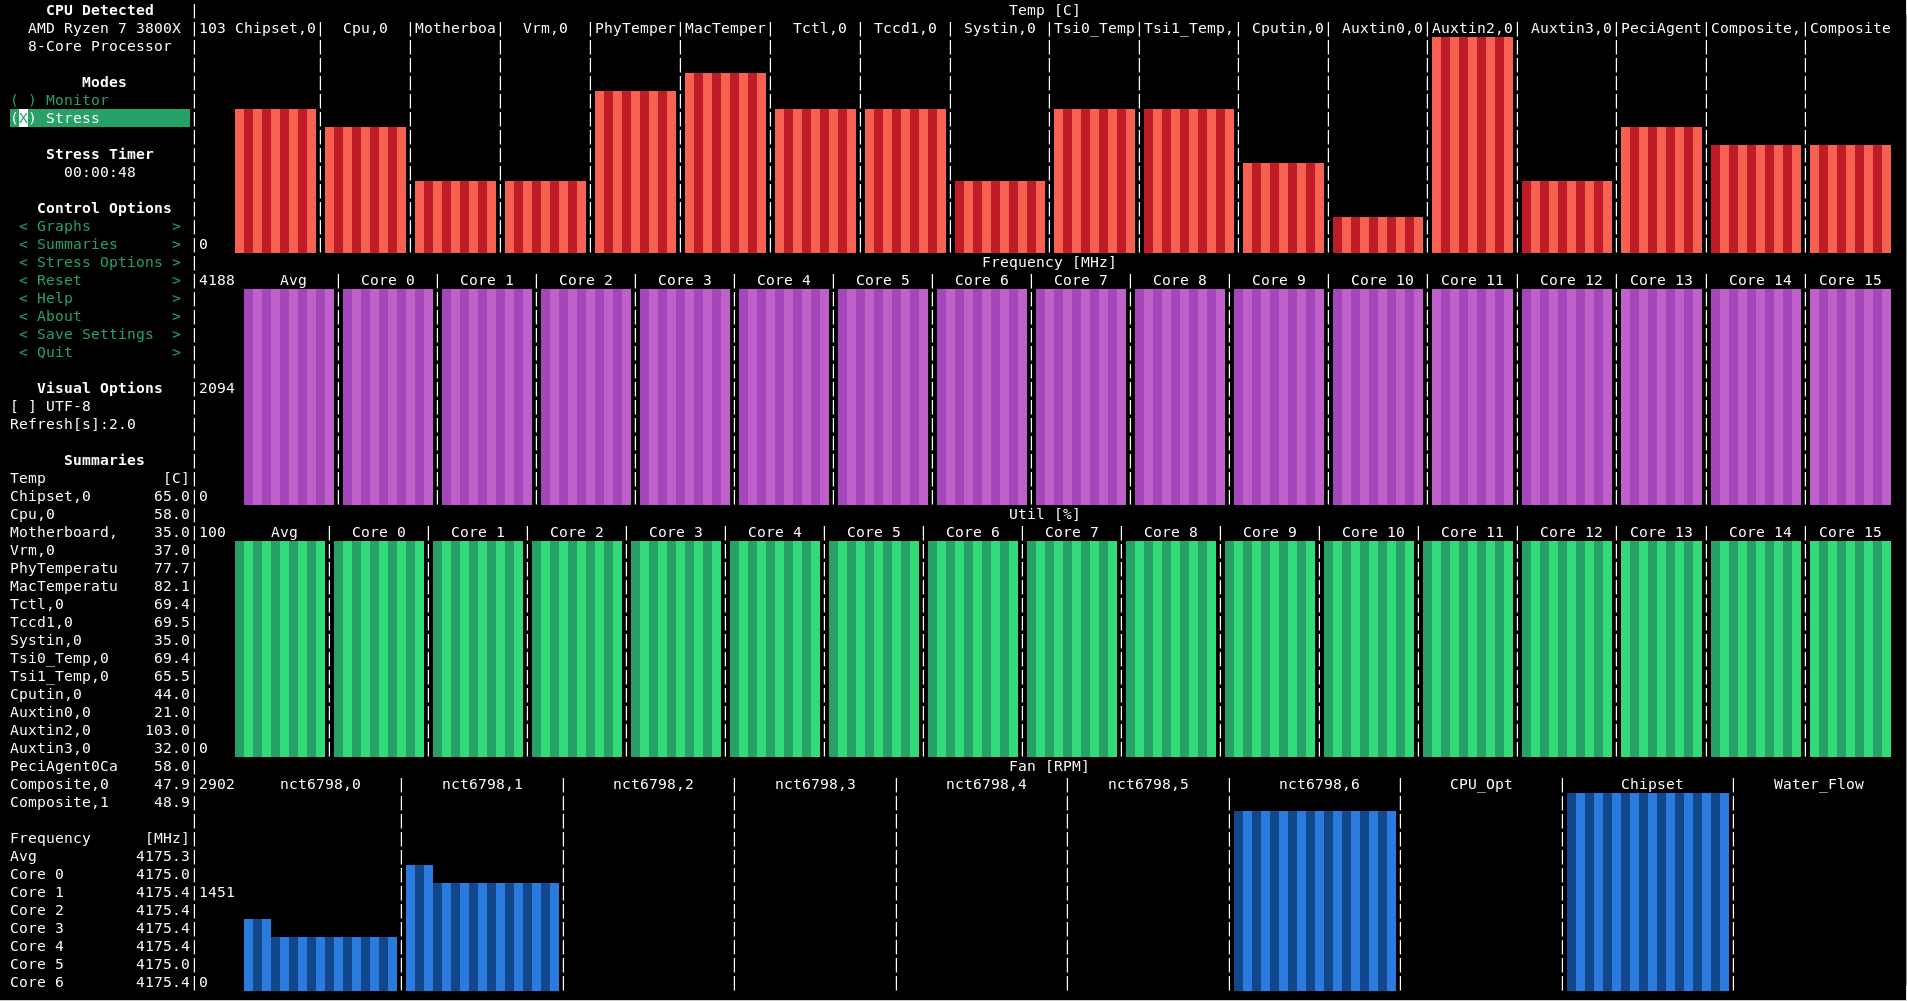
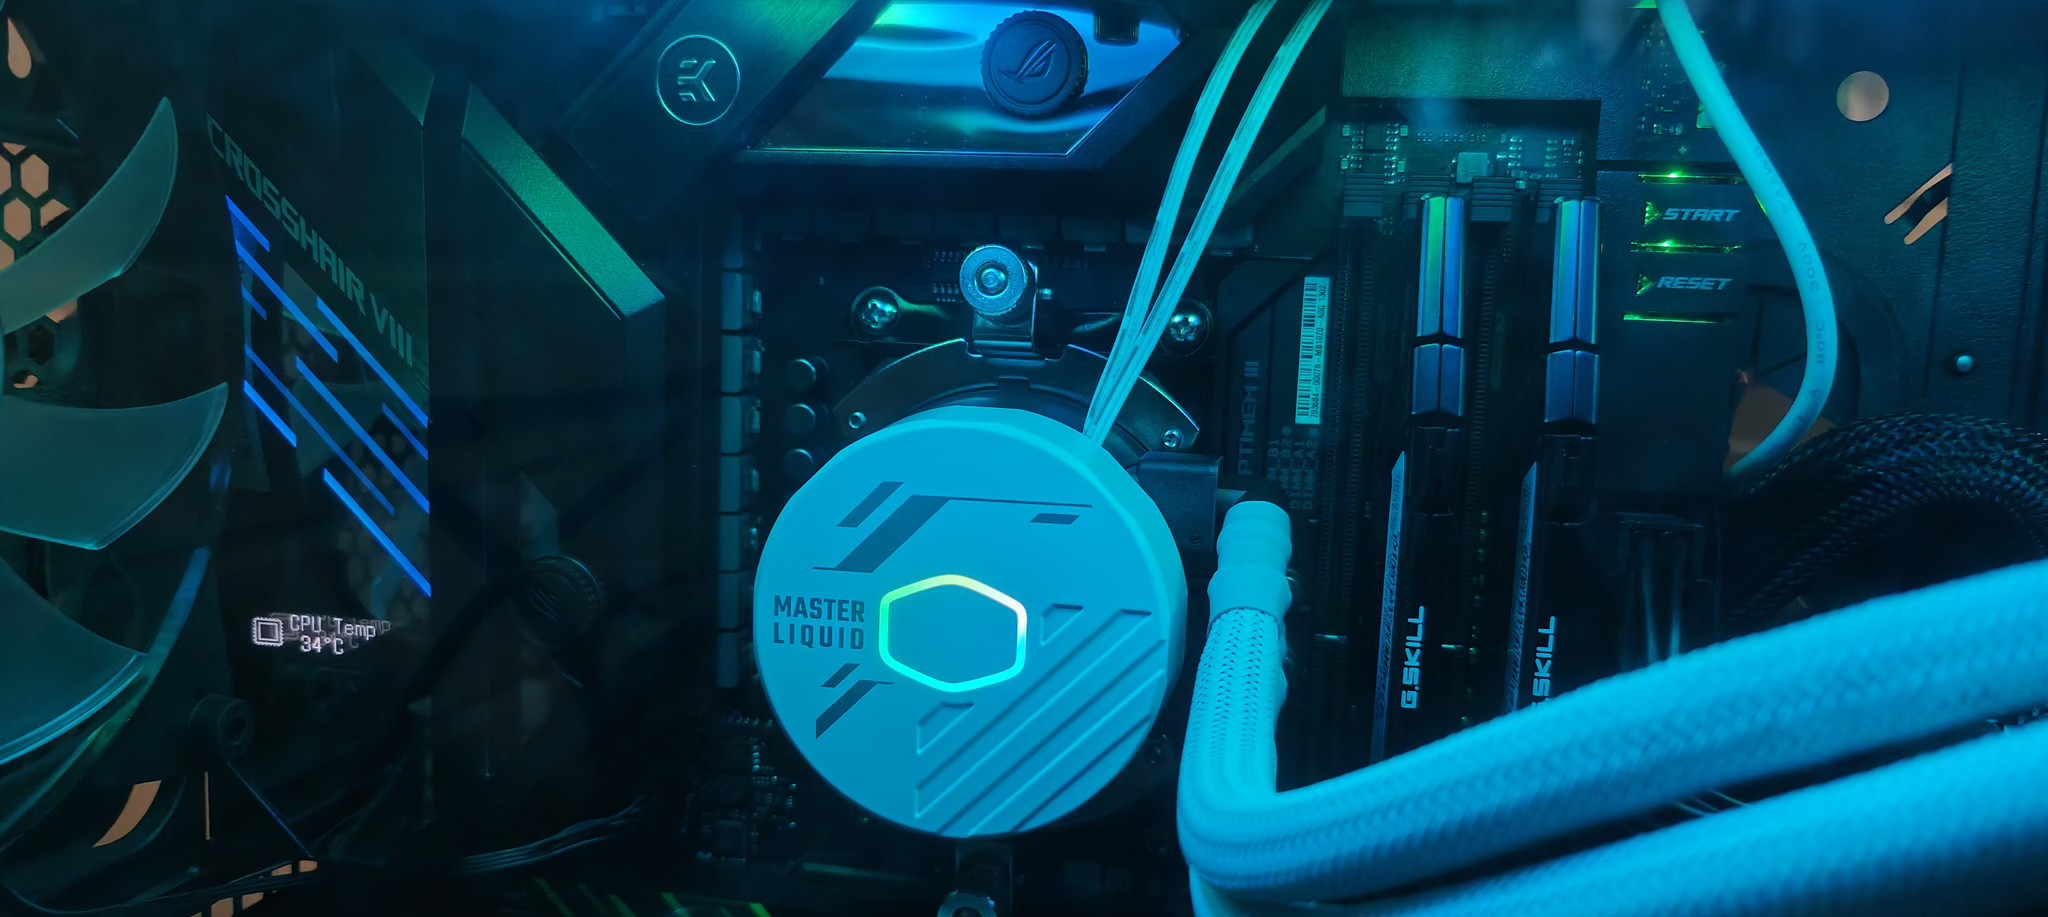
Stress test. Temperatures on the left.
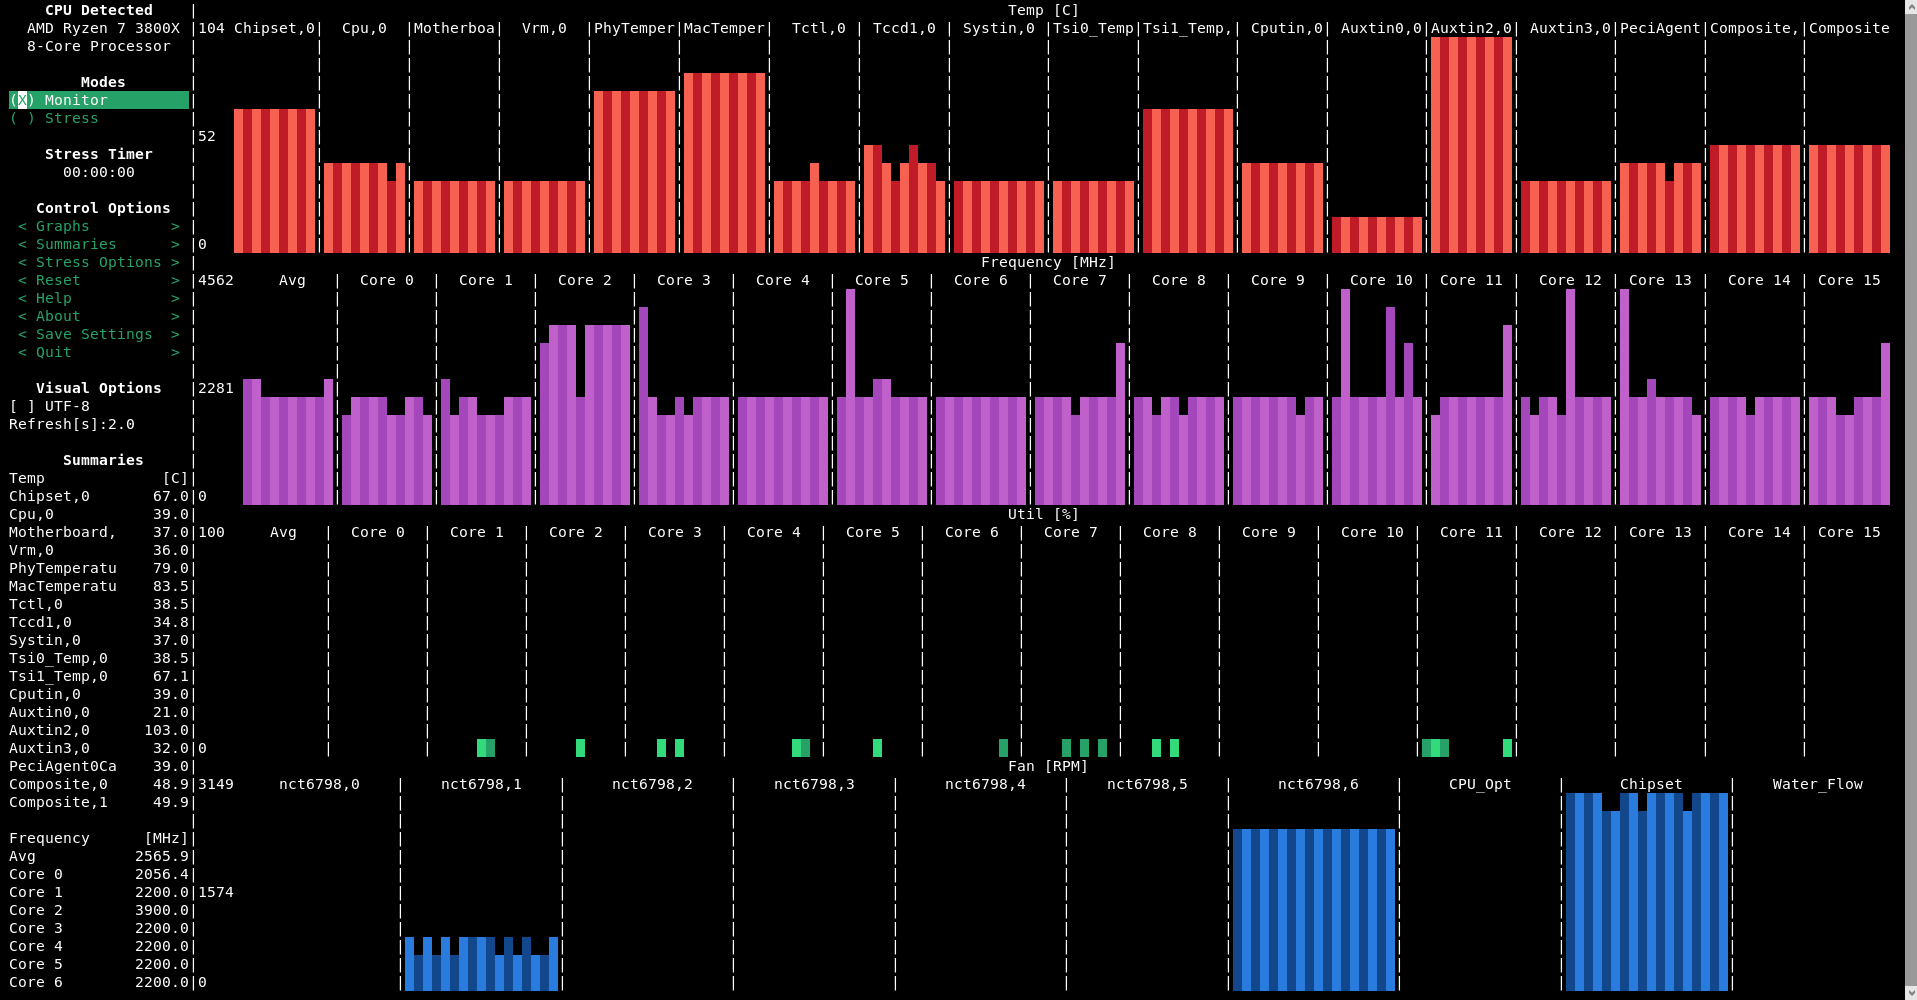
Normal idle/low use. Temperatures on the left.
This was not a forensic test, but just a validation that the CoolerMaster MasterLiquid 360L Core is just as good as a comparative alternative, which it is.
If any conclusions can be drawn here, is that the ASUS motherboard chipset and power rails could use some better cooling solutions.
Final Thoughts
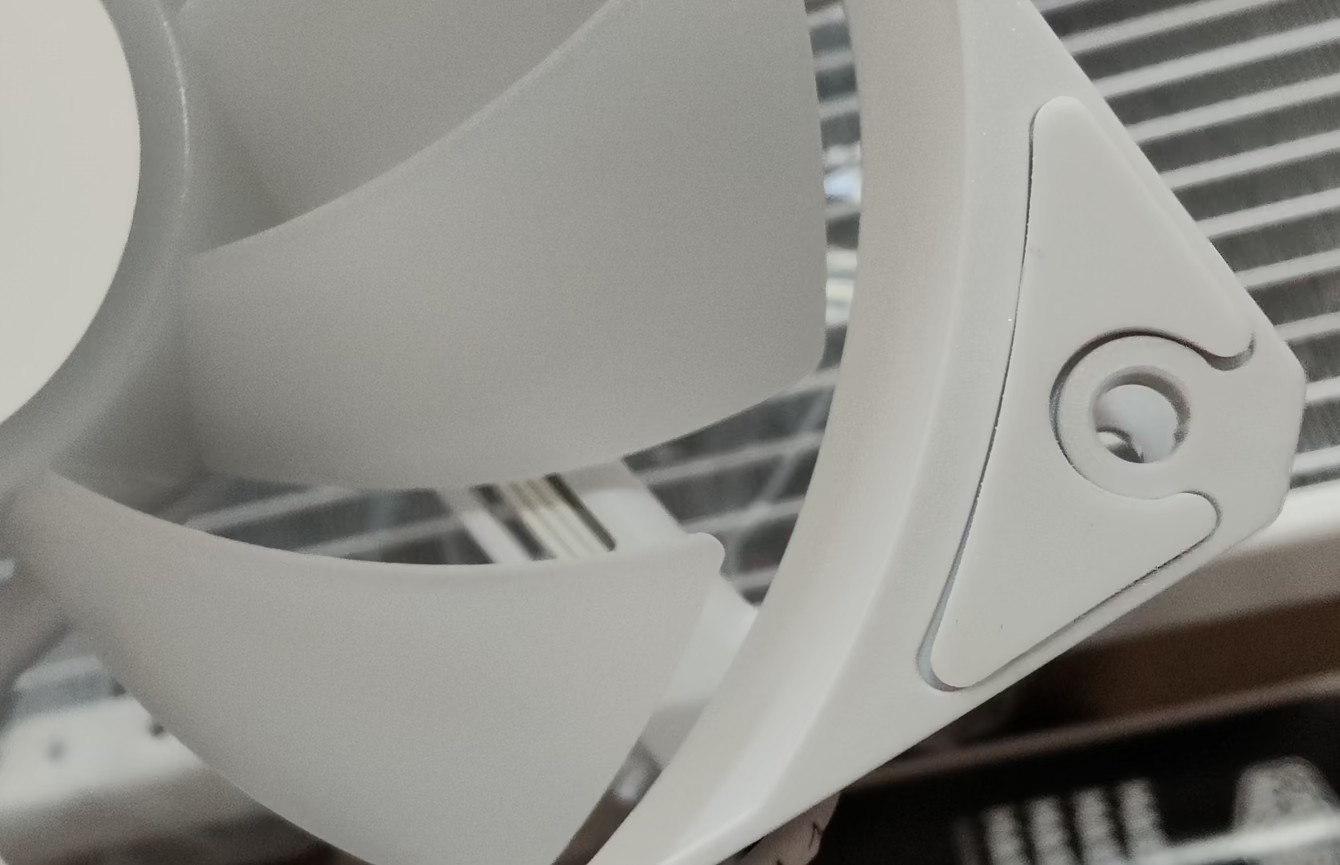
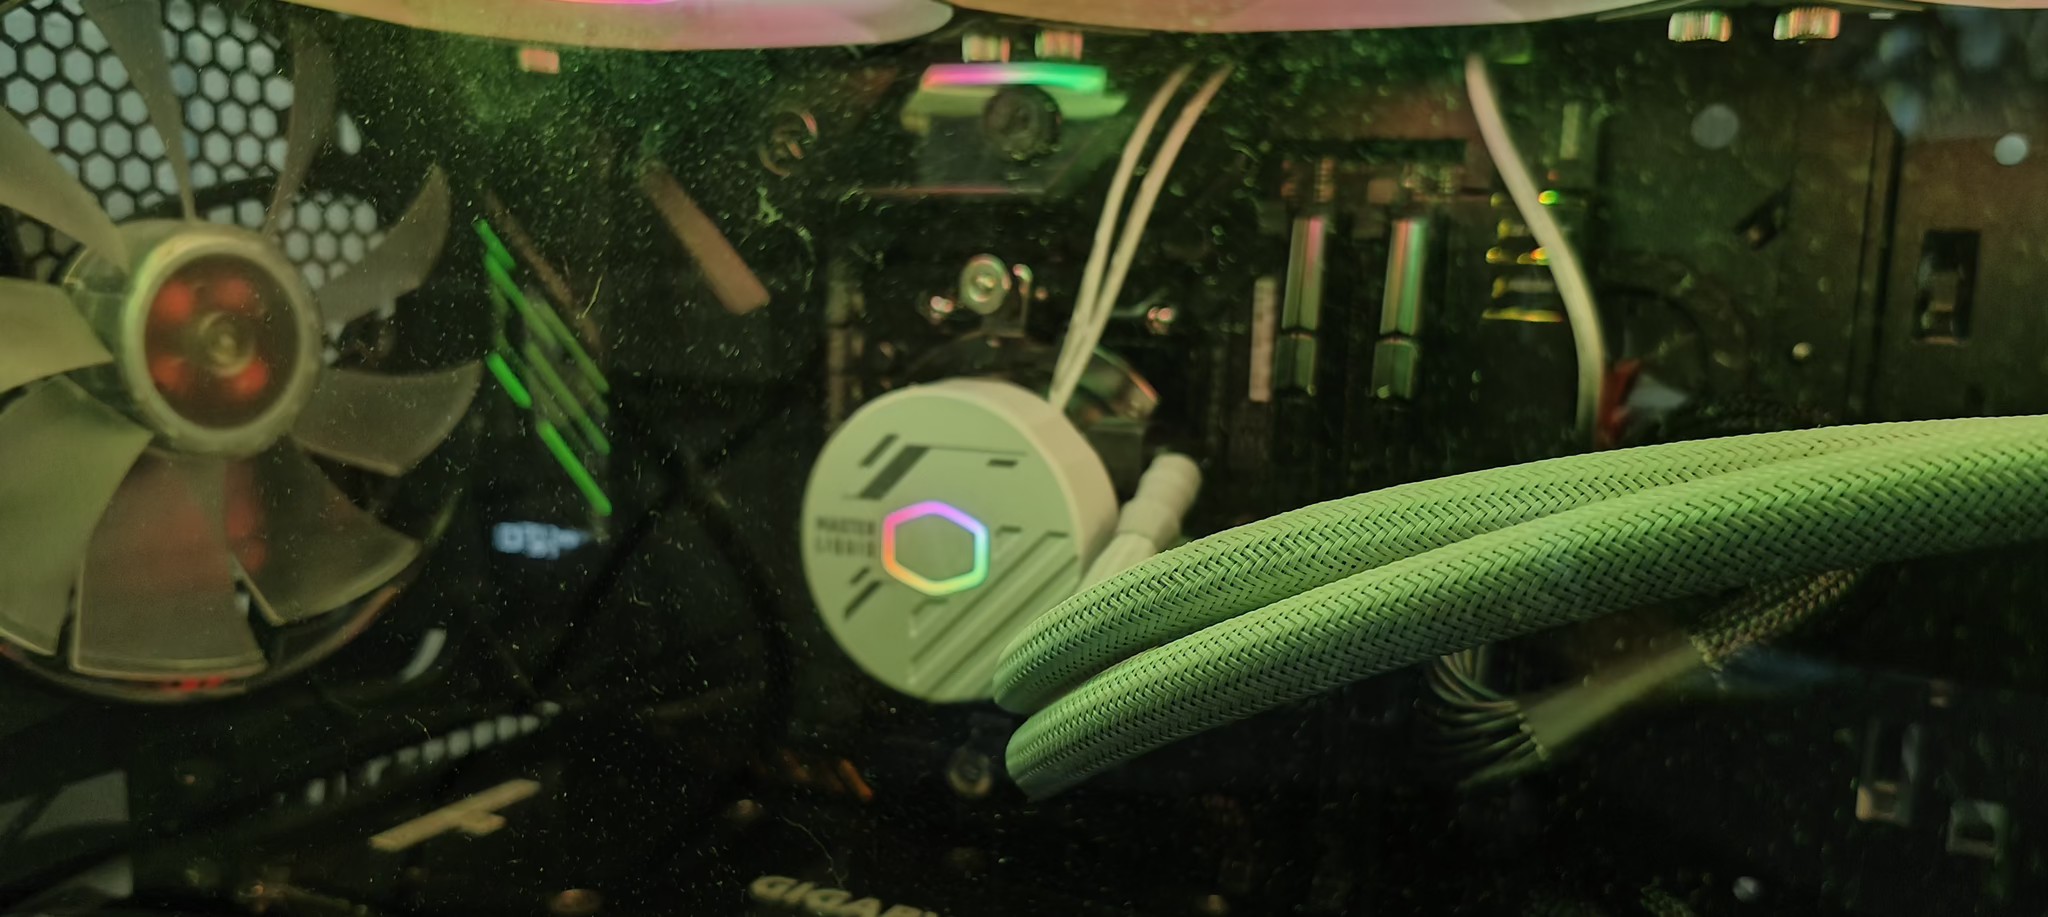
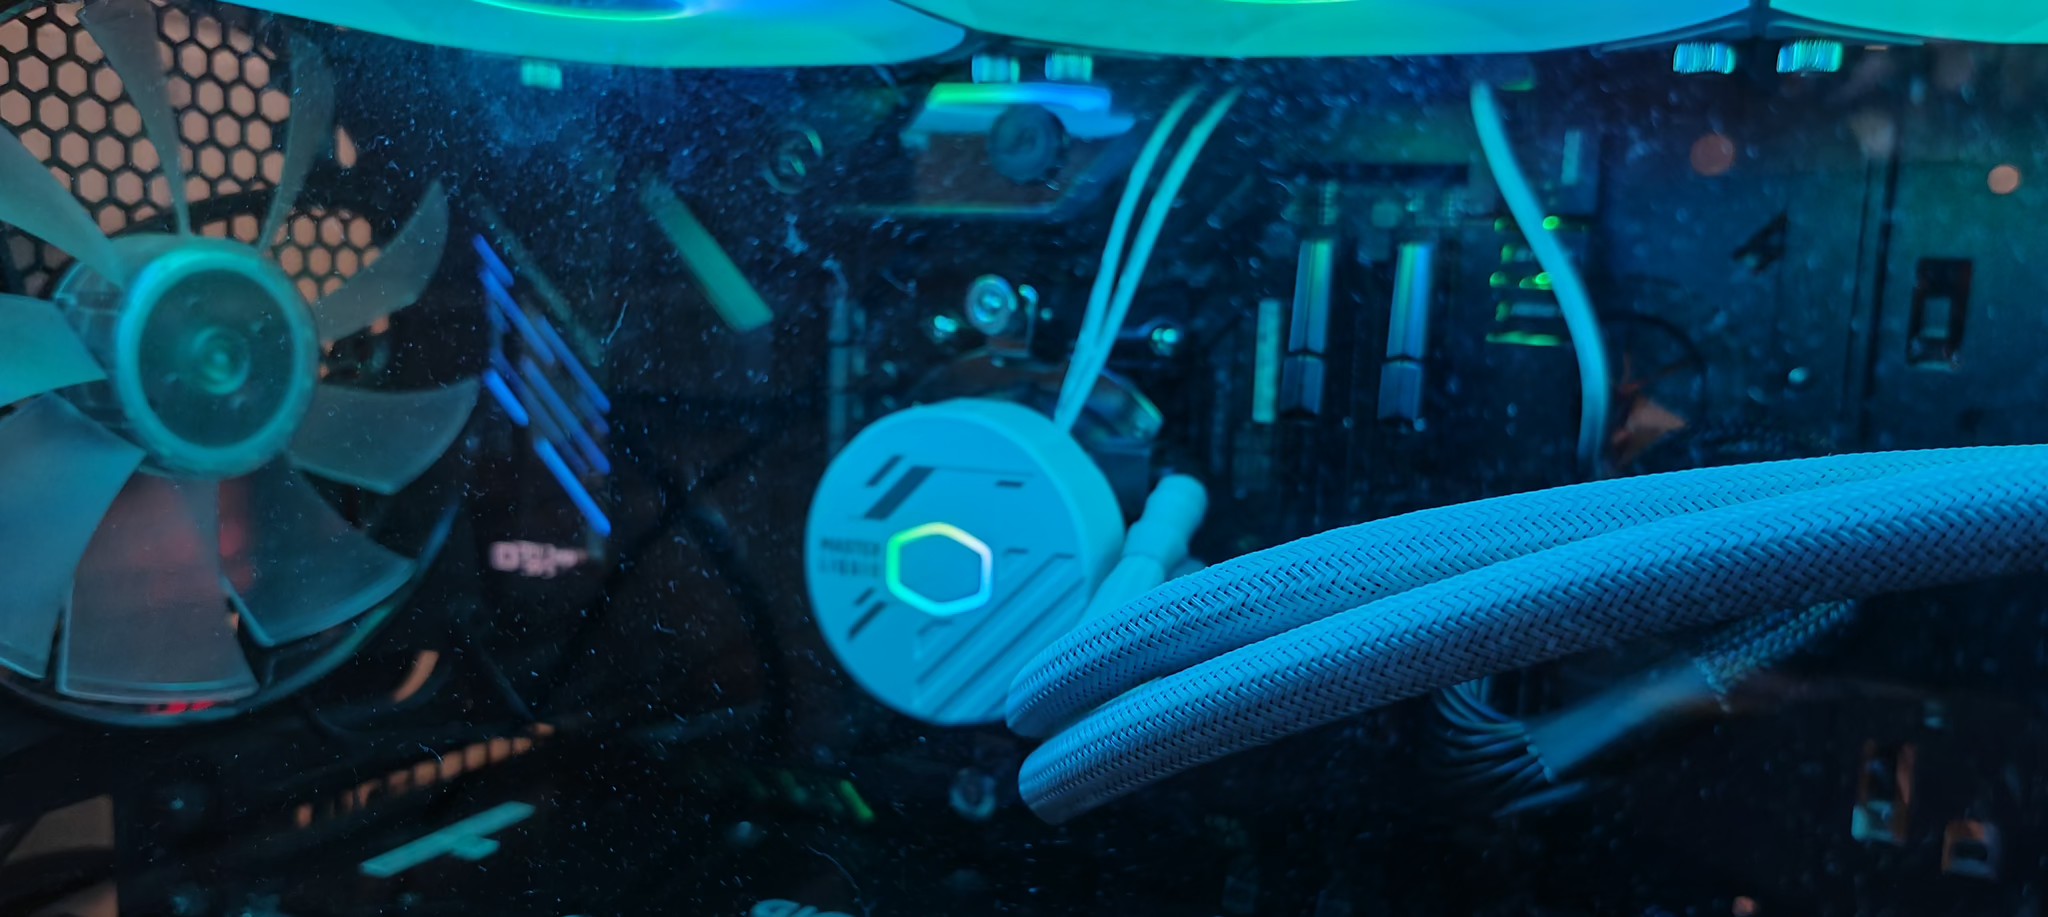
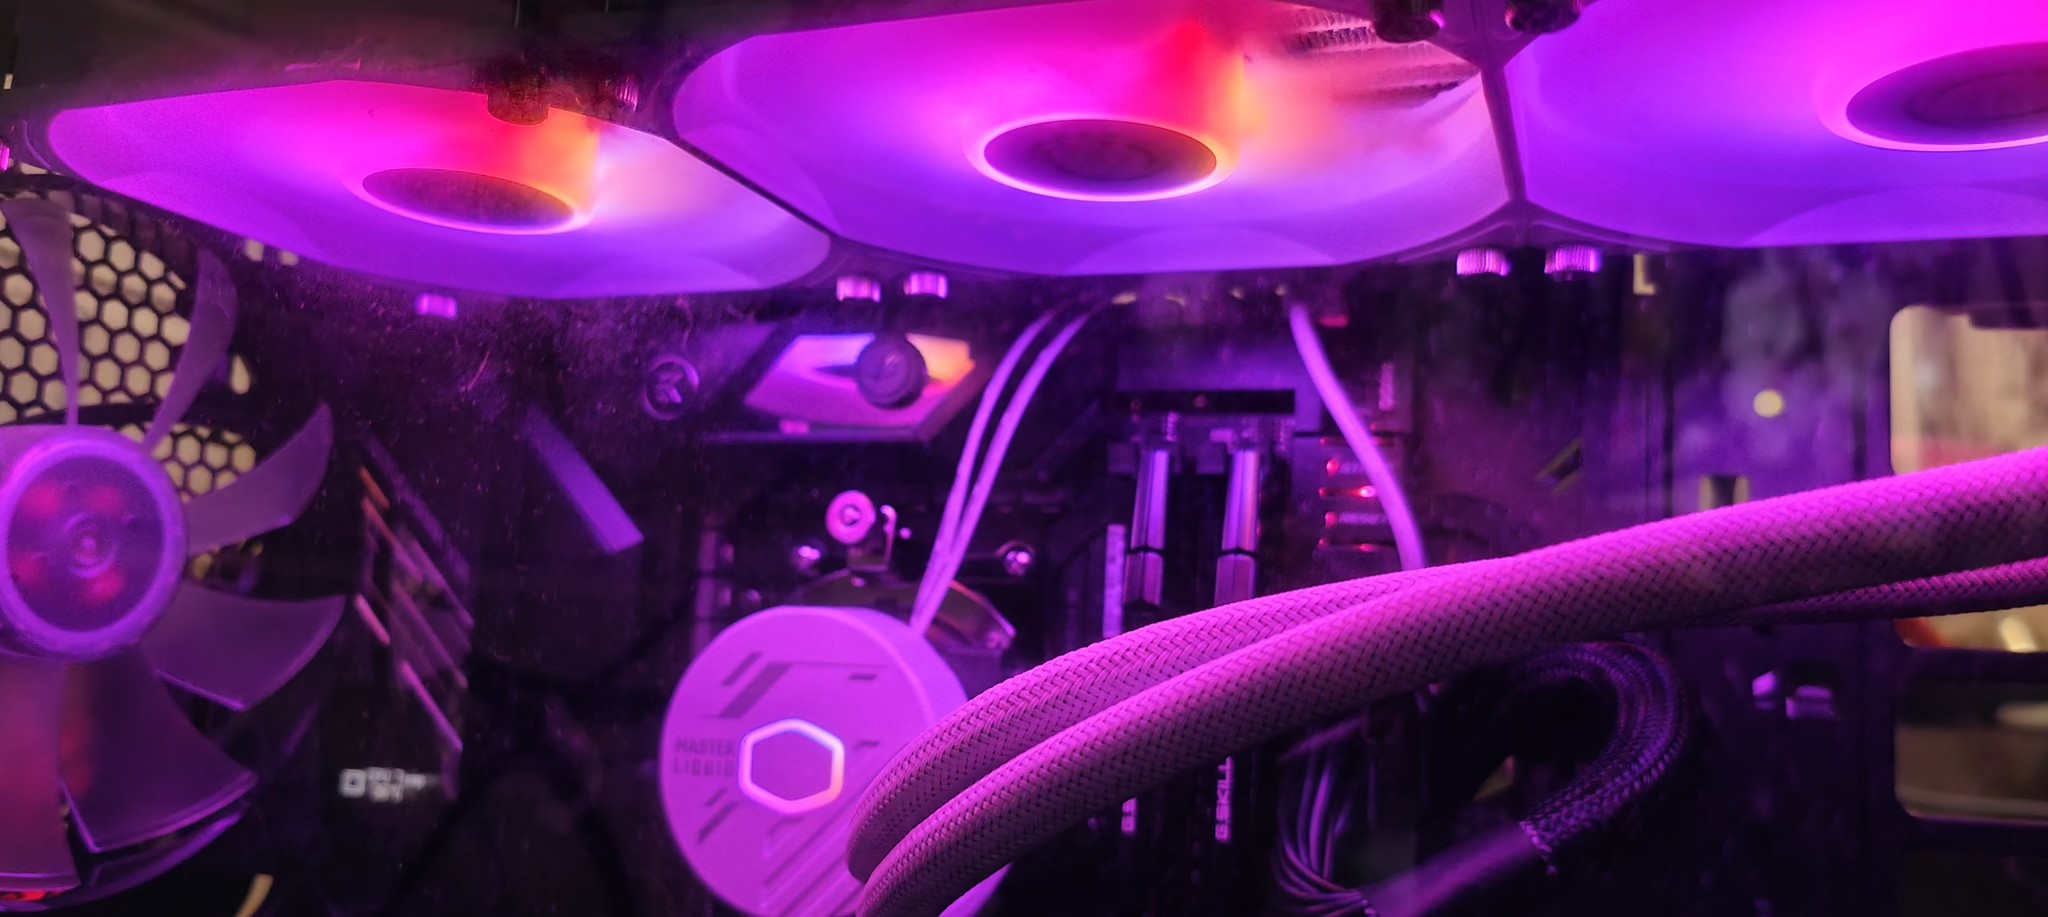
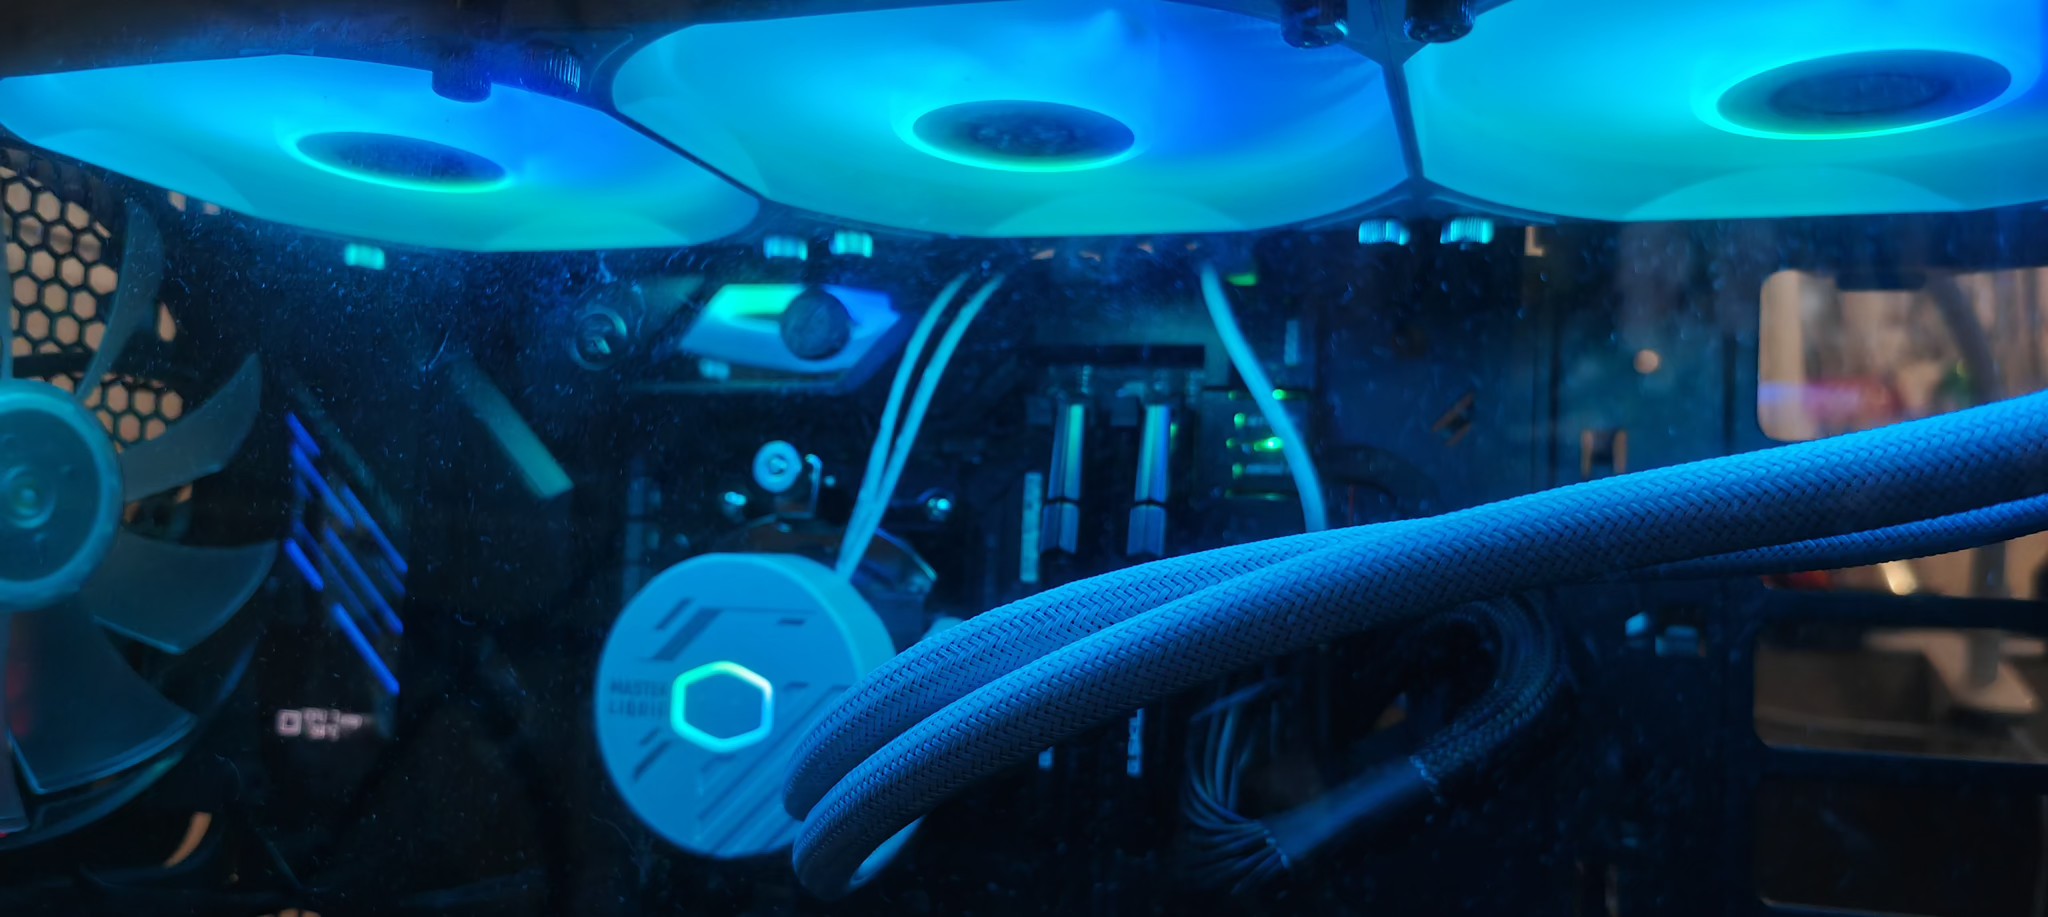
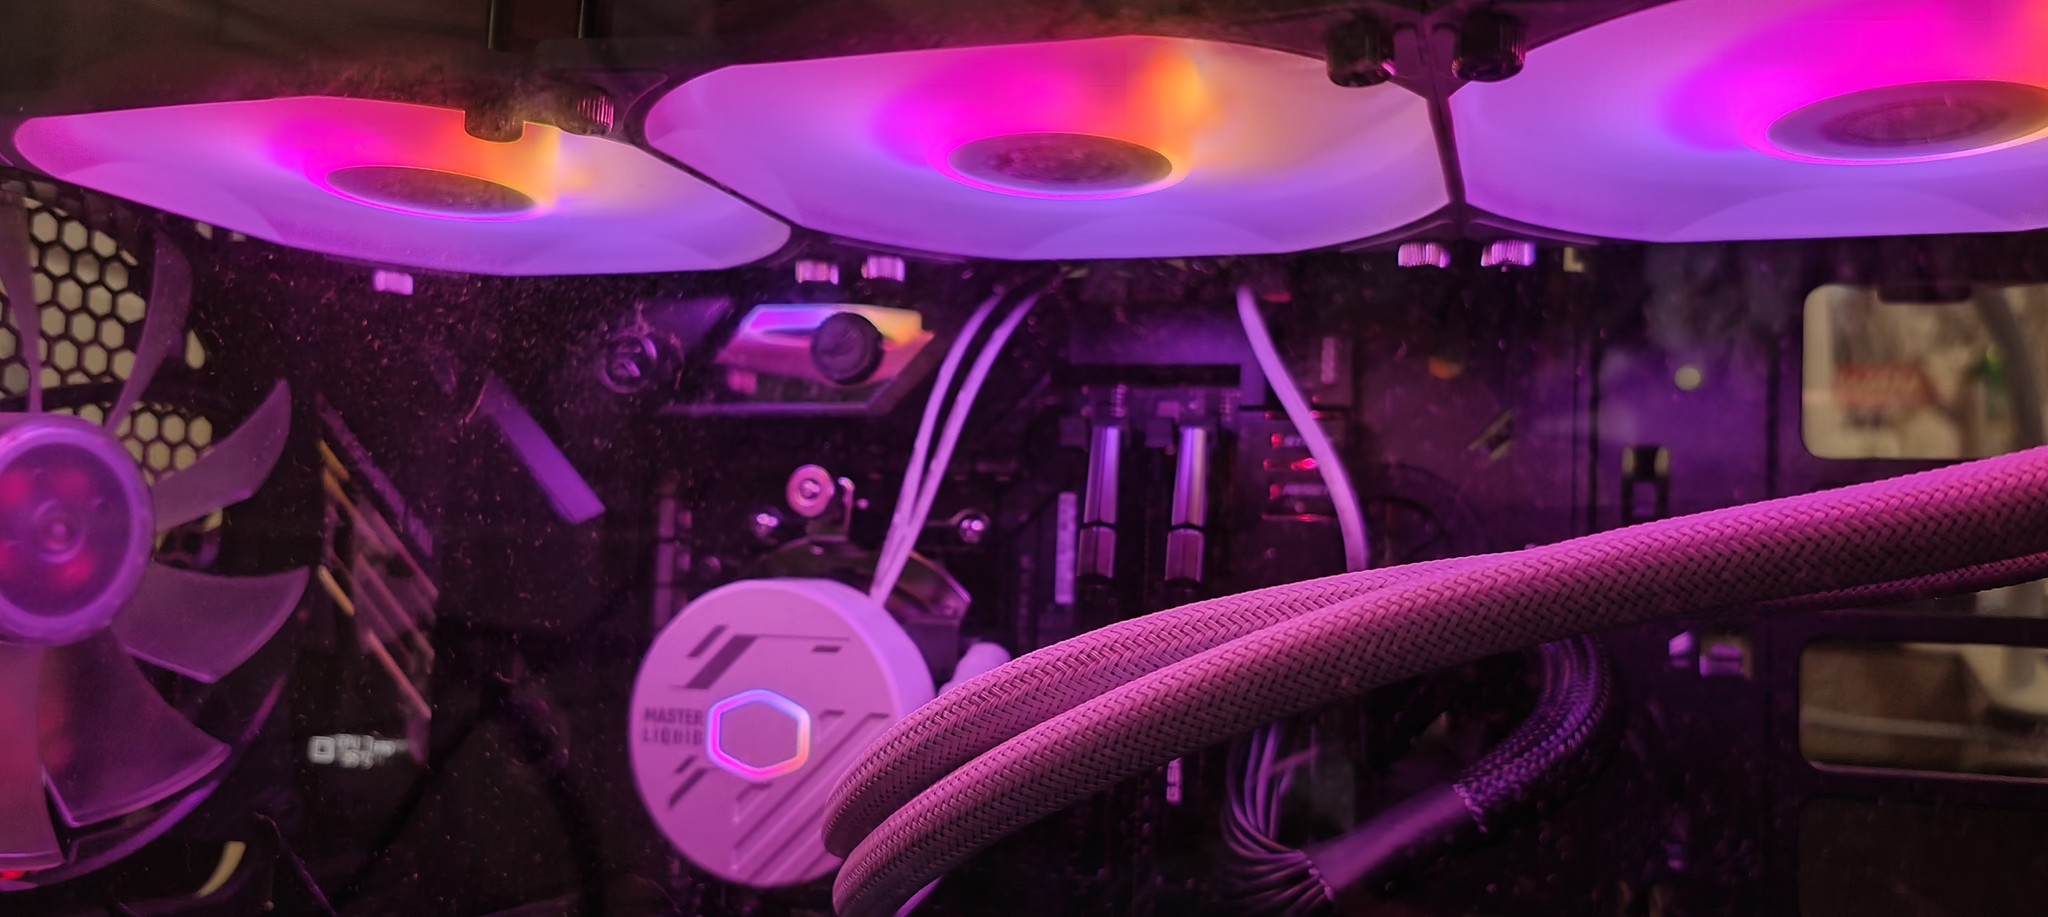
The CoolerMaster MasterLiquid 360L Core ARGB White is a solid choice for an AIO cooler. Although aesthetically, perhaps the white is not the best choice for black – but the contrast is interesting and in the case against the black, the fans often appear grey.
The RGB is much more subdue in colour intensity and throws out far too much white light then is usually desirable. The case appears much more white-light-washed than it did with the Thermaltake fans. Moreover when looking through the CoolerMaster fans, the grill is visible where as the Thermaltake it is not, resulting in what appears to be a less rich colour overall.
The noise produced by the fans and the water pump is noticeably less than the Thermaltake and so the reviews about this AIO is accurate. But perhaps only 5-10db of perceptible difference through a case. That said, where this difference is most noticeable is in low utilisation and idle operations, and it is by this point that it is a significant difference.
The biggest let down with the CoolerMaster MasterLiquid 360L Core ARGB, is the thumbscrews for the mounting hardware for AMD. Not only will be difficult or even painful to remove, there is a serious risk of installation failure because the tension may be unknown or insufficient by the installer. Anyone who has little experience with installing coolers is going to need pay careful attention to avoid risking damage to their CPU.
The cable inclusions, particularly the ARGB 4-way splitter is a nice touch, as most brands would only include a 3-way splitter. Additional ARGB cable ‘thingies’ (connector covers) are also something that Thermaltake did not provide. Overall these additional inclusions add to the value of this product significantly.

From a cooling perspective, the MasterLiquid 360L Core ARGB offers a similar performance to its competitors. With an inferior mount and less rich RGB colours (without software adjustment), the overall benefit here is the quieter operation for the same cooling efficiency, 3-years warranty, and additional cable inclusions.
Summary: From a cooling perspective, the MasterLiquid 360L Core ARGB offers a similar performance to its competitors. With an inferior mount and less rich RGB colours (without software adjustment), the overall benefit here is the quieter operation for the same cooling efficiency, 3-years warranty, and additional cable inclusions.
4
Quiet!
About the Author
Scott De Lacy Scott has a professional IT background spanning over 18 years, is an hobbyist electronics designer, talented musician, holds qualifications as a trainer and experience in emergency and community services sectors. He reviews Movies, PC and XBOX One games, and hardware.
Related Posts
CoolerMaster MasterHub Review →
Samsung Launches Next-Gen Odyssey Gaming and ViewFinity Monitors, Including World’s First 6K Gaming Monitor →
OXS Unveils Thunder Duo X – The World’s First Cinematic Gaming Speaker systems with True Dolby Atmos →