
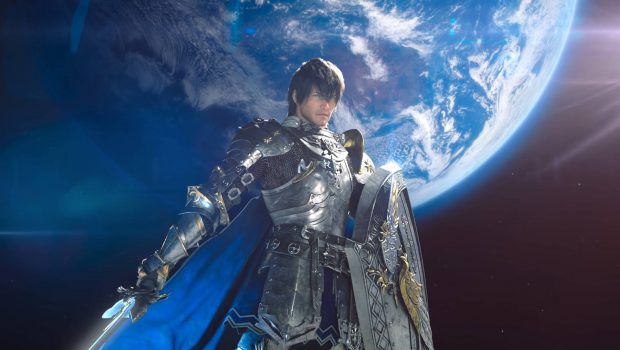
A Guide to Endgame – Final Fantasy XIV
So, you’ve finished the story of FFXIV latest expansion, Endwalker. And now you’re wondering what to do, do you play another game or do you delve deeper into the game you sunk many hours into, one who’s story is so rich in content that it cannot simply be contained entirely within the main scenario questlines. We’ll ol’ Dan is here with a wealth of experience, to give your some info, tips and tricks on what to do next in the critically acclaimed MMORPG, Final Fantasy XIV. So come, grab your best glam, secure your highest grade potions and food and let’s dive right in.
Leveling Alt Jobs
The first thing that might come to mind when reaching the end of the game, is the fact you probably did most of it playing the one class! So what better way to find something new to do, by picking up a fresh new class to challenge yourself and learn how each one within a given role, differs from the others? I myself spent most of the later expansions rolling around as a White Mage for so long, but since picking up savage raids over two years ago and learning to raid. I have found myself understanding the benefits of learning multiple jobs within the healing family, in fact, as soon as the Sage class was revealed, I knew I just had to try it out. One might not know it at first glance, but a even within the healing jobs, there are two subcategories. Pure healing, is just that, a reactionary healer that is best used to pump out spells to top the party back to full after incoming damage. A Shield healer, does the opposite. Placing shields over the party before the incoming damage hits everyone, the two types of healer roles work in tandem and whilst not required for endgame content, does make it a lot easier to survive and overcome the tougher challenges therein.
Perhaps you were a caster, playing Red Mage, Black Mage or Summoner? Maybe it’s time to try a melee or physical ranged role? Keeping the experience of a DPS player means that you’re not entirely playing a different role. But both melee and physical ranged classes have different tools and abilities to deal damage and support the group! Tanks too can be different in their own ways, though most of their abilities are transferable between other tanks, the methods in which the work are all subtly different. As a player with several years of experience, I learned over that time that playing alt jobs can not only be a fun new challenge to revitalise old content. But it becomes very useful in the endgame, each role often has different responsibilities in Ex trials, savage/ultimate raids and pvp. To learn all of them is to master the game!
Each City state has an array of jobs to choose from, starting with Ul’dah; Gladiator, which becomes Paladin. Pugilist, which becomes Monk and Thaumaturge, which becomes Black Mage. You can also pick up Samurai, Red Mage and Reaper here too. Gridania; Conjurer, which becomes White Mage. Lancer, which becomes Dragoon and Archer, which becomes Bard. You can also pick up Gunbreaker here too. Limsa Lominsa; Marauder, which becomes Warrior. Rogue, which becomes Ninja. Arcanist, which becomes Summoner and Scholar. You can also pickup Blue Mage and Sage here. And finally, Ishgard; Dark Knight, Machinist and Astrologian can all be picked up here. Each class from A Realm Reborn, starts as a base class that evolves into a secondary class at level thirty. All jobs released in Heavensward or later, do not have a base job and are as they are when you pick them up.
Dailies
The centre of all things FFXIV post Main Scenario Quests and probably the most important feature after leveling alt jobs. Dailies offer a swarm of rewards, if you’re level is below 90, dailies are a huge chunk of your leveling experience! One of the fastest routes to 90 is by doing your daily roulettes, here you have several that you can complete for exp and gil. There’s even a bonus to both of these when levelling the role that’s in demand, this rotates every few minutes too, but can only be claimed once a day for each roulette. Additionally, you earn Tomestones of Poetics, this currency can be collected to a maximum of 2000 and can be spent in various locations for many different items. Some for gear that you might need, or want to use for glamours. Whilst some other items are used in sidequests and other activities, some of the best content among these sidequests is the Relic quests, at the end of each major step in these quest lines, you score yourself a sweet weapon. Some even have special effects, how cool is that?
But when you take a job at level 90 into the roulette, you’re also given tomestones of the highest level! These tomestones can be exchanged for items and gear of the highest quality, specially required to use in the current tiers of savage raiding. Whether it be for crafting food to boost your stats or potions for a straight up damage boost, most of the items required to make these, can only be obtained with the highest tomestones! Of course, there are other ways to earn these tomestones but dailies are often the fastest and easiest method! There’s even a daily roulette specifically designed for level 90 players to earn these rewards, closed off to anyone who isn’t on a class at max level.
Dailies can be found in your first page of your Duty List. If you don’t have “Expert” unlocked, you may need to unlock some of the optional dungeons through some of the sidequests
Sidequests
Whilst this might seem a bit obvious, but as you progress through the main scenario, you’ll no doubt start to notice other quests popping up in your journey. Most of these are simple, “go here, slay this” or “go there, collect that” types of quests. But some are much more in depth, offering a string of quests inter-connected that sometimes grant rewards, while others are the key to unlocking mount flying in a given area. Some sidequests even unlock specific encounters outside of the main questline that grant their own special rewards, like the “Four Lords” series that unlocks several additional trials, complete with their own gear and mount rewards!
The most notorious sidequests are; Four Lords, the Hildibrand series, Relics, Eureka and Bozjan Southern Front as well as the many series of Alliance Raids (some of which are required to progress in the main scenario and other sidequests). The latest series of Hildebrand quests serve as the new relic series for the Endwalker Expansion! The gear obtained from older relic series’ are very cool and I have completed several of these. Each class has their own unique relic and all have their own unique designs and effects with every new step completed. And with a new relic series in every expansion, there are so many to collect! They’re grindy and take several days/weeks to complete depending on which expansion relics you’re gunning for, with the Hildebrand relics being some of the best gear you can obtain in the game to date!
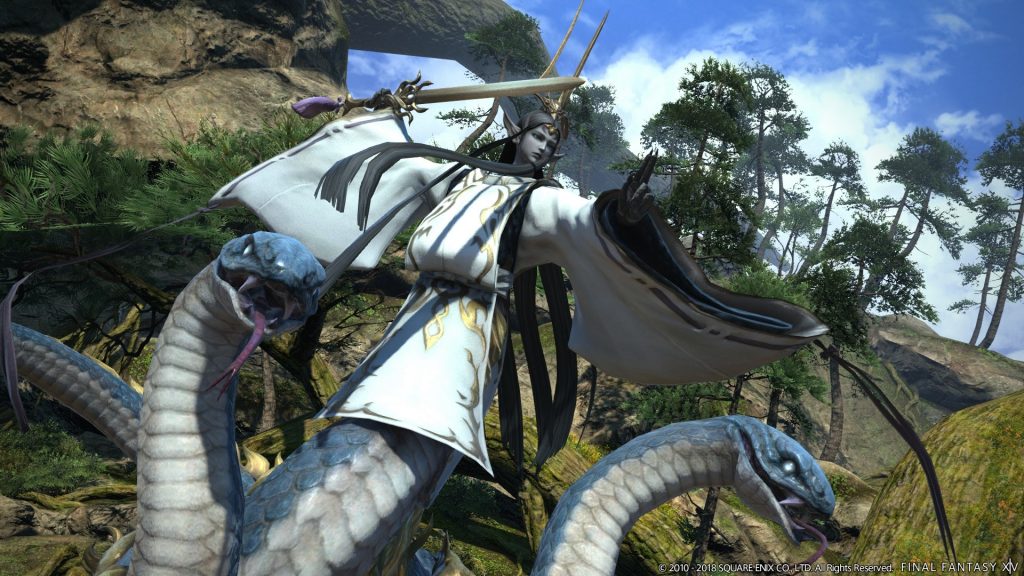
Four Lords
The Four Lords questline starts off with Tataru and Soroban trying to discover a mythical hidden treasure. About a legend that tells of a peerless samurai who, at the behest of a king, drove a host of Oni into the sea. He could not do it alone however, so he turned to the Four Lords for assistance. Through this questline, you unlock the optional dungeon Hell’s Lid, which itself contains some nice gear with which to create some Asian themed glamours. And three optional trials, The Jade Stoa, Hell’s Kier and The Wreath of Snakes. These return later with Extreme variants for mount farms!
Hildibrand Adventures
Hildibrand Adventures start all the way back in A Realm Reborn, released in patch 2.1 A Realm Awoken. It is the longest running sidequest series in the game and rose to popular regard because of its goofy attitude and comedic value. Who doesn’t want to see a sharp dressed, handsome investigator get himself into all sorts of trouble? It’s starts off simply as a journey to unravel the mystery of Dalamud, but over time has grown into so much more. Throughout the story you will be tasked to take on optional trials and earn neat little rewards like emotes and minions! Hildibrand is so heavily engraved into the game now, that it has even become the most recent relic weapon questline. So if you want your newest relic, some of the most powerful weapons you can get, then you’d better get to work on your Hildibrand story!
Here’s every starting point, per expansion for the Hildibrand Questline (You will need to complete all of the previous expansions version of Hildibrand to gain access each expansions version in order!) Wymond, Ul’dah (X9.8 Y8.7) for A Realm Reborn. Nashu Mhakaracca, The Pillars (X 5.9 Y 9.9) for Heavensward. Conspicuously Inconspicuous Man, Kugane (X 10.6 Y9.8) for Stormblood. Shadowbrings did not feature any Hildibrand questline, so your last set is the Relic Quests in Endwalker; Excitable Youth, Radz-at-Hat (X 11.8 Y 11.2).
Eureka and the Bozjan Southern Front
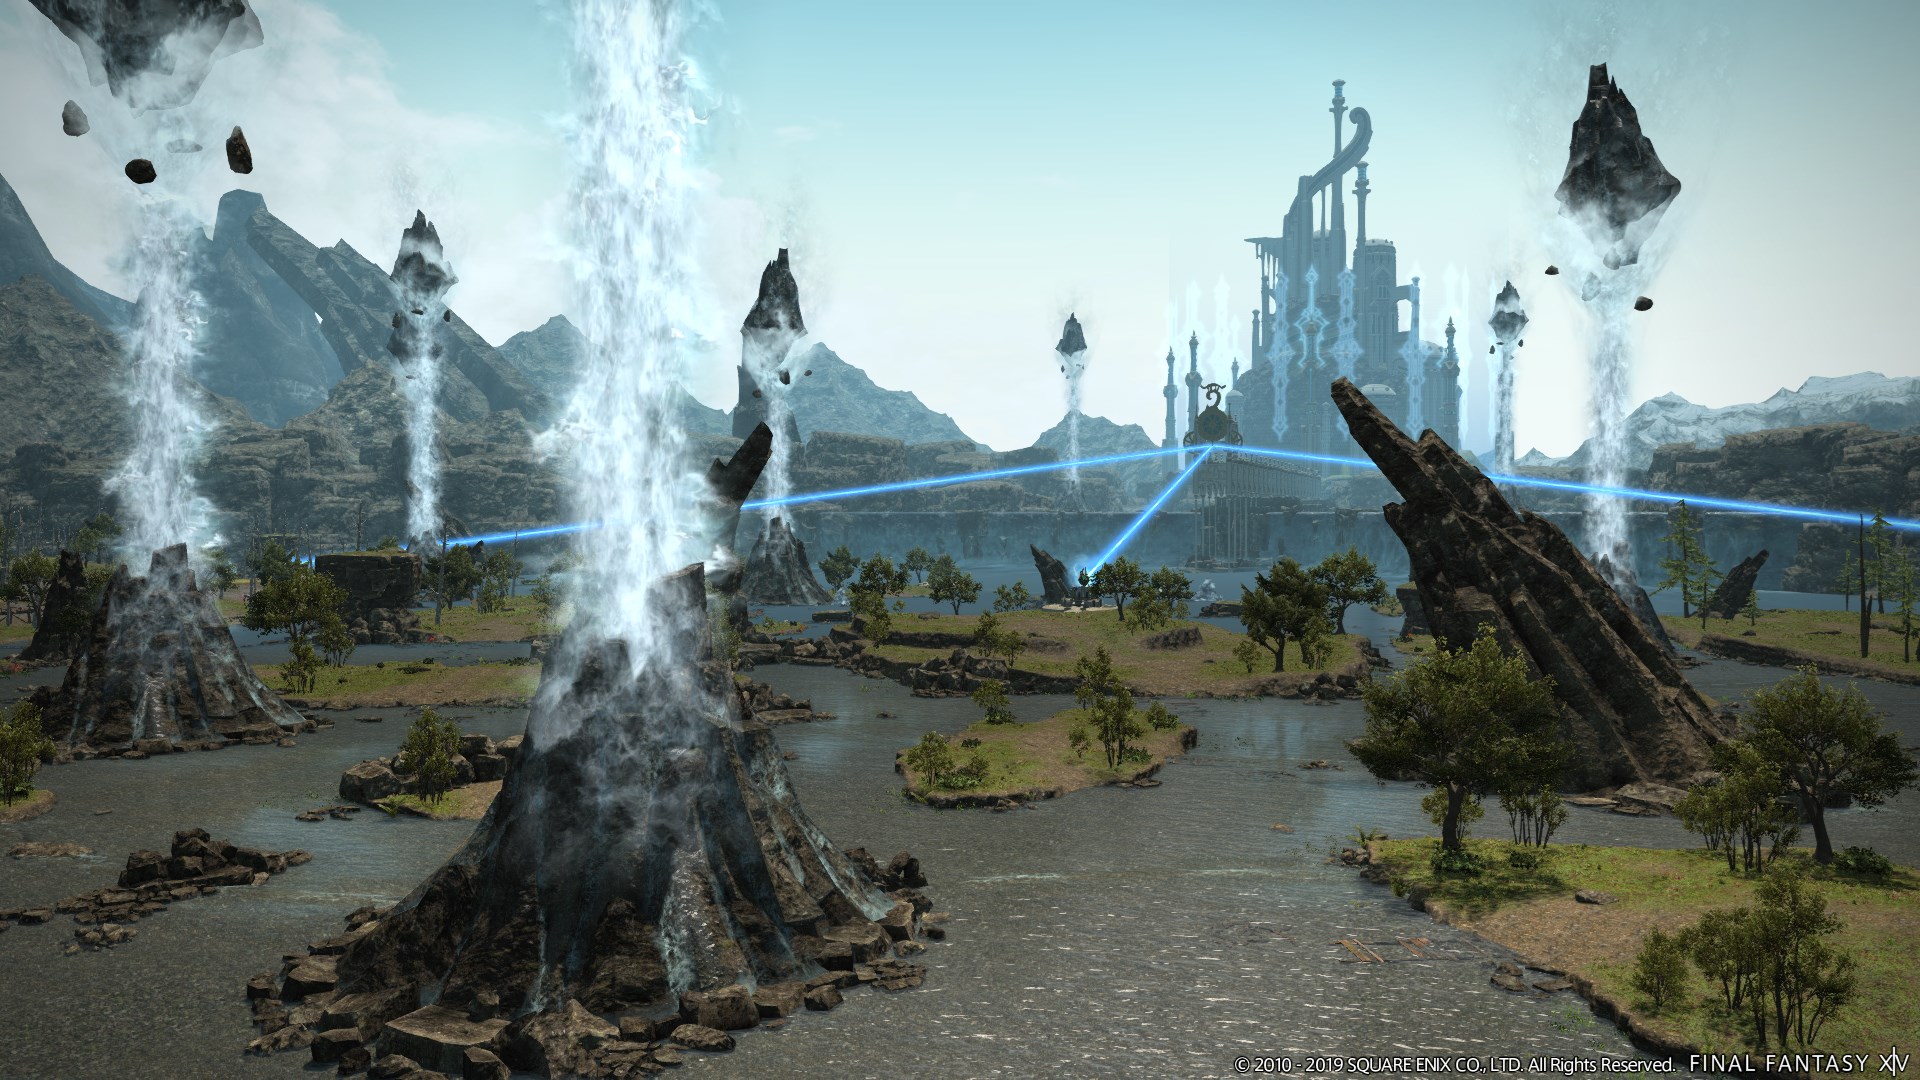
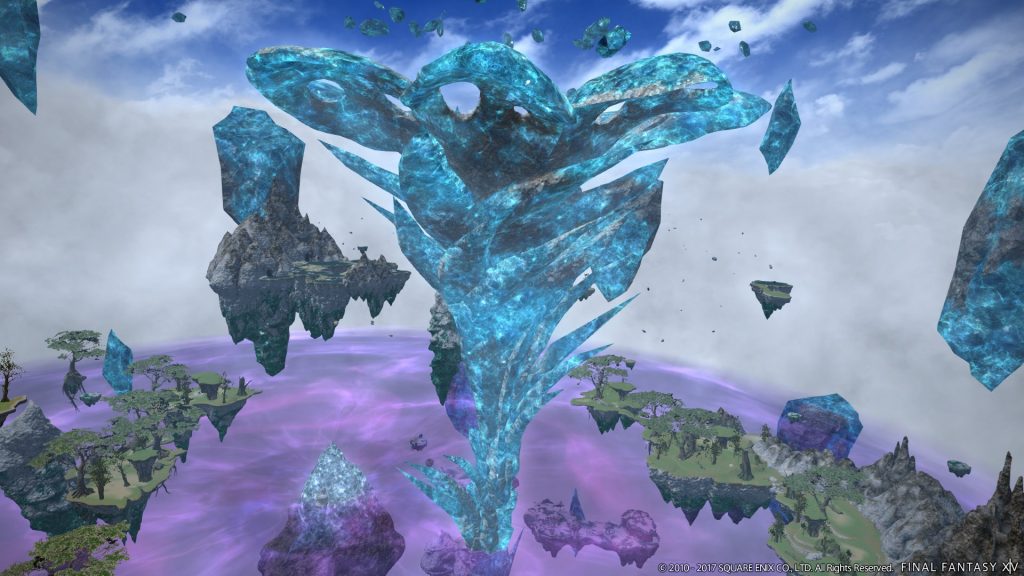
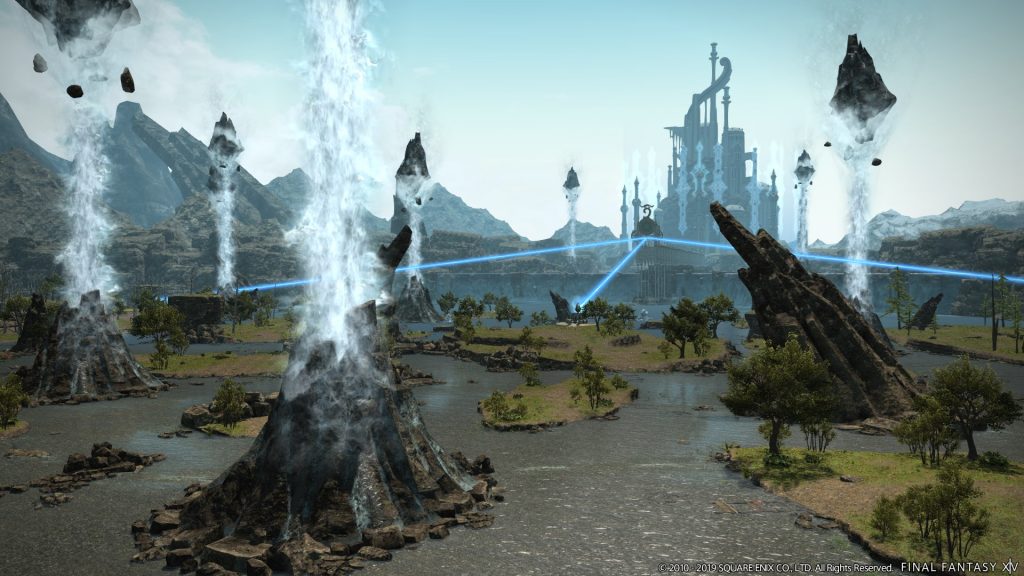
Eureka and Bozja are some of the longest sidequest material you can do. Each boasting their own instances zones full of mobs that are challenging to defeat, their own fate system and a fully fleshed out sidequest chain that ends with one or more special alliance raids (See below for more info on Alliance Raids). They so separated from other content in the game, that they even have their own levelling system. Reaching a certain level in these zones will open up further steps in the questline as well as new zones within these instanced areas! For the former, Eureka, it contains four total zones and a max level of 50; Anemos, Pagos, Pyros and Hydatos culminating in one of the hardest raids of it’s time, Baldesion Arsenal. And is still a challenge to this day, there are even dedicated groups and Discord servers that still organise forays into this raid, years after it was relevant! For the latter, the Bozjan Southern Front, there are two separate instanced zones, with three areas within to explore as you rank up to maximum Resistance rank 25; Bozjan Southern Front and Zadnor.
Both of which feature an in house Alliance style raid and a separate raid called Delibrum Reginae and even a savage version of Delibrum that itself rivals Baldesion Arsenal. Full of different rewards; music, mounts, glam gear, housing furniture and more! With unique storylines, these two activities are some that I highly recommend you check out, as a player who really loved Final Fantasy XII, the story of Bozja was a pretty special one for me.
The quest for Eureka begins by speaking to Galiena in Rhalgr’s Reach (X:9.8, Y:12.5), the quest for Bozjan Southern Front begins by speaking to Keiten in Kugane (X:12.2, Y:12.3)!

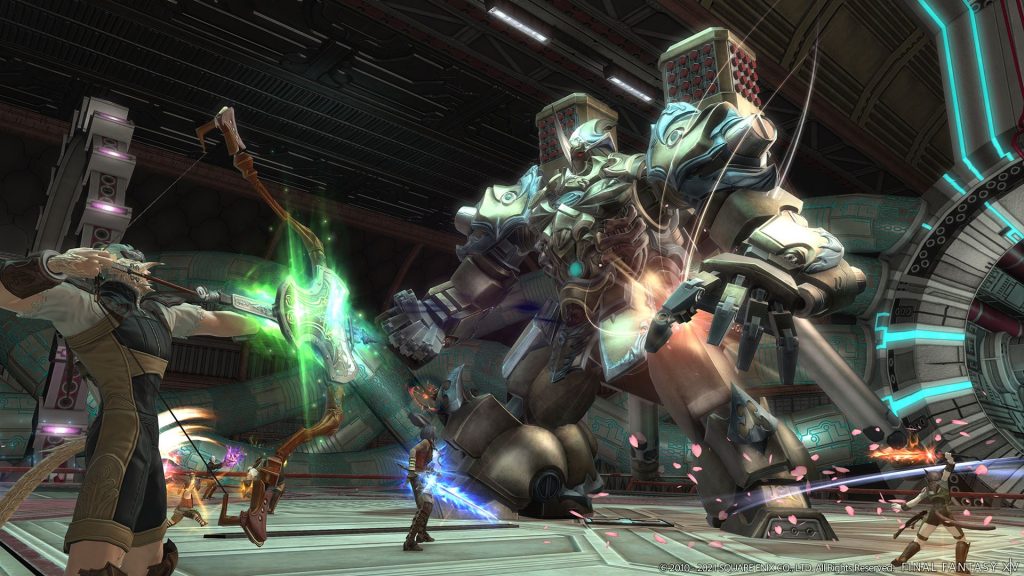
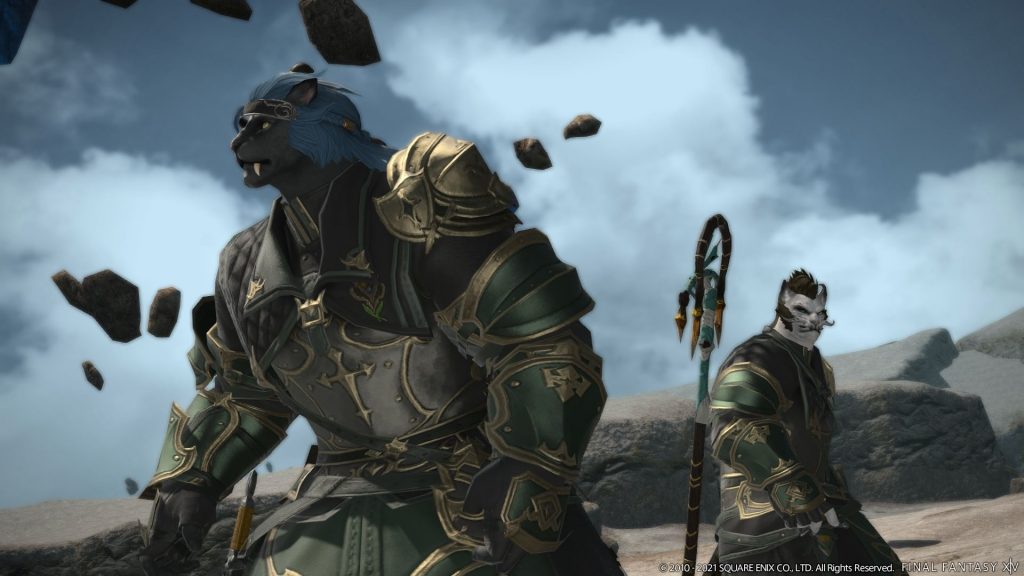
Alliance Raids/Old Raids
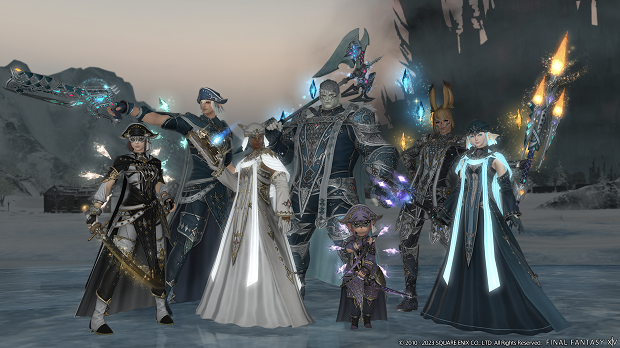
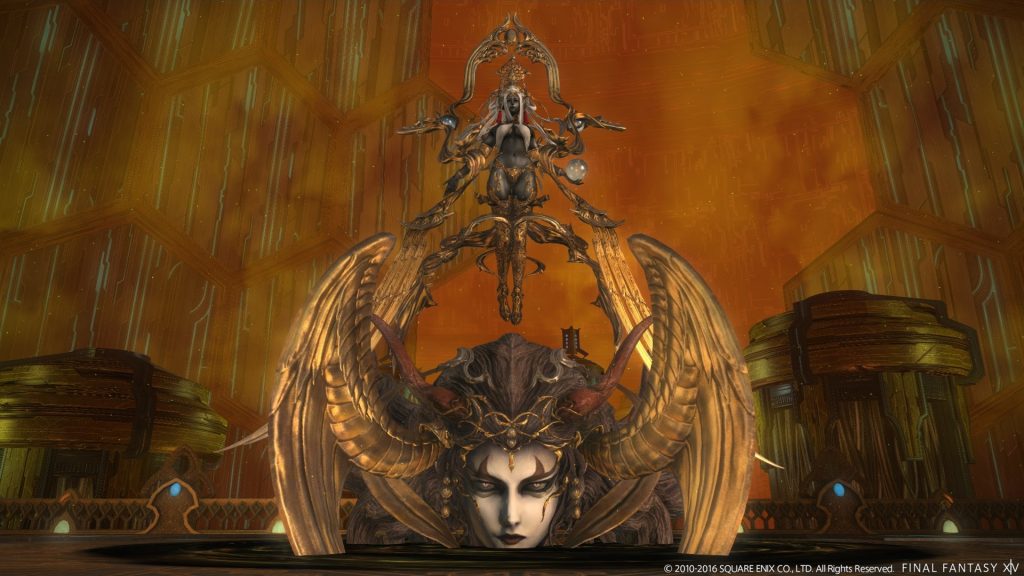
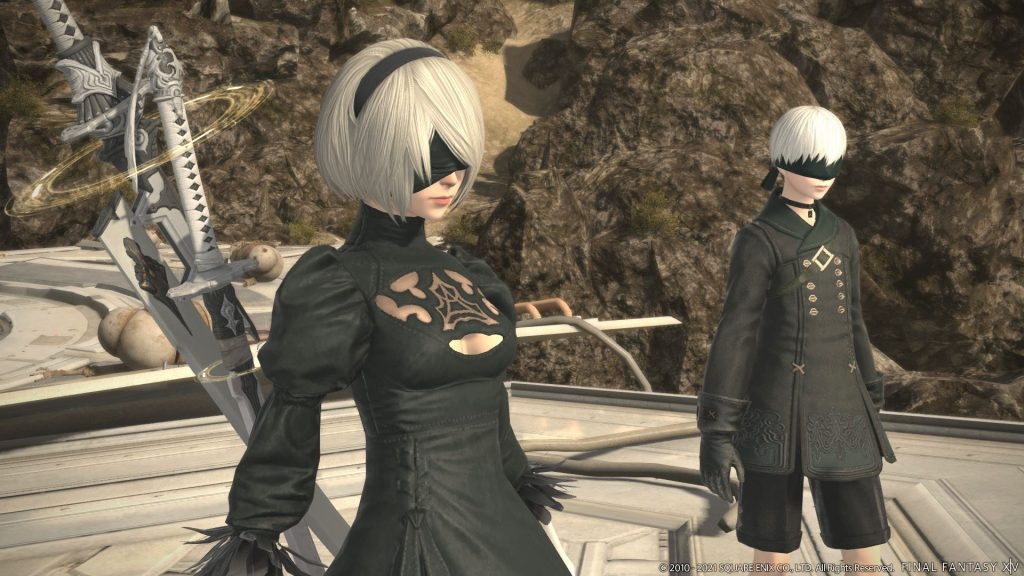
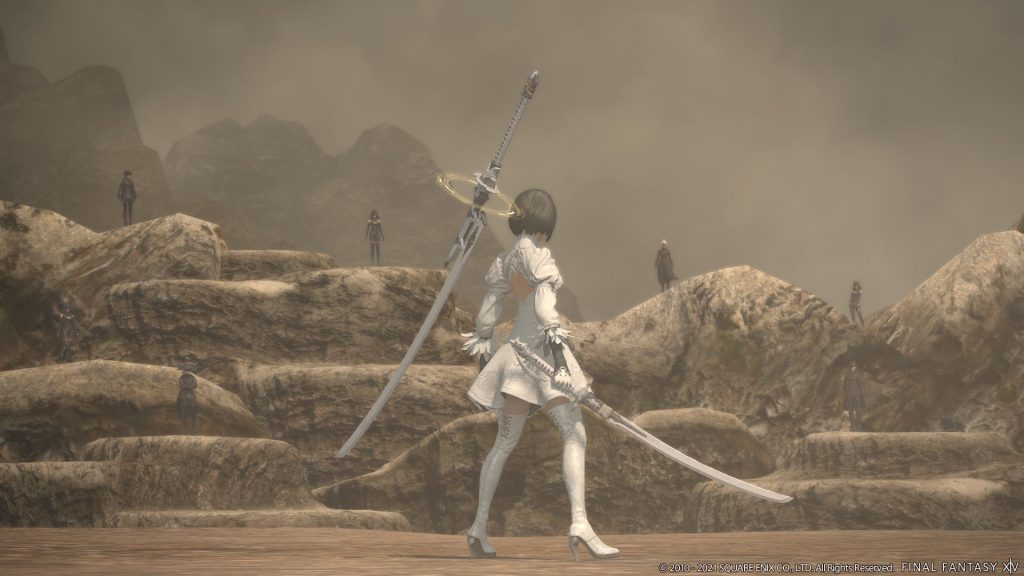
Following on from such meaty content as Eureka and Bozja, we have something a little less time consuming but equally fun. Alliance raids are some of the more relaxed pieces of content, they provide a decent challenge to the casual player base. Some of the coolest themes and beautiful locations, interesting boss fights and mechanics. But best of all, have yet more story content for you to digest! The first many will have found is by requirement to even step foot into the Shadowbringers expansion; the Crystal Tower series’. A good albeit repetitive experience (A lot of duty roulette Alliance Raids end up dragging you back through this series), a worthwhile introduction and mandatory requirement for the aforementioned expansion. This is then followed up with the Shadow of Mhach series, released in Heavensward, which features a personal favourite entity from back in FFVIII, if you haven’t experienced this raid series, I won’t spoil it, but it is a pretty fun series. Backed up by the Ivalice raid series, released in Stormblood, my personal favourite Alliance raid series, for obvious fandom reasons. Yorha: Dark Apocalypse came after, released in Shadowbringers, a collaboration with Nier: Automata, bringing with it some cool, dystopian landscapes and beautiful Gpose locations. And lastly, the as yet, incomplete Myths of the Realm series, I can’t say too much about this series without getting spoilery for anyone who hasn’t started it. But it does have something to do with the twelve deities of Eorzea!
For spoiler reasons, even though these are not new for experienced players, I won’t go into detail regarding each raid series’ stories or their content. Only that these raids are probably crucial to every players’ experience and enjoyment in the game. Rich in story if you’re a lore nerd like myself and go hand in hand with some other content like the Relic grinding to earn the necessary pieces to construct your precious relic weapons. All of them come with gear, which, if you’ve not delved into savage raids, offers decent gear. Especially the Yorha and Myths of the Realm series, those two raids have some of the nicest gear, plenty of groups still run the Yorha raids specially for these items!
Alliance raids require 24 players, but there’s a set of raids for every expansion that only requires 8. These are commonly referred to as “Normal” Raids, because once you complete them, like trials, there is a second, much higher difficulty level you can unlock. Each normal raid comes in three sets of four encounters, each with the chance to drop music and minions in the fourth encounter of each set. Gear can also be obtained from every encounter, some of these are quite nice and all can be used as glamour items. However the normal mode rewards are not able to be dyed into different colours. The stories of each are unique, usually either original content created for Final Fantasy XIV or borrowed from other Final Fantasy games in the series. Even if you’re not interested in story, these offer some neat little rewards and some are even required to farm items for some older relic weapon quests. If not for any of those, you get a neat little achievements for clearing them.
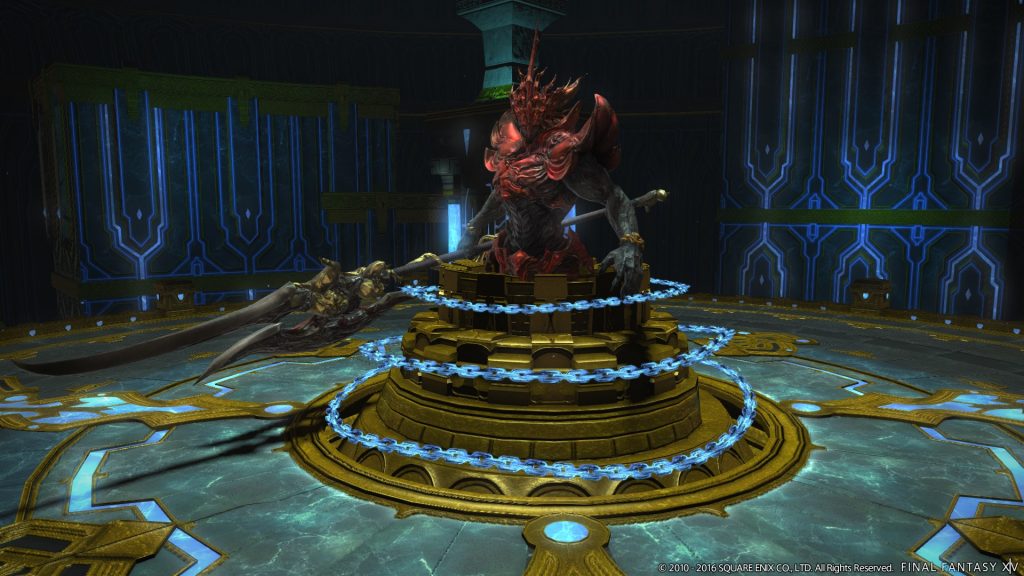
Now, old savage raids are a different entity entirely. Similar to trials, they’re only 8 man teams fighting one boss. However, the content itself is much harder than trials and the rewards for some are greater. The only thing that makes these a lot more achievable is their age. Anything from Shadowbringers or below, doesn’t require too much trouble to beat and collect items, though the most worthy of these series is the last of each tier. Floors 1-3, 5-7 and 9-11 will only offer you raid gear, which is best only sought after if you have a particular piece you need for a glam set you’re making. Floors 4, 8 and 12 contain the chest pieces and weapons of the set for each tier, but more than that, you can also get a unique mount too! I’ll include more details on this in it’s own section. For each new expansion, there is a full tier of Savage raids to go with them, for the completionists out there, I know you’ll want to earn the achievements for completing them all.
There are even groups that will run them using a term that experienced raiders will recognise: MINE, standing for Minimum iLvl, No Echo. Echo is a feature for older content that boosts your HP and Damage dealt by a significant margin to help you clear older content with less people. Parties will often grab as many players as possible who want to run the content for gear or mounts etc and will use Echo to cover for any missing players. There are some raids that are so old now, you can clear them solo! Each raid series has its own story too! Yep, that’s right, in a game so massively multiplayer, it’s richer in stories both main and side than most single player games are! My personal favourite of the old savage raids is the Shadowbringers raid series, featuring a lot of themes from Final Fantasy VIII in it. The Eden raid series is by far the most fun I’ve ever had raiding and even now, it can still provide a challenge for new players. It was my very first raid tier as well!
Extreme/Unreal Trials
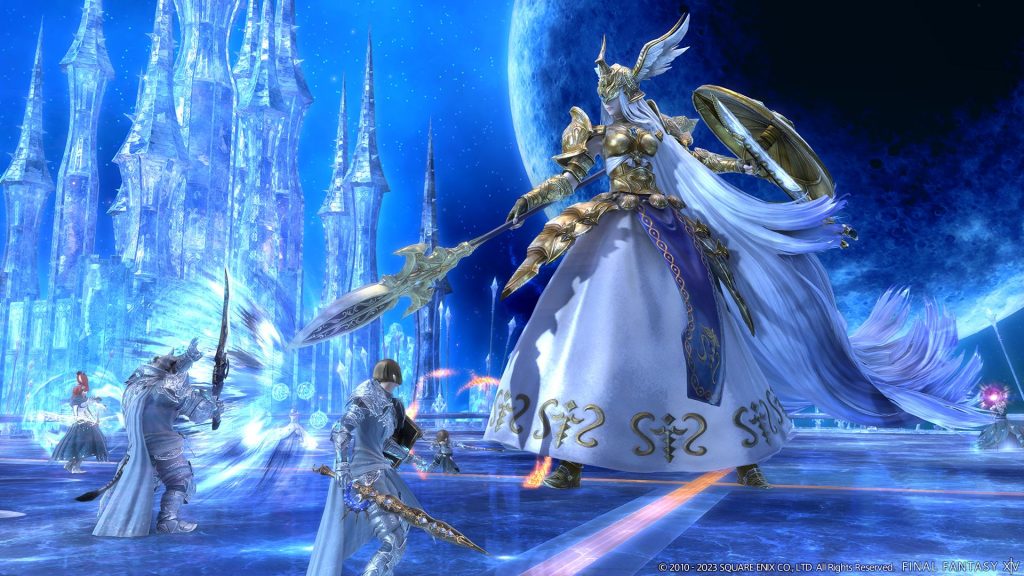
Leading into the deeper end of the game, you’ll find much more challenging optional content for you to dive into and get salty for. As the names imply, these are harder versions of the trials that appear throughout the game. Early in the game, trails had a normal and a “hard” mode available. Note that I used the term hard with quotation marks, they weren’t exactly harder, they simply had more mechanics. Well, eventually they released extreme trials. The same fights again, with even harder mechanics and bigger rewards. All extreme trials came complete with a chance to drop; their own unique weapon, a catalyst that crafting classes could use to make some of these weapons shiny, a musical scroll that contained the battle music from these fights, but most sought after would have to be the many unique mounts they could get!
Extreme trials especially, are often used as a step below Savage raids. The mechanics are similar, but the encounters are generally expected to be easier than that of savage raids. Although not entirely necessary, they are excellent testing grounds to see if you have the reflexes, focus and commitment required to take up the challenge of the second highest difficulty level of content there is.
Unreal trials differ from the rewards granted by extreme trials, by providing a currency used in a mini-game called Faux Hollows, to unlock this you will need to complete the individual story mode of the current unreal trial and the optional quest Fantastic Mr. Faux which can be started by speaking with the Painfully Ishgardian Man, located in Idyllshire (X 7.0 Y 5.9). The content is mechanically the same from it’s Extreme counterparts, simply upscaled to current level for an additional challenge. The currency awarded from these challenges can only be earned once a week and can be exchanged for exclusive mounts, minions and glamour items!
Extreme Trials can be unlocked by speaking with the Wandering Minstrel in several locations; Mor Dhona (X21.7 Y8.7), Kugane (X11.6 Y12.6) and Old Sharlayan (X12.7 Y14.3)
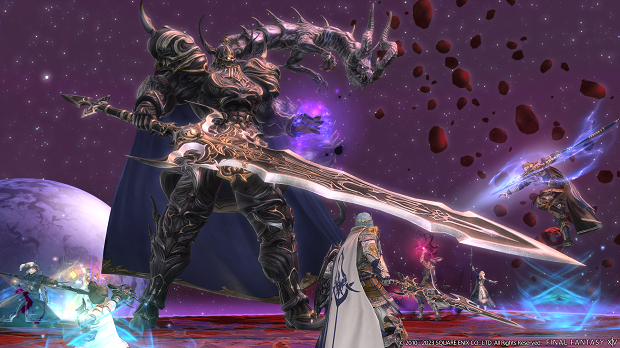
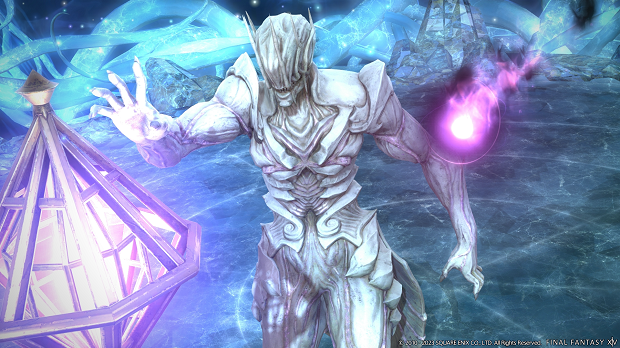
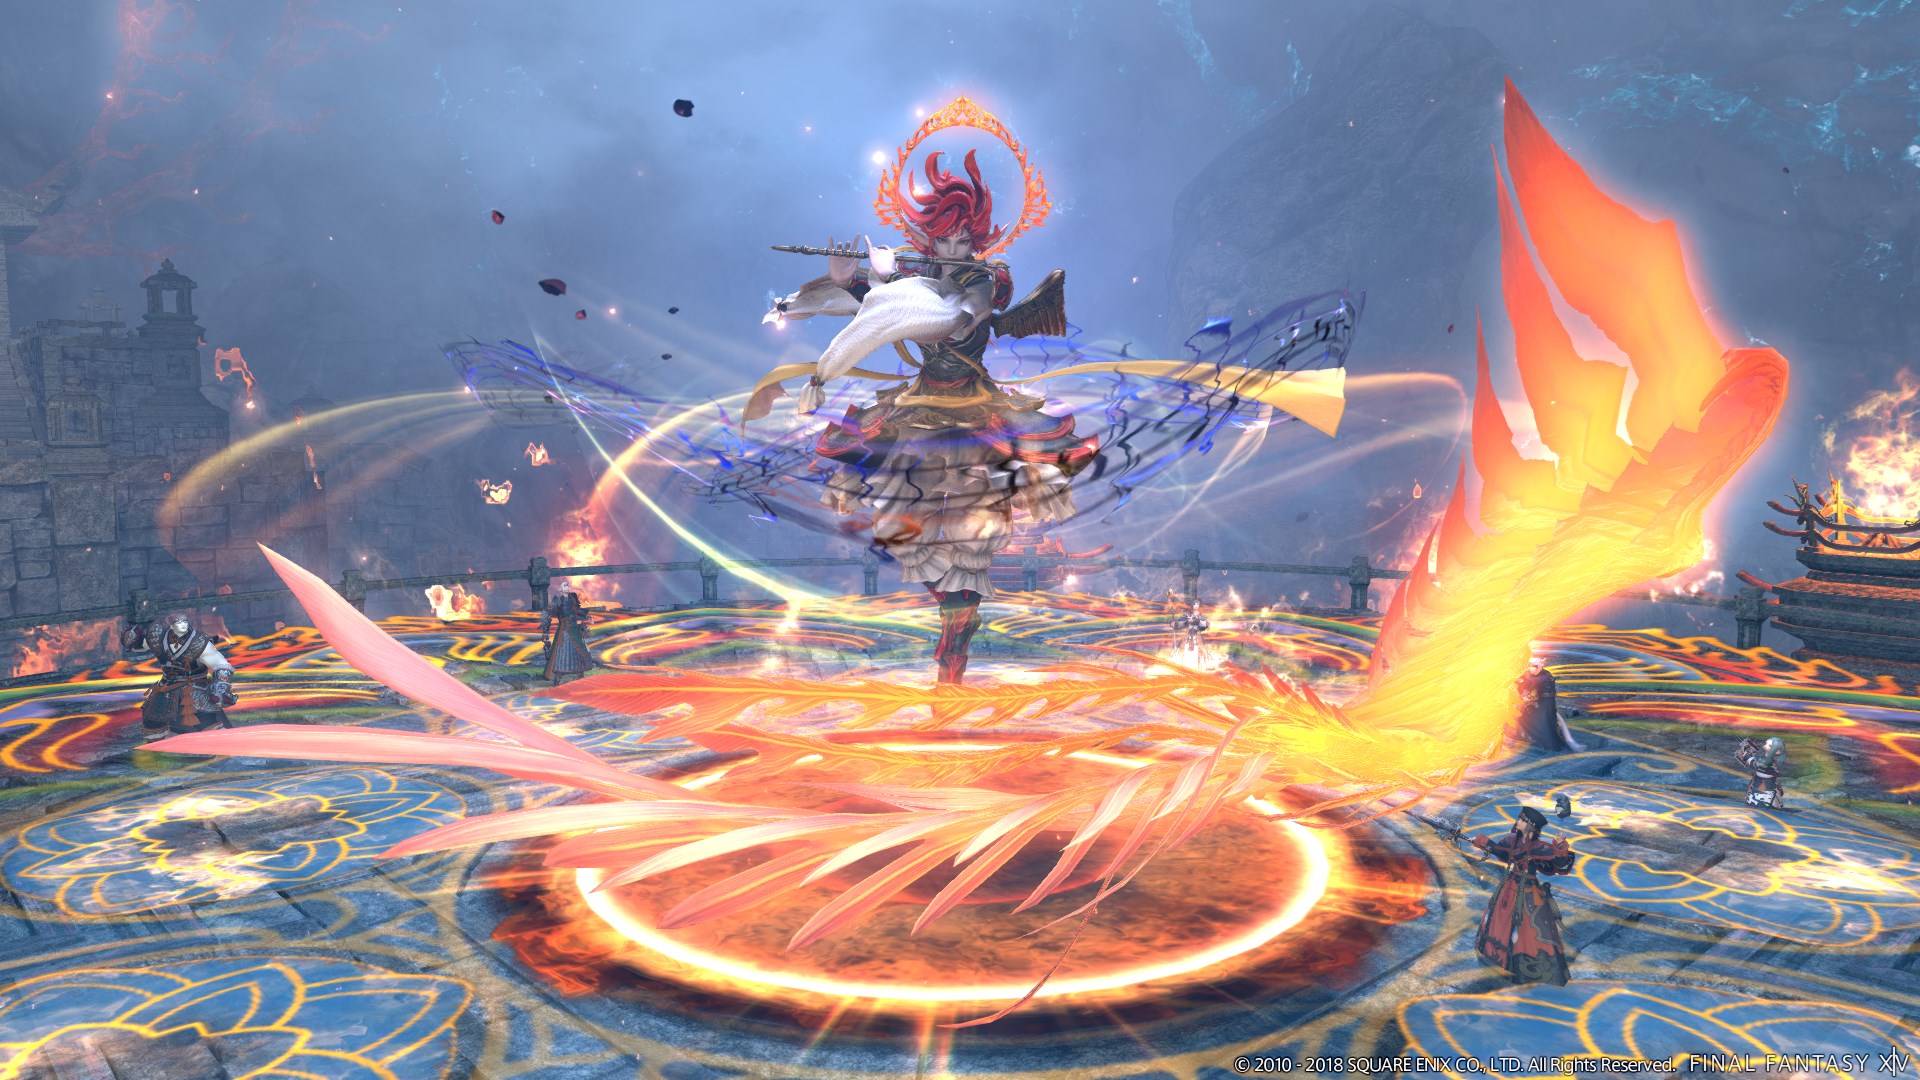
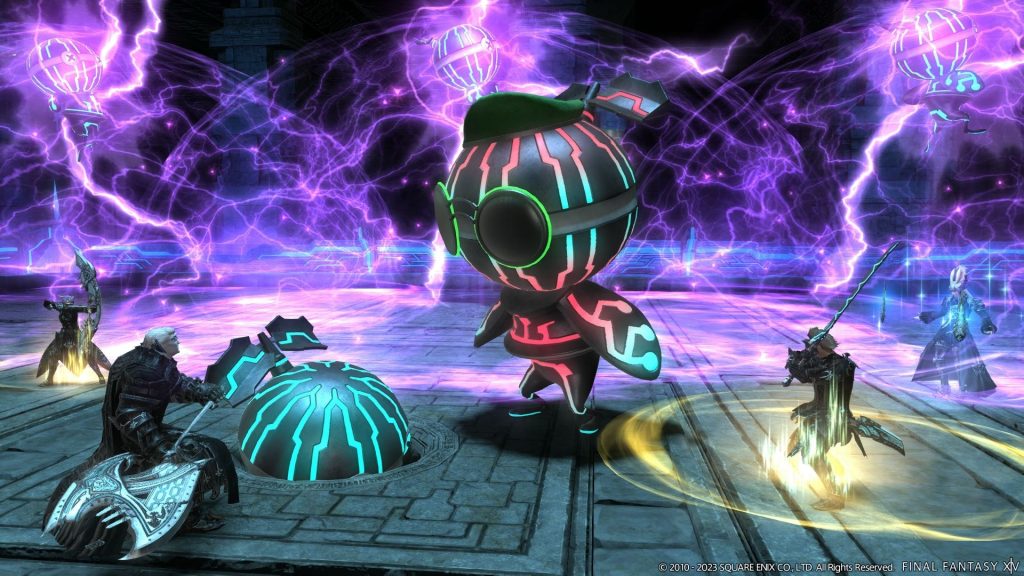
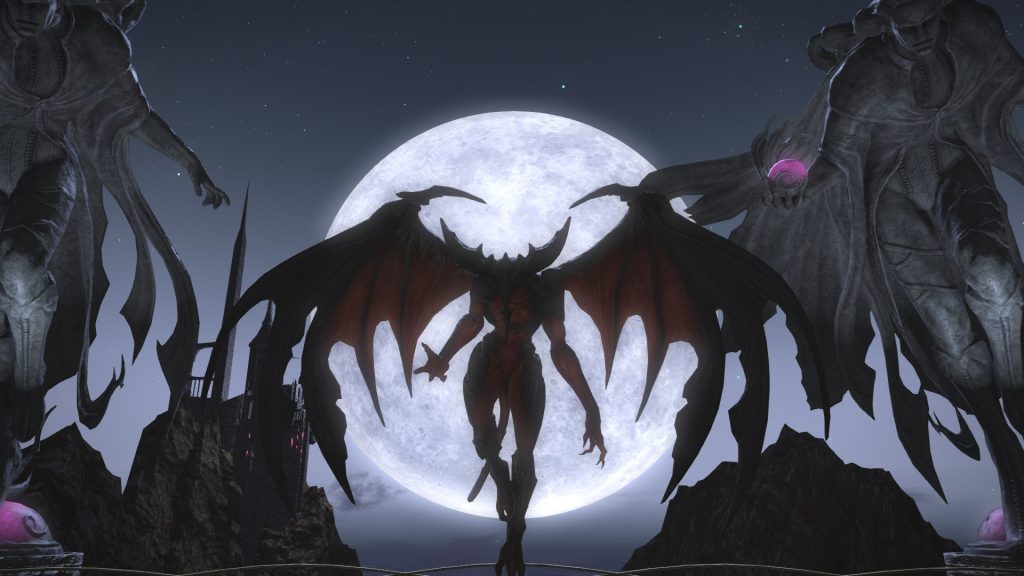
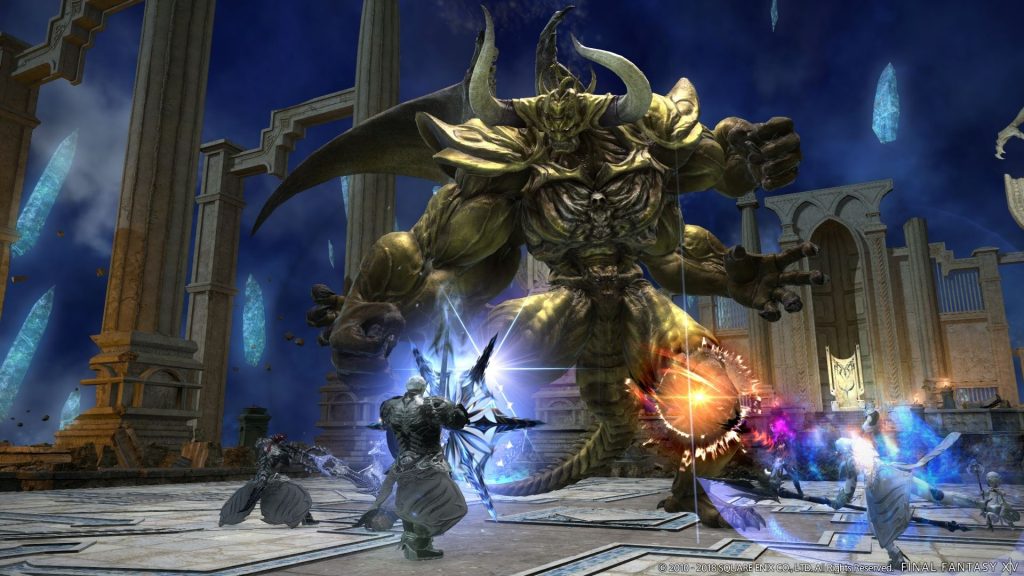
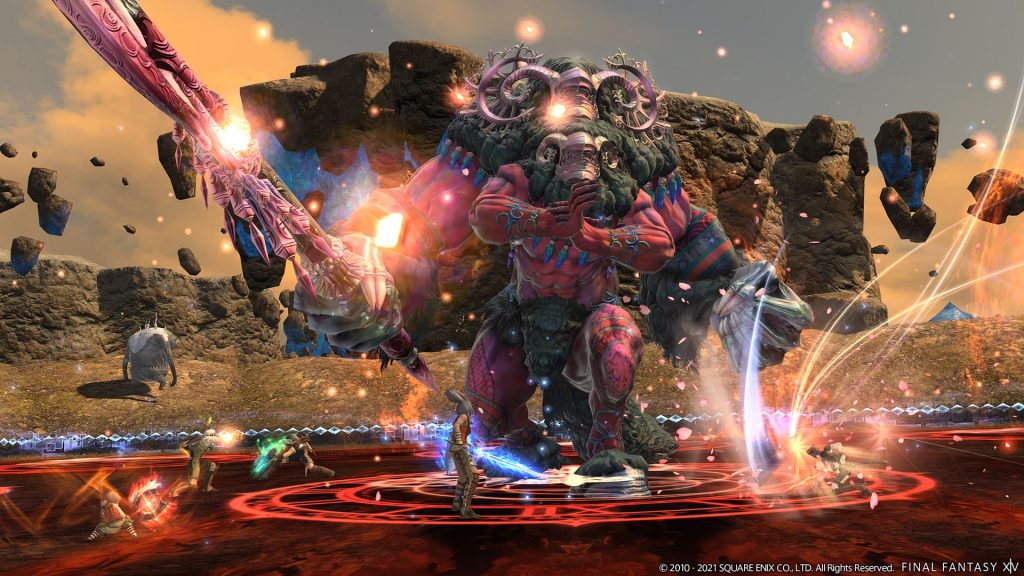
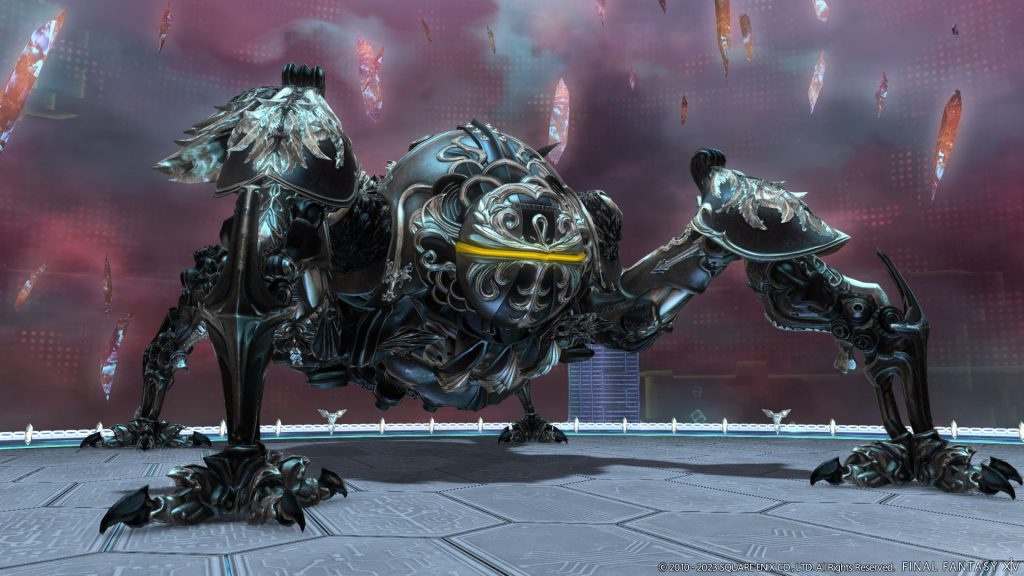
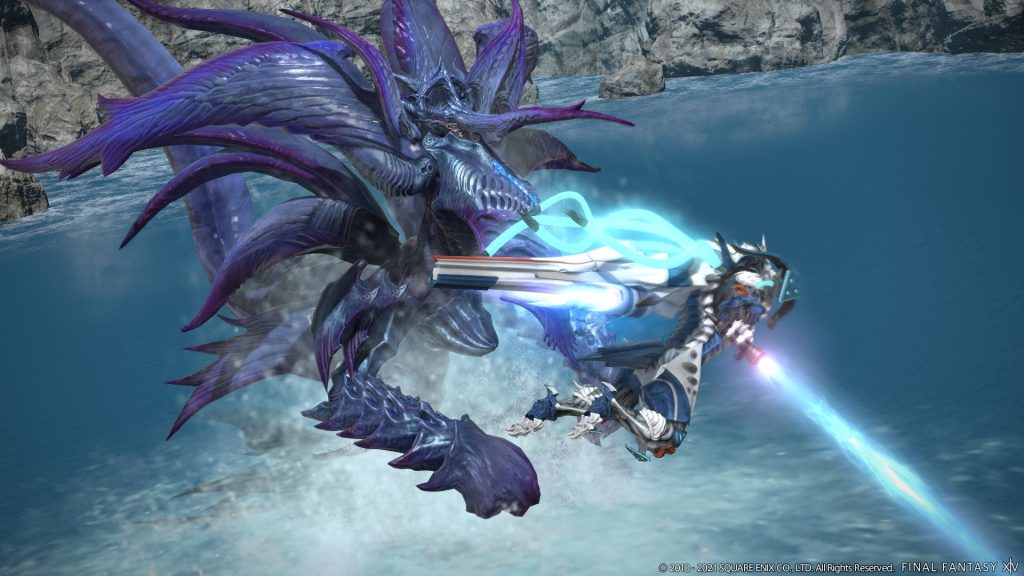
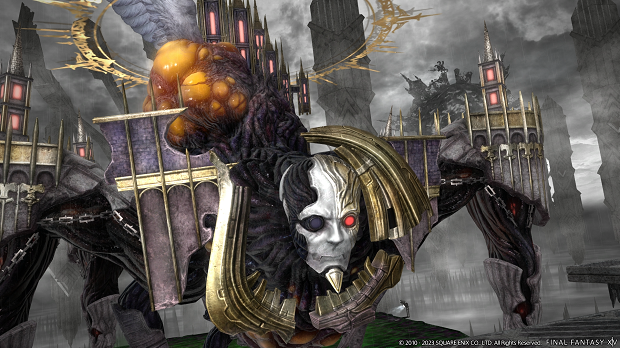
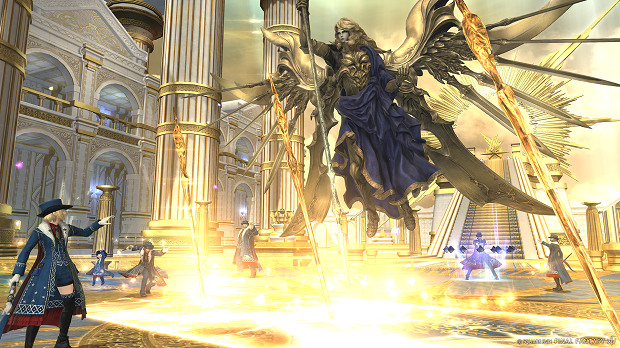
Savage/Ultimate Raids
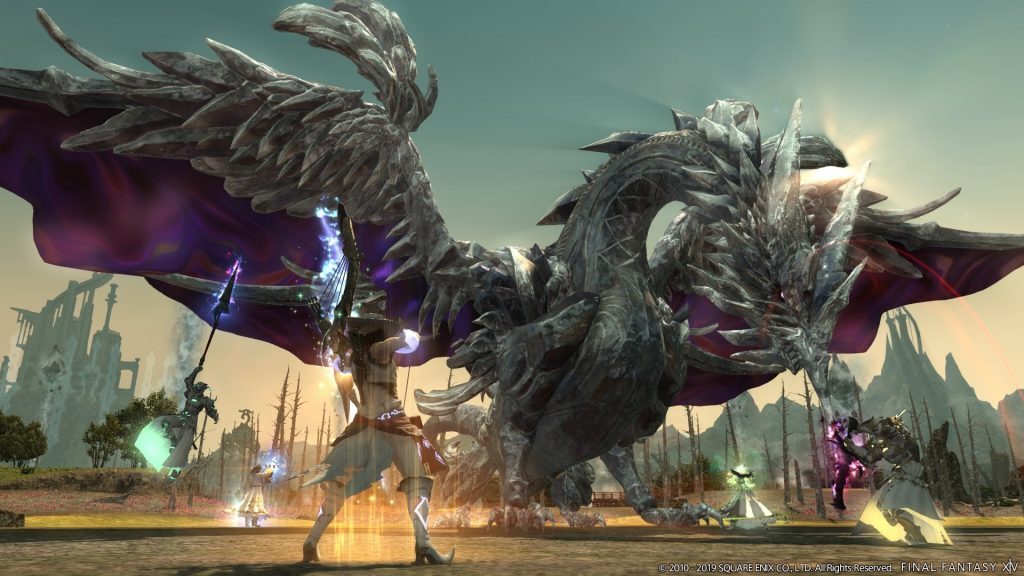
Finally, the true challenge of endgame content in Final Fantasy XIV, Savage and Ultimate raids. These fights are no joke, while older savage fights can be cleared with less than a full party, or by rolling through with max level classes and iLvl gear. Current tier savage is a whole other ball game. The current tier of savage, Pandaemonium Anabaseios, requires no less than 630 iLvl just to enter the 9th Circle, the first of four battles in the final tier of savages in Endwalker. The story of Pandaemonium is great, again I can’t really say much if you haven’t experienced the normal version of them yet, but I highly recommend it.
Like Normal raids, each encounter comes with a set amount of loot that you can obtain but the difference being that it is the best gear you can obtain until the next savage tier is released. More often than not, the gear from these fights are some of the coolest one can get, some have cool aesthetics, some of them glow. But even beyond all that, since the raiding community is less than 1% of worldwide players. It’s all about the bragging rights! This extends into Ultimate raids to, more on that later. Savage raids take most, if not all the things seen in normal mode and throw them at you all together. Sometimes combining to or more mechanics into one, giving you the tiniest of safe zones to survive. Other times, it throws entirely new mechanics at you that you might not have seen yet, surprising you and challenging you further. Nothing really beats the euphoric joy of finally acing that mechanic you’ve been trying to figure out, or running down to the wire, clearing a hard fight right before enrage wipes the floor with you. In fact, like any other multiplayer game, there’s even a world’s first race! Here, the top raiders from all over the world compete to see who’s team can be the first to clear the newest tier of savage or ultimate raid!
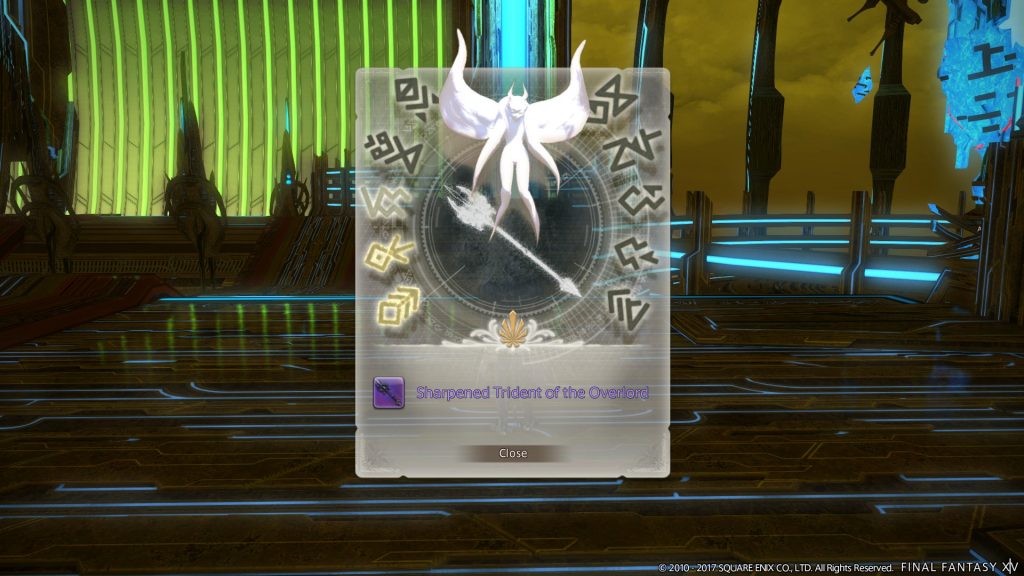
Ultimate raids, the pinnacle, alpha and the omega of all raids. Even old ultimates are not for the faint of heart, you cannot undersize these, you cannot go in max level, with max gear. These fights drag you back down to the individual and iLvl of the fight on their release. They’re fast, long and unrelenting fights that will punish even the most seasoned of savage raiders. And the reward? A title and a totem that can be exchanged for a shiny weapon, that’s it. Seems absurd that the reward for such a difficult fight be so minimal right? Wrong, the feeling of victory is the reward. You thought clearing savage was euphoric, I haven’t even cleared an ultimate fight yet, but I can already taste the sweetness of victory. My team is just a few mechanics shy of clearing The Weapons’ Refrain, more commonly abbreviated to UWU (Ultima Weapon Ultimate) and I’ve dabbled in a few other ultimate fights and I can say without a doubt, that ultimate raids is not for everyone, it’s tough, demanding and tiring. And to some people, the joy of clearing, claiming the title and loot, just isn’t enough for the struggle some might go through to obtain. But both savage and ultimate raids, can also be incredibly fun and worth every bit of blood sweat and tears and it is my honest wish that everyone gives it a try at least once.
Right now, there are a total of 5 Ultimate fights; The Weapon’s Refrain (UWU), The Unending Coils of Bahamut (UCOB), The Epic of Alexander (TEA), Dragonsong’s Reprise (DSR) and The Omega Protocol (TOP). With a total of 5 titles, one for each and weapons for almost every job in each encounter. (Some older Ultimates have not yet been updated for the most recent classes introduced in Shadowbringers and Endwalker) These fights can also be unlocked by speaking with The Wandering Minstrel in certain zones after completion of certain story aspects. UWU and UCOB can be unlocked after completing Sigmascape and Deltascape V4.0 respectively, TEA can be unlocked after clearing Eden’s Gate: Sepulture, DSR is unlocked after completing Pandaemonium Asphodelos: The Fourth Circle and TOP is unlocked after completing Pandaemonium Abyssos: The Eighth Circle. Note that these fights need to be the savage variants in order to count towards unlocking these ultimate fights.
The beauty of raids, is that there’s always a new tier just around the corner, always a new challenge to complete. New loot to claim, new mounts to farm for. Especially for ultimate raids as they forcibly sync you down to it’s maximum levels allowed. As a result, they’re always a challenge and always worth at least giving a shot. But they aren’t the be all, end all content for players.
Mounts/Maps/Gold Saucer and more!
Mount Farms
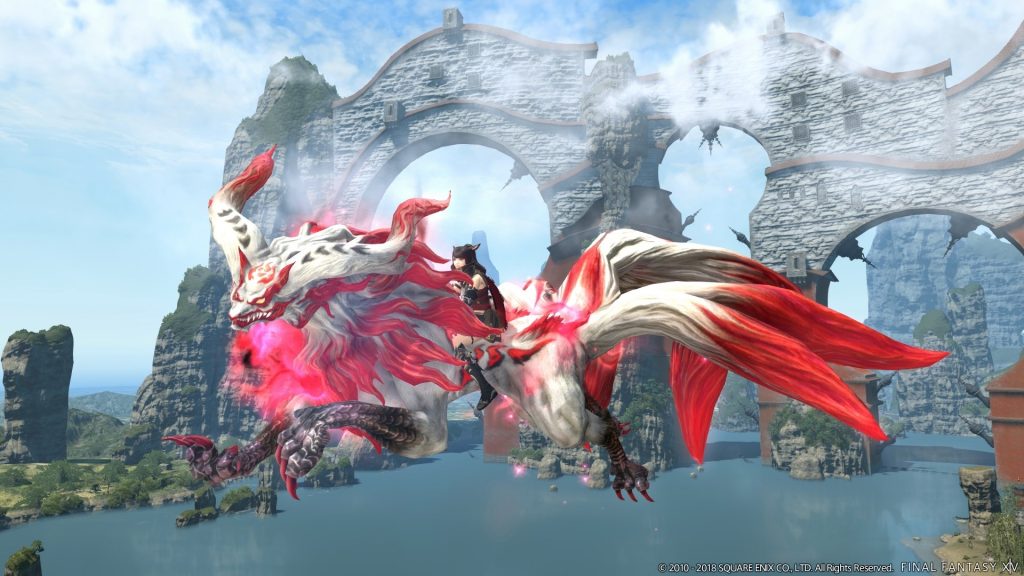
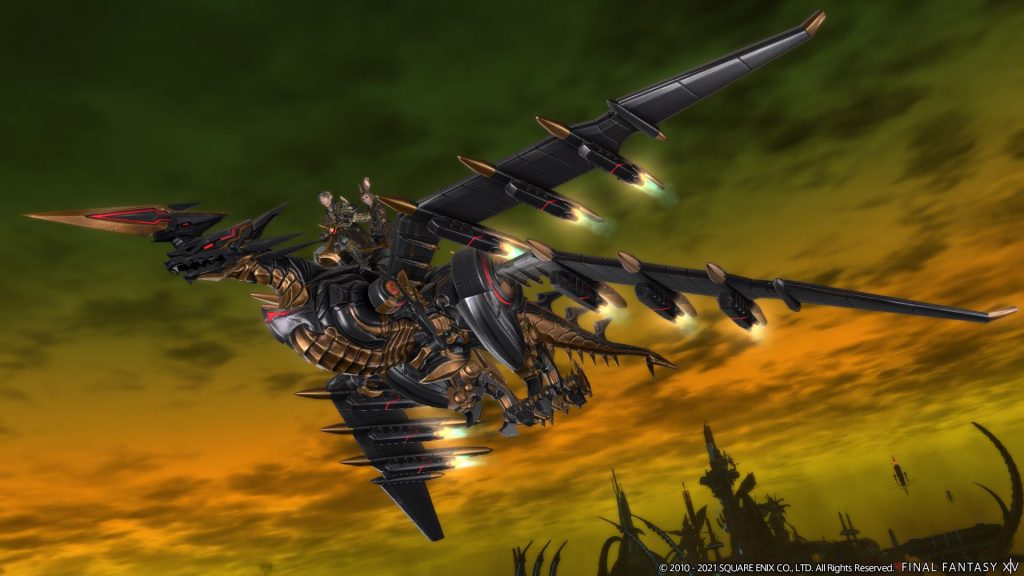
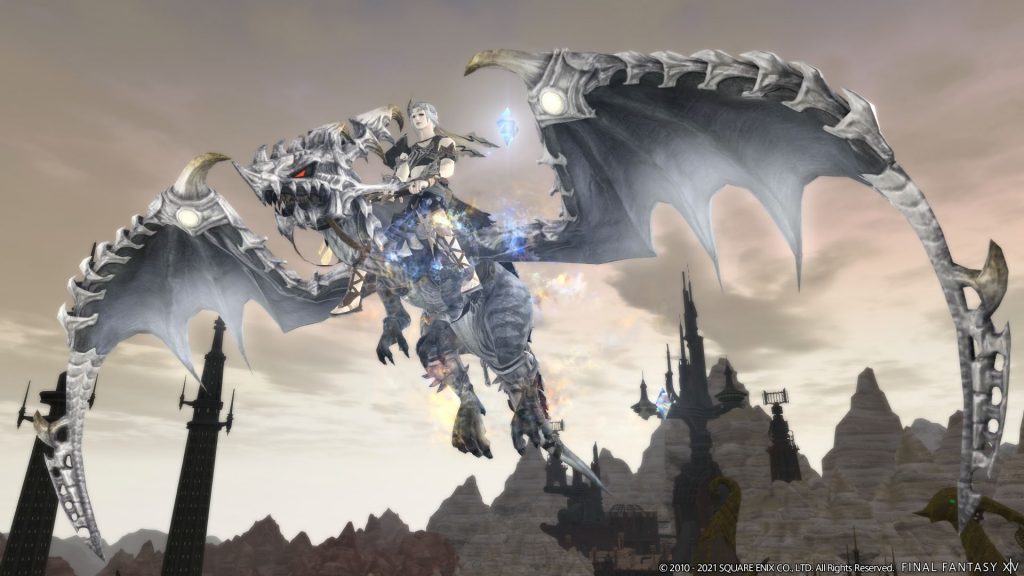
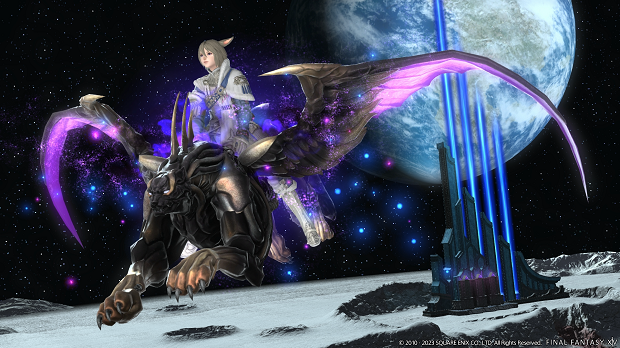
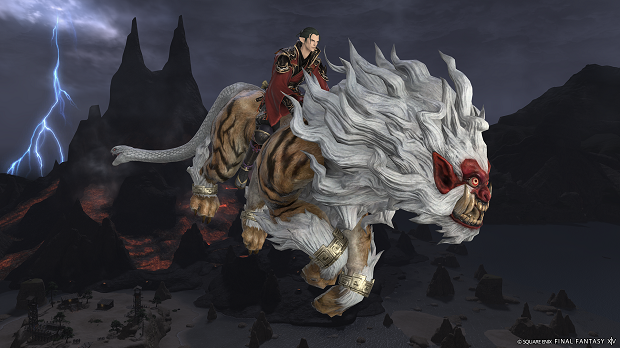
Mounts, there’s so many of them, I decided to make a whole segment dedicated to them. Whether it be mounts from Extreme Trials, Job Mounts, Savage Raids or the Gold Saucer, there are many mounts to collect it’s not even funny! For every extreme trial, there’s a mount for that, at the end of all the extreme trials for an expansion, there’s a special quest for an even greater mount that acts as a culmination to farming all the lesser mounts from their respective trials. On the fourth floor of every savage raid, there’s a mount for that too, a total of 3 raid mounts per expansion. There’s even a few jobs that get mounts too, White Mage gets the unicorn mount at level 30 when Conjurer becomes White Mage. Even the four tanks get a mount each, for completing 300 dungeons(Lv61+), extreme trials (Lv61+), unreal trials, and duty roulettes: leveling and 50-80! There are also a number of exclusive mounts for other activities like Faux Hollows (Unreal Trials) and Gold Saucer.
There are still many people who frequently put together or join parties to farm and help others obtain some of these mounts. There are even events, such as the frequent Moogle Tomestone events that come and go that will offer a selection of past mounts in exchange for special event currency, earned by completing certain dungeon, alliance raids and daily duty roulettes. In fact, there’s even dedicated groups of Blue Mages that will run together with the unique spells in game to quickly dispatch some of these time consuming activities to quickly farm this currency for maximum rewards!
Maps
Fun and addictive, though somewhat repetitive. Maps is often the go to solution, when players need a little extra gil. Maybe they’re looking to buy a house or start a Free Company and just need a cash boost, perhaps they’re saving for a rainy day or maybe they just like seeing big numbers of money in their pockets, don’t we all? To find these maps, you’ll need a Disciple of the Land job at the required level for the map you’re looking to find, for example level 90 for the current tier of maps.
There are two types of maps, Dungeons and Roulettes. Deciphering a map shows and X on the overworld map, some can be tricky to find but if you manage to find it, a treasure awaits. But wait! A gaggle of monsters have been triggered by a trap on the treasure! Defeat them and claim your treasure, if you’re lucky, you might score a portal! The former is what it sounds, a dungeon full of relatively easy trash mobs and a two or more doors. Pick one, if it’s right, you descend further, a total of five floors until you reach the bottom and earn a nice bonus for clearing them. If it’s wrong, you might have a chance to be saved and continue forward, if not it’s back out into the overworld to find more treasure and hope for another portal.
Roulettes are a little different and generally considered the more popular choice as they’re faster and you can speed through more of them to earn more money and hope for more portals. Once inside you’re granted by a gigantic roulette board, spin the wheel and you have a chance for a number of different boss summons. Each more difficult the higher the grade, but granting better rewards and more cash prizes. Land on the wong tile however and you’re booted out, but if you’re lucky, Ramuh, god of lightning might just save you and trigger a special summon. Five rounds before you make it to the end and claim a hefty cash prize.
The rewards are generally handy items that are used to craft glams and other items that can be sold for a high price. Sometimes, in each chest in both dungeon and roulette modes, you might be struck with a game of chance! Guess higher or lower and score more rewards and cash if you guess correctly five times (there’s a lot of fives it seems isn’t there?) But if you guess wrong, you lose everything. Maps are designed to be easy enough for everyone to do, so if you don’t have gatherers at the required level, find friends that do or join groups that run maps. Or buy some from the market board when the prices comedown, by that time however the rewards may have lost significant value, but the fun content and gil rewards more than make up for the diminished item returns.
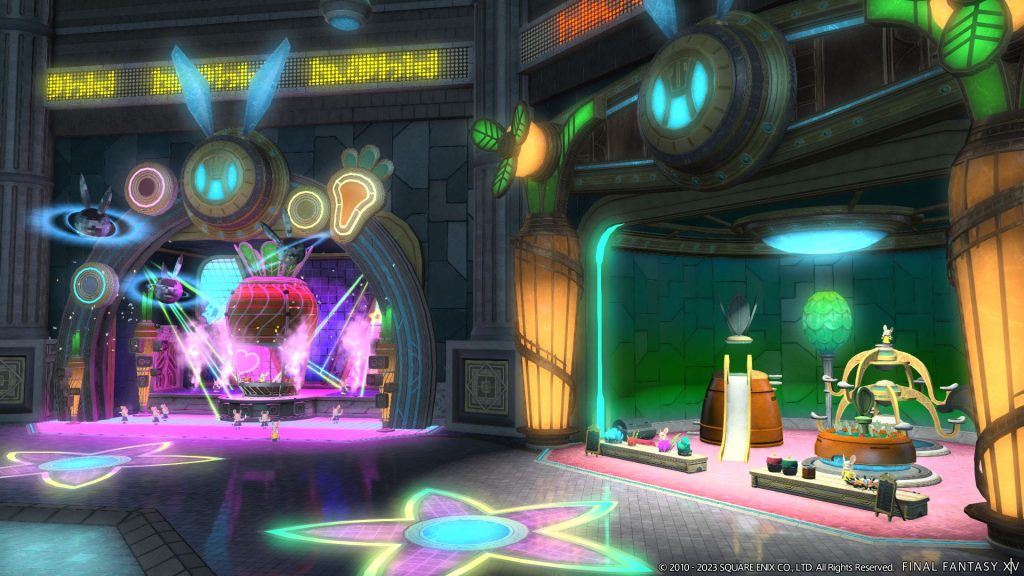
Gold Saucer
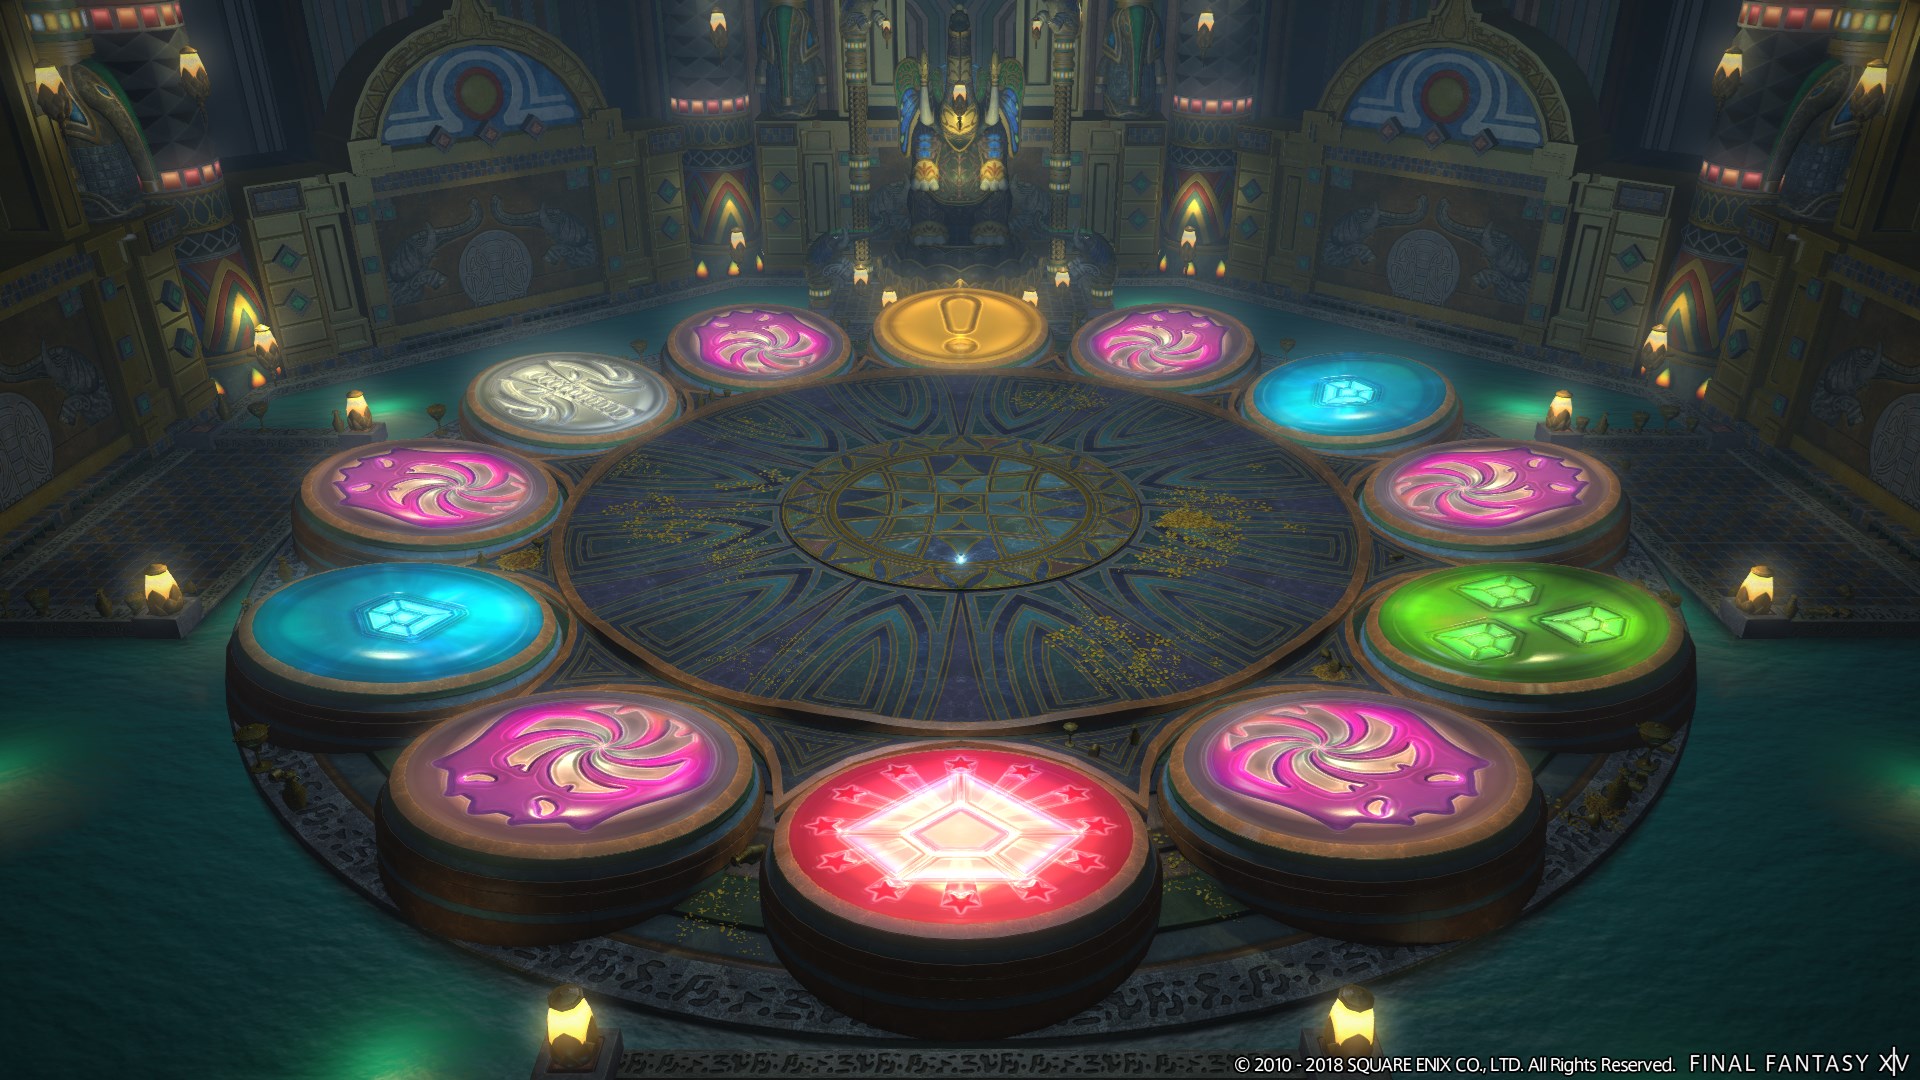
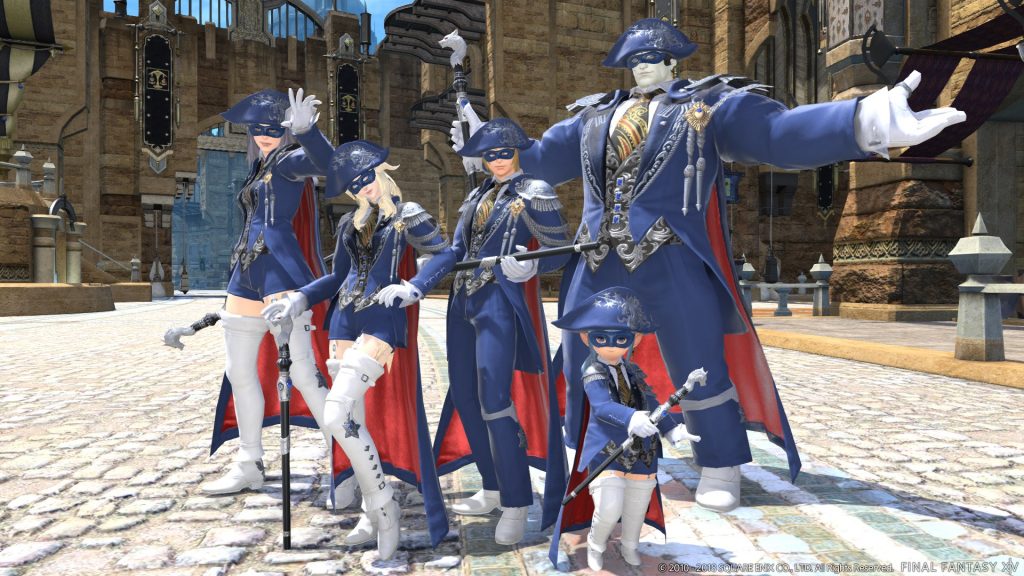
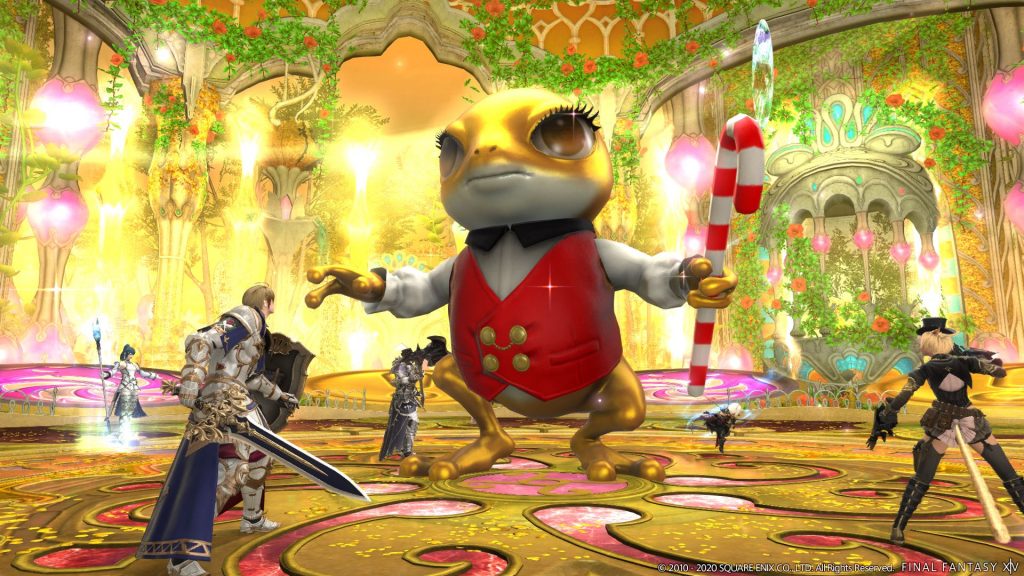
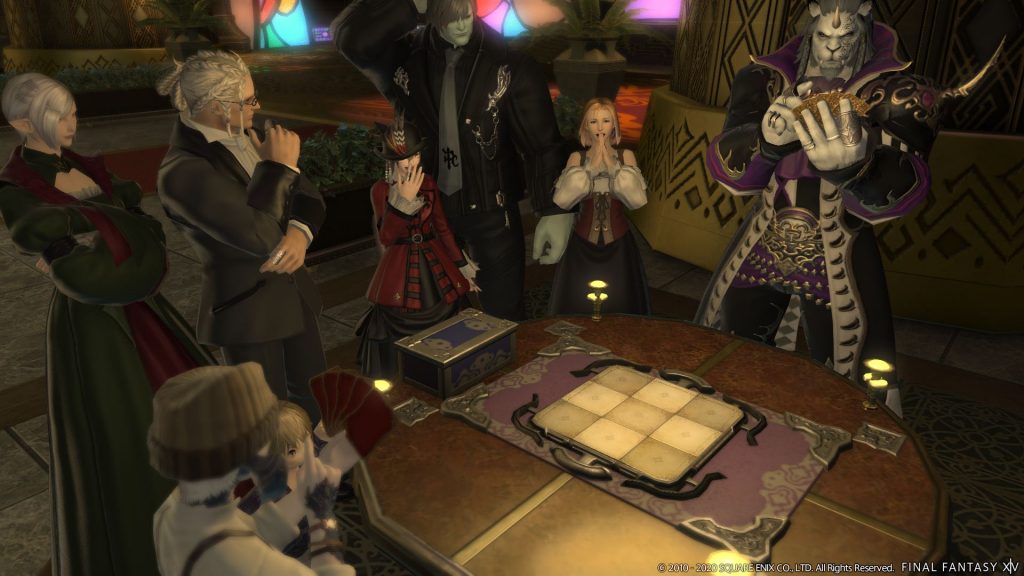
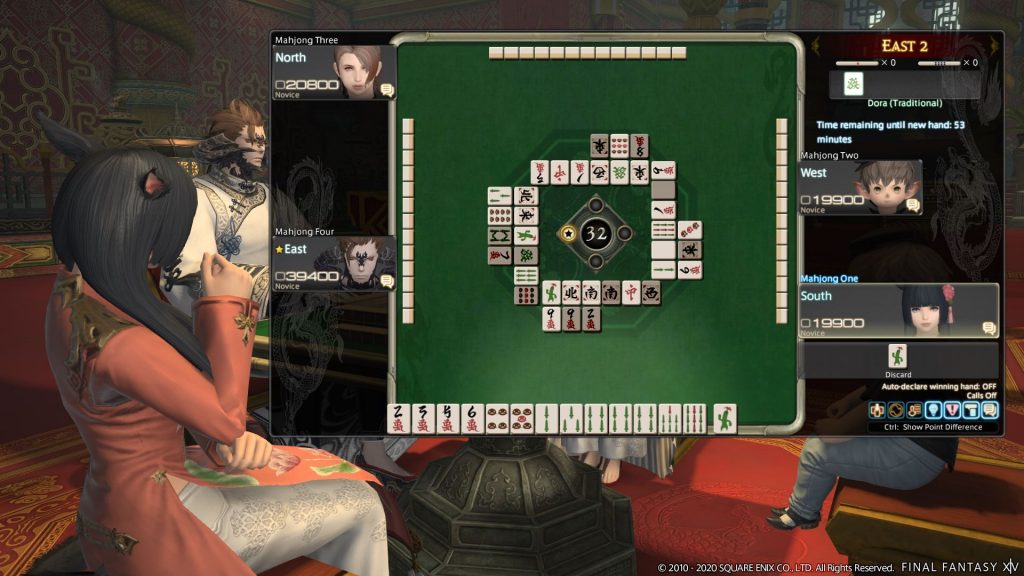
Ah the Gold Saucer, Final Fantasy’s own gambling hub. Complete with infuriatingly challenging minigames and events. Some players spend way too much time chasing perfection in this place. I for one enjoy a good swing of the axe in Out on a Limb. I’m even half decent at it, chopping down trees in the gaps between special events. I won’t go on and list everything there is to do here and what they are, only that it feels like a carnival that never sleeps. There’s triple triad card games, mahjong, Chocobo racing, cactpot (basically just the lottery), fashion report (where you get challenged with a theme and judged for gil) and more.
The biggest attraction is probably the GATEs that run 3 to an hour, every 20 minutes. Similar to the FATEs around Eorzea, but instead they’re mini games with an objective to complete for MGP, the currency used in the Gold Saucer. Kinda like poker chips in a way. There are a total of five mini-games; Air Force One, Cliffhanger, Leap of Faith, The Slice is Right and Any Way the Wind Blows.
Leap of Faith itself has three different maps anll with varying difficulty levels, everyone always has one they like doing and one they don’t. The aim is simple enough, find 6 bronze Cactuar trophies, 3 silvers and 1 gold. All whilst traversing a treacherous obstacle course, any time you fall off the map you’re sent back to the start. Collect them all and reach the goal to complete the challenge. Cliffhanger is much the same, however it’s climb to the top of the obstacle course whilst bombs try to pelt you off, no pesky cactuars to collect. It’s easily seen as the practice mod for the real Leap of Faith. Slice is Right is basically a dodging minigame, survive until the end to earn maximum prize money, same theory with Any Way the Wind Blows. And Air Force One is probably the most unique and is relatively easy. It’s a rolling shooting gallery, shoot all the targets for maximum reward, with penalties dished out for every bomb you hit.
The best thing about Gold Saucer is that it’s easy enough for anyone to pick up, gives you rewards simply for participating and has a very, stay as long as you like vibe that doesn’t make it addictive but still finds ways to bring you back. Like right now with the current Make it Rain even that’s ongoing, giving you boosts to MGP earned for everything you do in Gold Saucer.
Variant, Criterion and Deep Dungeons
I almost forgot about variant and deep dungeons. Without going too much into these two activities, they’re instanced content that are available for up to 4 players to do. Variant Dungeons can easily be done solo or in a pair if you’re not confident and feature several different endings triggered by taking different paths and interacting with with various items around the dungeon itself, hence the word variant. It’s a fun little activity but can get somewhat repetitive as you’re essentially doing the same stuff over and over with minor differences within each run, if you want to find all the endings blind, this can end up taking some time. Especially if you’re doing it on your own, my advice is to take at least one friend so that you can chat and discuss ways to trigger all the different paths and endings. After you’ve completed your first run, you can then unlock a harder mode, this is tough even for a full Light Party to head into and can sometimes be almost on par with savage raids for difficulty in some mechanics but generally seems closer to extreme trials.
Variant and Criterion dungeons are unlocked via Shallow Moor in Old Sharlayan (X12.0 Y13.3)
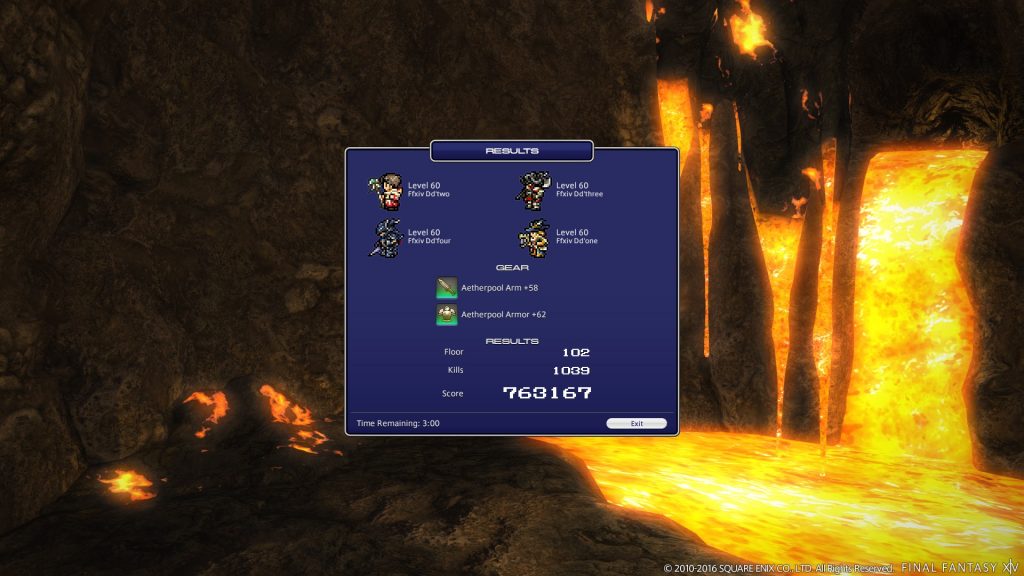
Deep Dungeons aer multi-floored, ever changing dungeons. Floor layouts are procedurally generated and will change with each new run. Players begin at level 1 and fight through floors of enemies, collecting items to use in game and powerups for their Aetherpool Arm, which increases damage dealt and Aetherpool Armor which reduces damage taken. You can also find special items that can be exchanged for unique rewards. Every 10 floors there’s a boss and exp earned within levels you up inside the dungeon. Your level within, is separate from your level without but a portion of the exp earned within, is converted and granted upon successful completion of each batch of ten floors. There are so far three deep dungeons within the game, all with their own stories and lore and number of floors.
Palace of the Dead was the first, where players can reach a maximum level of 60 and once clearing floor 50 can then enter from floor 51. It has a total of 200 floors, which is the most out of them all and even has some special titles for those that attempt the voyage solo. Be advised though, entering with a full Light Party can be tricky too, so if you’re going solo, do your research and be careful. Heaven on High was the next one introduced and has 100 total floors, with Eureka Orthos being the final deep dungeon added recently in the Endwalker expansion. They’re a fun challenge that requires more than simple brute force and bravado, gear works differently and normal items have no use. Instead forcing you to rely on your wits, cunning and items you find within
Palace of the Dead is unlocked by speaking with Nojiro Marujiro in New Gridania (X12.0 Y13.1), Heaven on High via Hamakaze in The Ruby Sea (6.2 Y11.7) and Eureka Orthos via Koh Rabntah in Mor Dhona (X21.8 Y8.1)
Island Sanctuary and Gpose
I swear I didn’t almost forget to put in these two as well! Island Sanctuary is a super chill instanced island for every player to chill, capture wildlife, build a sanctuary far apart from the stress of being the Warrior of Light. It’s a lot like housing (I didn’t put that on the list because it’s very expensive to buy a house). And with the most recent update, you can also put furnishing on your island too! It takes a good long while to reach maximum level but if you do a little every day, you can create a little piece of paradise on your island.
Hand in hand with the Island, Eorzea is a beautiful world. And what better way to capture it, then with a little gpose? There is no skill required in it, just go nuts! Take photos of your amazing characters, take photos of the land of Eorzea. As an avid gposer for 3+ years I can say for certain, there’s nothing I love more than taking photos of my cute character. Of course if you have photography skills, they will apply in gpose too, but it’s entirely optional and not required. The more you do it, the better you get with doing it! Gpose is something I’m incredibly passionate about, I’m even actively involved in groups of gpose appreciators, sharing ideas and appreciation for the world of Eorzea and all of its many Warriors of Light!
Conclusion
At the end of the day, there is something for everyone. While other games might archive old content to make room for new stuff. And though you have reached the end of the main story and crave that injection that only more content can give you. The world of Final Fantasy XIV is massive, you need only look just below the surface to find it. And if you need help with any of this content, there is a massive community, full of forums, Free Companies, discord groups and more just waiting for you to find them and ask questions.
I hope this guide has helped you in some way. I’d also like to thank Double Jump media for reach out to me and asking me to make this piece.
You can find my other articles right here


About the Author
Daniel Hi I'm Dan! 33 and Non-Binary. When I'm not writing reviews. I like to get deeply immersed in the lore of an mmo or rpg, cruise the forest or coastal roads of Victoria, watch anime, read manga, build model kits and do a bit of sketching on the side.
Related Posts

SUPANOVA COMIC CON & GAMING – ADELAIDE SA and BRISBANE QLD – Middle-earth Magic: Elijah Wood! →

Australia’s Most Loved Film The Castle On Stage →

Tina Turner star Ruva Ngwenya to open Jersey Forever as new tickets released this week →